Angel Inspirational Card

I finally had the chance to sit down, turn on my music, light some candles and start creating a card that is just simply for a friend, and not design-team related.

I recently ordered these cute Angel stamp set by Sunny Studio and I couldn’t wait to play with them. I had this design idea in my head for quite sometime now and decided to create a see-through card.  Here’s a step-by-step instruction below. It seems like a lot of work but I promise you, it’s really easy!

  1. Cut the white card-base at 4 ¼ by 11 and score at 5 ½.
  2. Trim the front panel at 4 ½, leaving the front of the card with an inch.
  3. Cut an acetate sheet measuring to 4 ¼ by 5 ½
  4. Adhere the acetate sheet behind the 1-inch flap. This will create the window part of the card.
  5. Using the leftover card stock that I just trimmed from the front card-panel, I used my Clouds border die to cut 3 different clouds pieces to create my “clouds”.
  6. Using my sponge, I distressed the clouds with Tim Holtz Spun Sugar and Shaded Lilac distressed inks. I wanted the card to have a unique pink and purple color.
  7. I then adhered the clouds on the front panel of the card. One cloud on top, and two at the bottom.
  8. I cut another white card stock measuring 4 1/8 by 5 3/8. Using my sponge again, I distressed the card stock with the same colors that I used for my clouds.
  9. I adhered this card stock on the inside of my card (I wanted to use the same colors that I used for my clouds for the inside of the card).
  10. Using my Memento Tuxedo Black Ink, I stamped the angels, cloud and lantern images on Neenah solar white card stock.
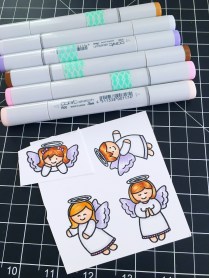
  11. I used my Copic markers to color the images.
  12. img_2551
  13. Using the coordinating dies for the angels, I die-cut the images with my big shot machine.
  14. I used my ATG tape runner to adhere the Angels on the front panel.
  15. I used my mini-glue dots to adhere the lantern on the Angels’ hands.
  16. Using my Ranger Multi-Medium Matte adhesive, I adhered the little purple star sequins by Kat Scrappiness to decorate my card further.
  17. I stamped the sentiment inside the card, using my Lawn Fawn Hippo Ink.


Here are the photos of the finished card. I inserted an LED tea light so that my friend can also use this to display in her craft room.


img_2556

img_2557

img_2558


I really love how this card turned out. Would you give it a try? I would love to see your version of my design.

The supplies I have used are listed and linked below. Thanks so much for stopping by and have an amazing day!

SUPPLIES:

Thanksgiving Cards

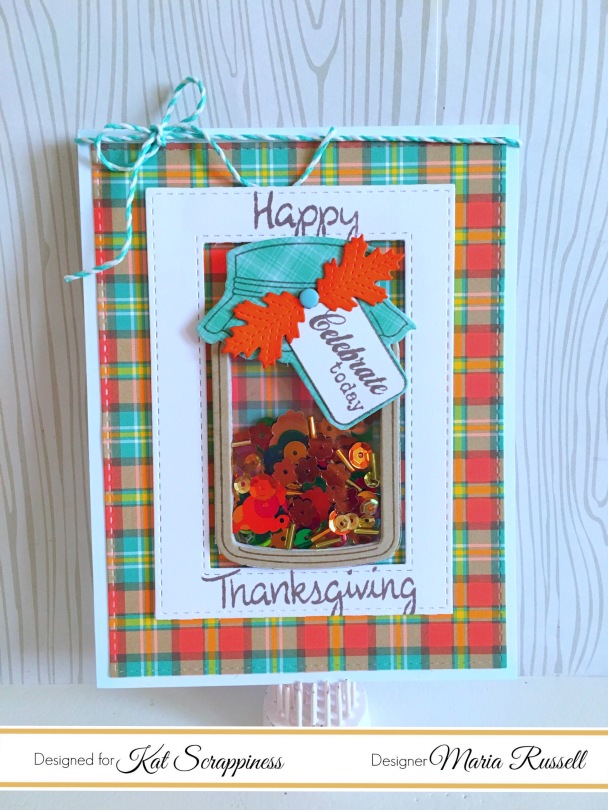
Hello stampers and crafters! I am back to share with you two Thanksgiving Cards that I designed this week for Kat Scrappiness. I will keep this Blog post short because I have provided a step-by-step process video of the cards below.

I used the Double-Stitched Rectangle Frames Dies by Kat Scrappiness to die-cut the pieces that I needed for my first card. I also used a die from my stash to create the beautiful shaker Mason jar piece as my focal point on the card. I wanted to fill it with vibrant colors and so I used the Autumn Harvest Sequin Mix and the 6mm Espresso Brown Flat Flowers.

final-8

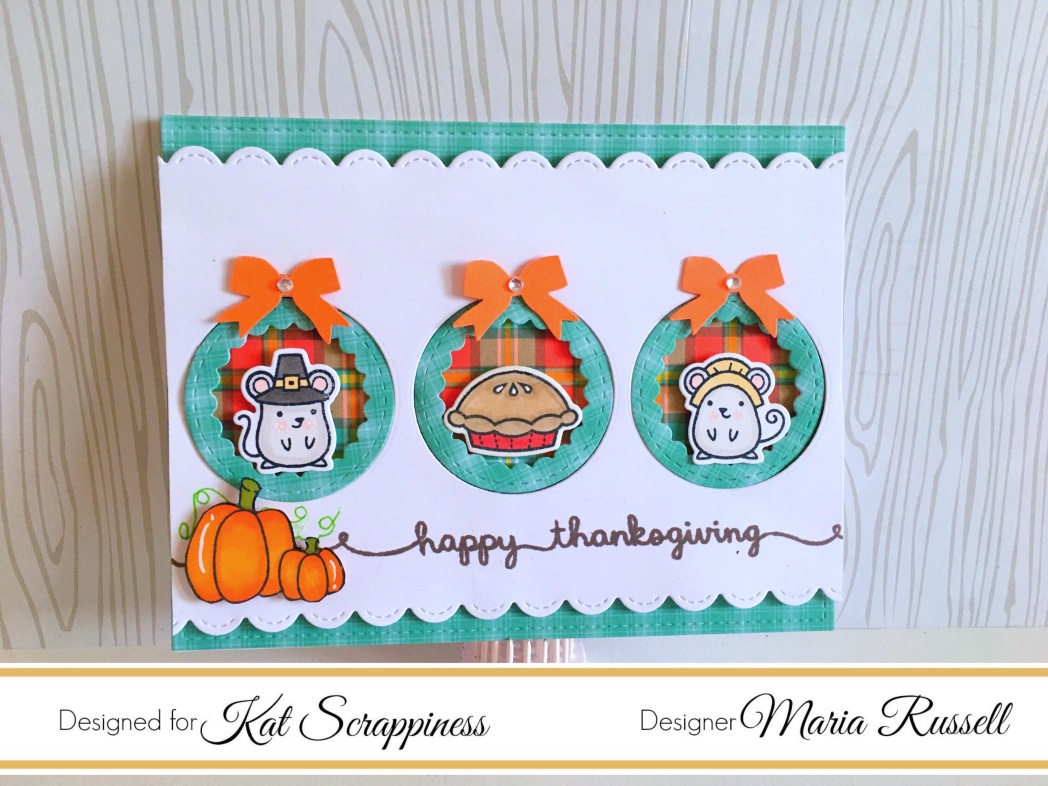
For my second card, I used the Thankful Mice and the Cutie Pie stamp sets and coordinating dies by Lawn Fawn. I also used my Gina Marie Circle Scallop Frames, as well as my favorite Lawn Fawn 6×6 Perfectly Plaid Fall Paper Pad and a bunch of other dies and crafting supplies.

The supplies I have used are listed and linked below in case you would like to get a hold of these products.

final-10

This is the step-by-step video instruction. Have an amazing day!

Monster Halloween

I am not ready to give up making Halloween projects just yet so I figured this week is my last chance to create more cards and a tag. I’m back today to share with you my design team projects for Not2ShabbyShop, showcasing MFT Stamps Monster Love stamp set and dies.

Below is the photo and I have shared a process video for one of the cards. I have also listed and linked the supplies below. Have an amazing day!

img_2461

Here’s the video:

SUPPLIES:

MFT Stamps – Beast Friends

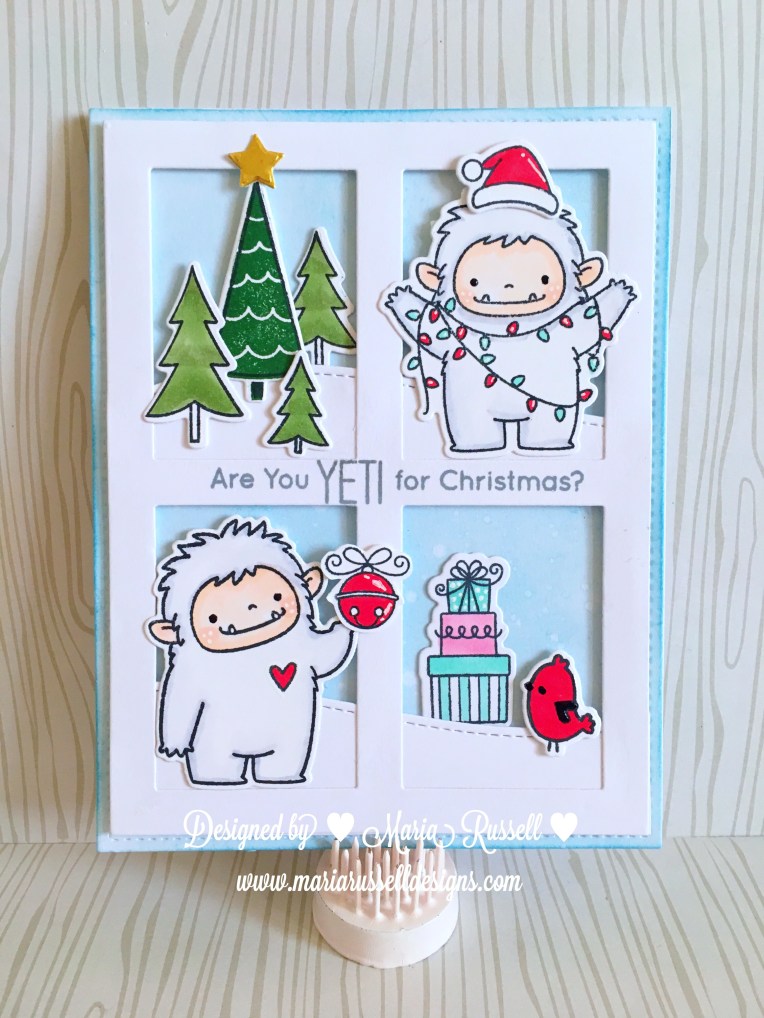
Even though I’m not ready for Christmas yet, I can’t help but get excited about playing with this new stamp set by MFT Stamps called Beast Friends. These Yeti images are so adorable!

img_2428

I shared a YouTube video on how I created the first card if you’d like to check it out.

The second project is just an addition since I’ve already colored a few of those adorable Yetis. I wanted to create a cute Christmas tag. What do you think? Are you “Yeti” for Christmas?

img_2431

Supplies I’ve used are listed below:

The Hop to Stop – Raising Awareness for Domestic Violence

Hello everyone! I’m back today to share a very special card that I have made for a very special cause. Becca Cruger (a.k.a. Damsel of Distressed) is hosting an online event called “The Hop to Stop – Raising Awareness for Domestic Violence”.

Purple is the color of National Domestic Violence Awareness month. The idea behind this is to create a card that is purple. Another rule is to comment to at least the 3 cards before yours in the link-up. You will then be eligible for some cool prizes.

To know more about the details of the hop and to participate, please click on this link http://damselofdistressedcards.blogspot.com/2016/10/the-hop-to-stop-2016-raising-awareness.html.  Becca had shared her story on her blog post and it is a huge honor to be a part of this cause.

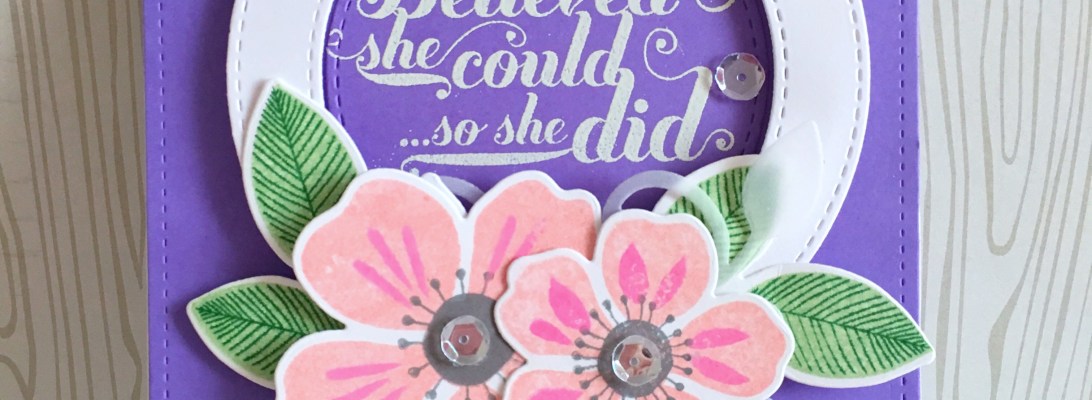
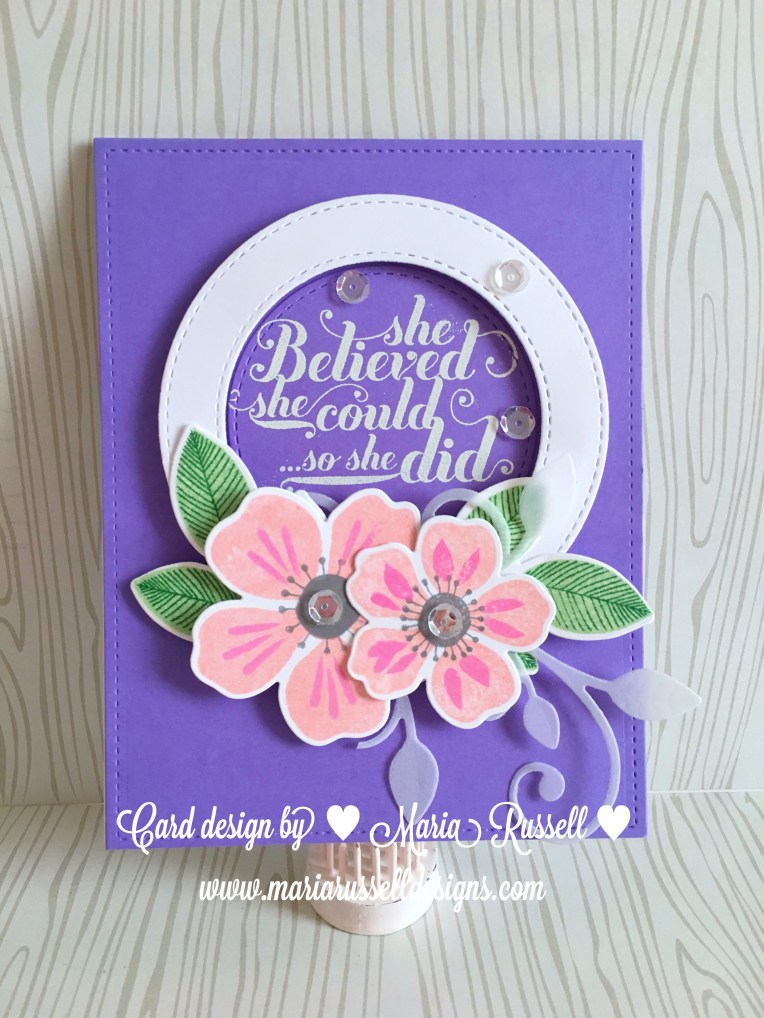
Here is my card. I believe anything is possible if you put your mind to it. I hope we all join together to raise awareness to this great cause, and have a wonderful day!

img_2418

SUPPLIES:

KatScrappiness & Newton’s Nook Breast Cancer Awareness Card Challenge

Hello stampers and crafters! I am back today to share a card that I have made for the Kat Scrappiness and Newton’s Nook Breast Cancer Awareness Card challenge. The only requirement to join the challenge is to create a card with an encouraging/supportive message.

I started out by stamping the feathers using my Virginia Turtle stamp set called “Radiate Positivity” onto vellum card stock using my Versamark Ink. I then used my white embossing powder and heat-set the image. I used my precision scissors to fuzzy-cut the image and set it aside.

I die-cut my card panel using my scallop border die from Lawn Fawn and my peek-a-boo scallop die from MFT Stamps. I covered the window with some clear acetate and used my scotch foam adhesive to create my shaker panel. At this point, I used my stampoholic nano to stamp my sentiment on the front panel.

I wanted to use soft colors for my card and decided to use a mixture of 3 gorgeous sequins and confetti mix from Kat Scrappiness (6 mm powder pink, crystal clear flower blossom and pink flamingo confetti mix). I then adhered my shaker panel to my card base.

img_2388

I finished the design by adhering the vellum feathers on the top of my peek-a-boo shaker window, and topped-it off with my pink ribbon, and also added some white diamond sequins to the front of the card.

img_2390

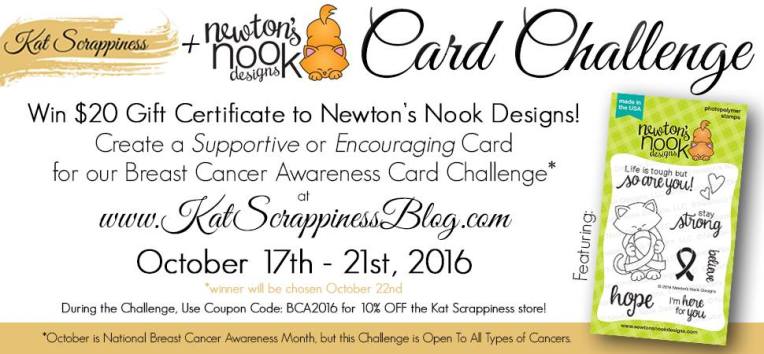
I hope you like what I created. Here is the photo of the challenge in case you would like to participate and win some prizes.

14712568_10209860263238331_5041849822823074567_o

Please don’t forget to use the coupon code “BCA2016” for 10% off your order at http://www.katscrappiness.com.  This coupon code is valid from October 17 to 21, 2016.

Supplies I have used:

Lawn Fawn Winter Unicorn

Let’s get into the holiday spirit and create some Christmas projects today.  I am back to share with you some design team projects for http://www.not2shabbyshop.com showcasing the cutest Lawn Fawn’s Winter Unicorn stamp set and die, with MFT Stamps LJD Peek-A-Boo Die-namics and Lawn Fawn Tiny Tags sayings.

lf-unicorn

I’ve shared a process video if you would like to see how I made the card and one of the tags.

Supplies:

Live the Life You Dream About-JessicaLynn Original Stamps

We are finally launching this amazing stamp set at www.jessicalynnoriginal.com called “Live The Life You Dream About ~ Spirit Animal”. This is a little bit of a change from Jessica’s artwork in the past, but I am so in-love with this set!

I love the dream catcher image on this set. My daughter and I love dream catchers and I have them all over my house. I even have them in my car (no joke!).   The sentiments that Jess included in this stamp set are all so inspirational.

For the vellum card, I first stamped the image using Versamark ink and heat-embossed it with my white embossing powder. Once it dried and cool to the touch, I turned the vellum upside down and colored the image from the back with my Copic markers. I used R83 and R85 for the dream catcher. Once I was happy with the colors, I proceeded to die-cut my card base and the decorative scallop trims using a light tan card stock. I wanted my dream catcher to be the focus of the card. I die-cut the “Believe” script sentiment using Neenah solar white card stock, and adhered it on the front of my card.  I finished the design by adding a pink vellum bow, and pearls to the dream catcher.

img_2243

For the second card, I wanted the focus of the card to be all about my spirit animal. I have always believed that my spirit animal is an Owl. What better way to showcase the stamp set and Jessica’s digital stamp of Brentwood Owl by combining them both! I altered the stamp a little bit so I can adhere it to Brentwood. I wanted my card scene to look like an enchanted forest so I used my Birch Tree Window Die from Simon Says Stamp. I think using the glittered paper behind it made it more magical!
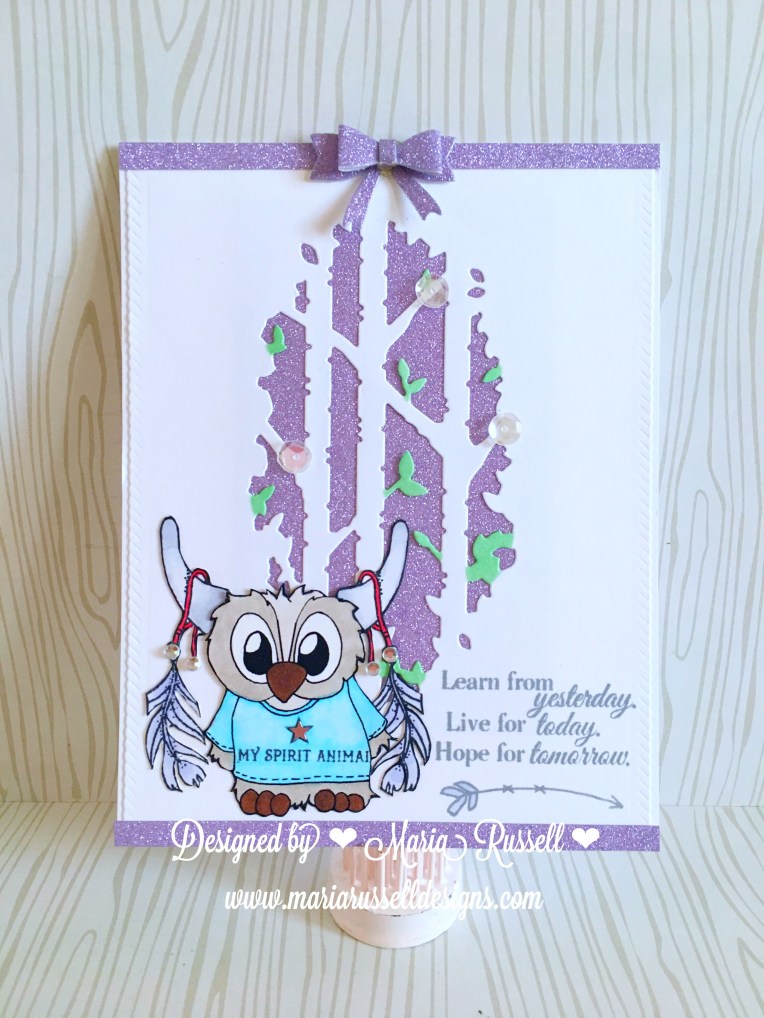
img_2293

I hope you like my cards today, showcasing Spirit Animal stamp set by JessicaLynnOriginal. If you would like to purchase this stamp set, please head on over to: https://www.jessicalynnoriginal.com/jessicalynnoriginal-live-the-life-you-dream-about-spirit-animal-clear-stamp-set/

Have a great weekend!

Supplies used:

https://static.inlinkz.com/ppr.js

MFT Stamps ~ Llama Love
I finally was able to play with this stamp set and oh my goodness! These Llamas are so cute!  Below is a short process video for the two cards. I hope you like it.


Interested in the products I used? To make them easy for you to find, I have listed them below. [Disclosure: I am affiliated with KatScrappiness online store. When you click on my links and make a purchase, I receive a small commission (at no additional cost to you!). Your purchases help keep my blog running and I thank you for the support!

https://static.inlinkz.com/ppr.js