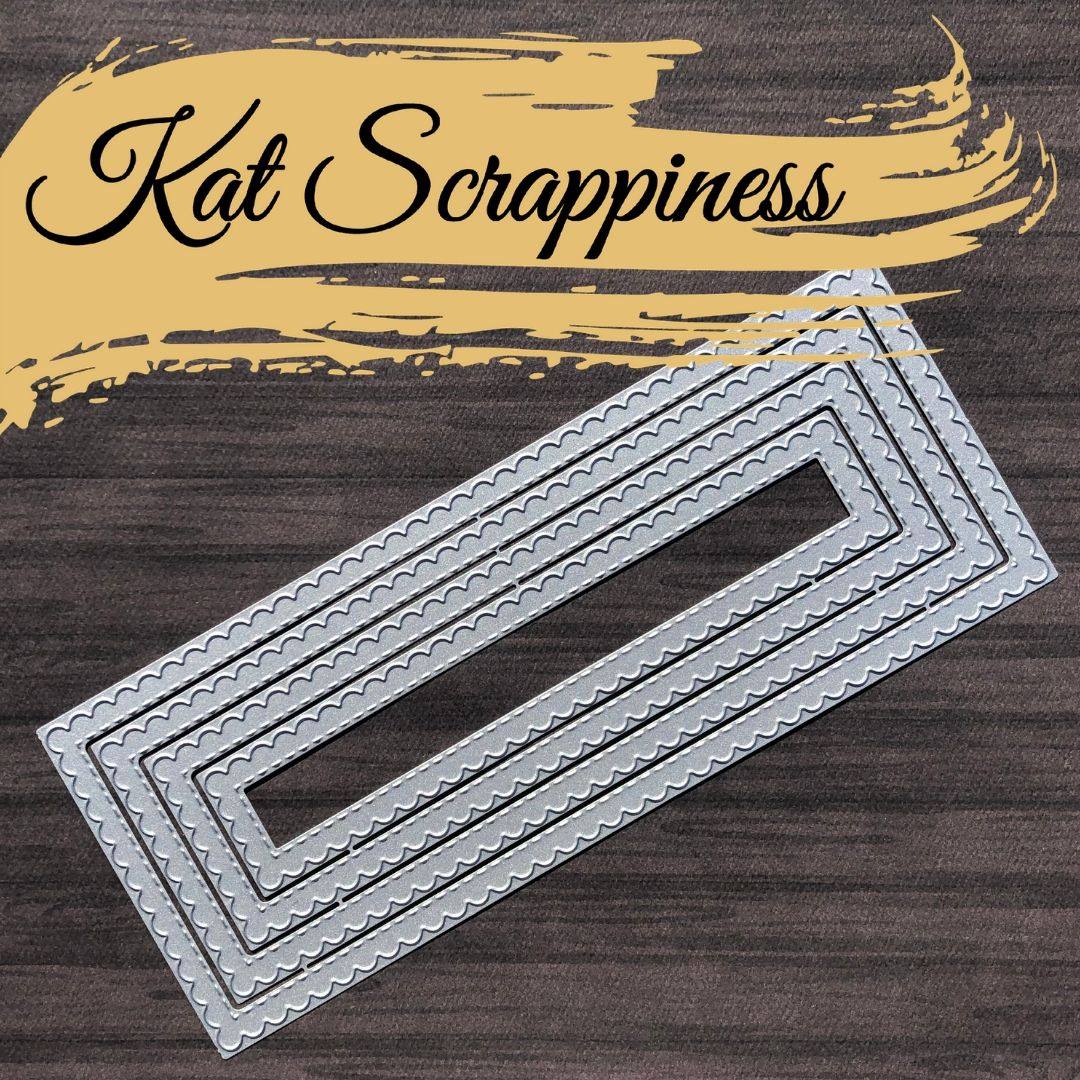
Did you know that Kat Scrappiness came out with two Slimline dies? The Embossed Edge Nesting Slimline Dies and Stitched Scalloped Nesting Slimline Dies. They are AMAZING! Here’s what they look like:

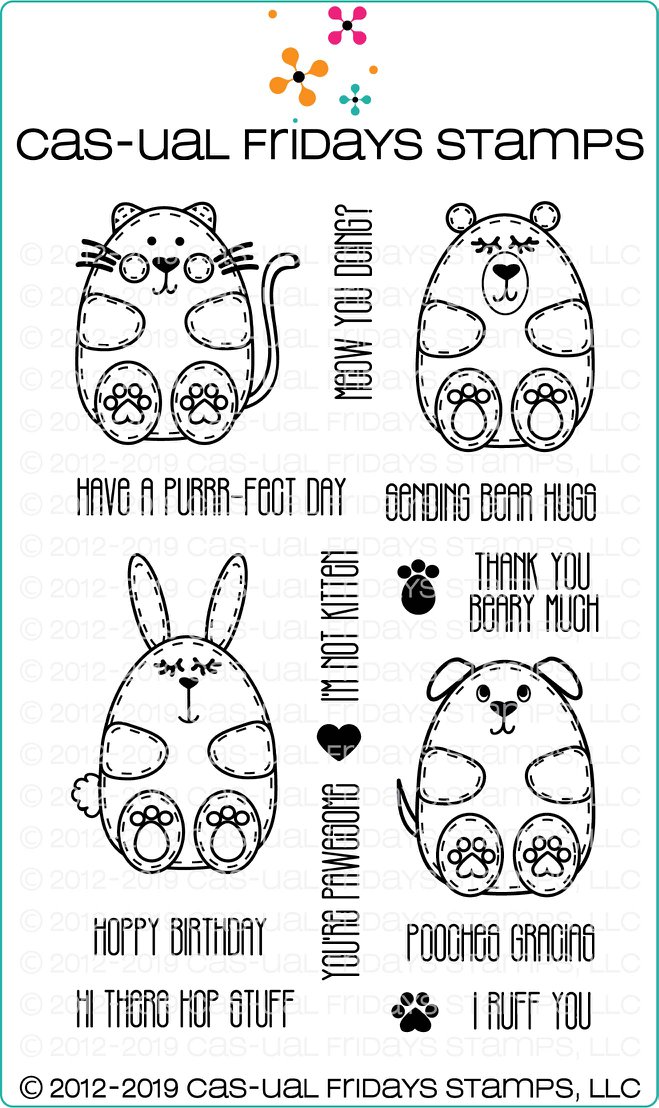
For my cards today, I am also showcasing the Koala-Ty Time stamp set along with other supplies available at the shop. They are of course listed and linked below.
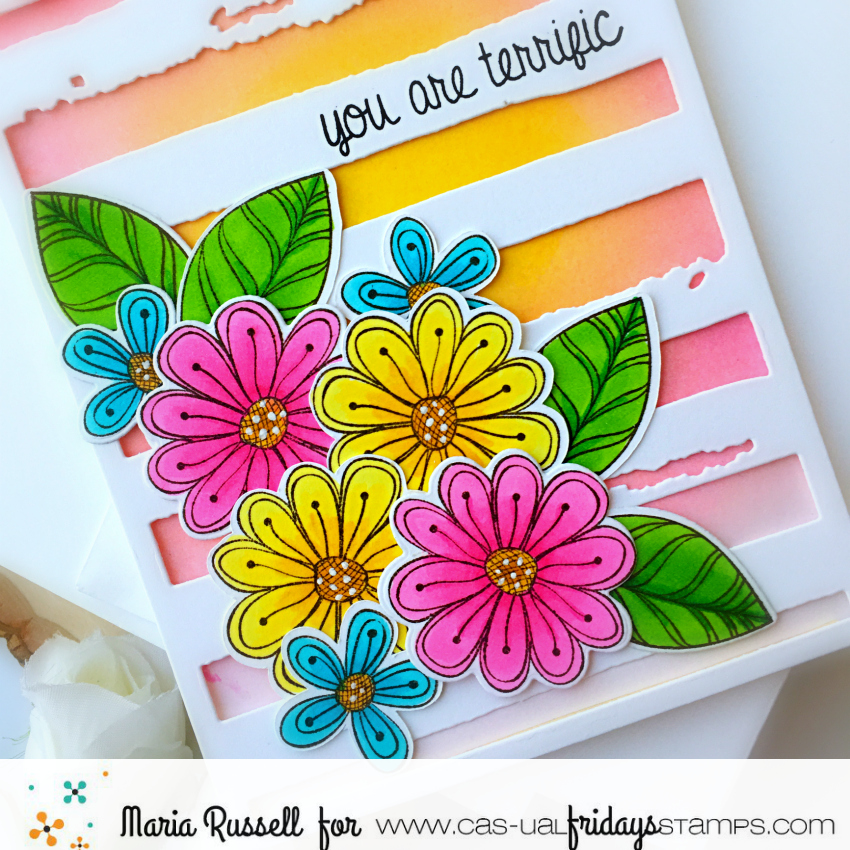
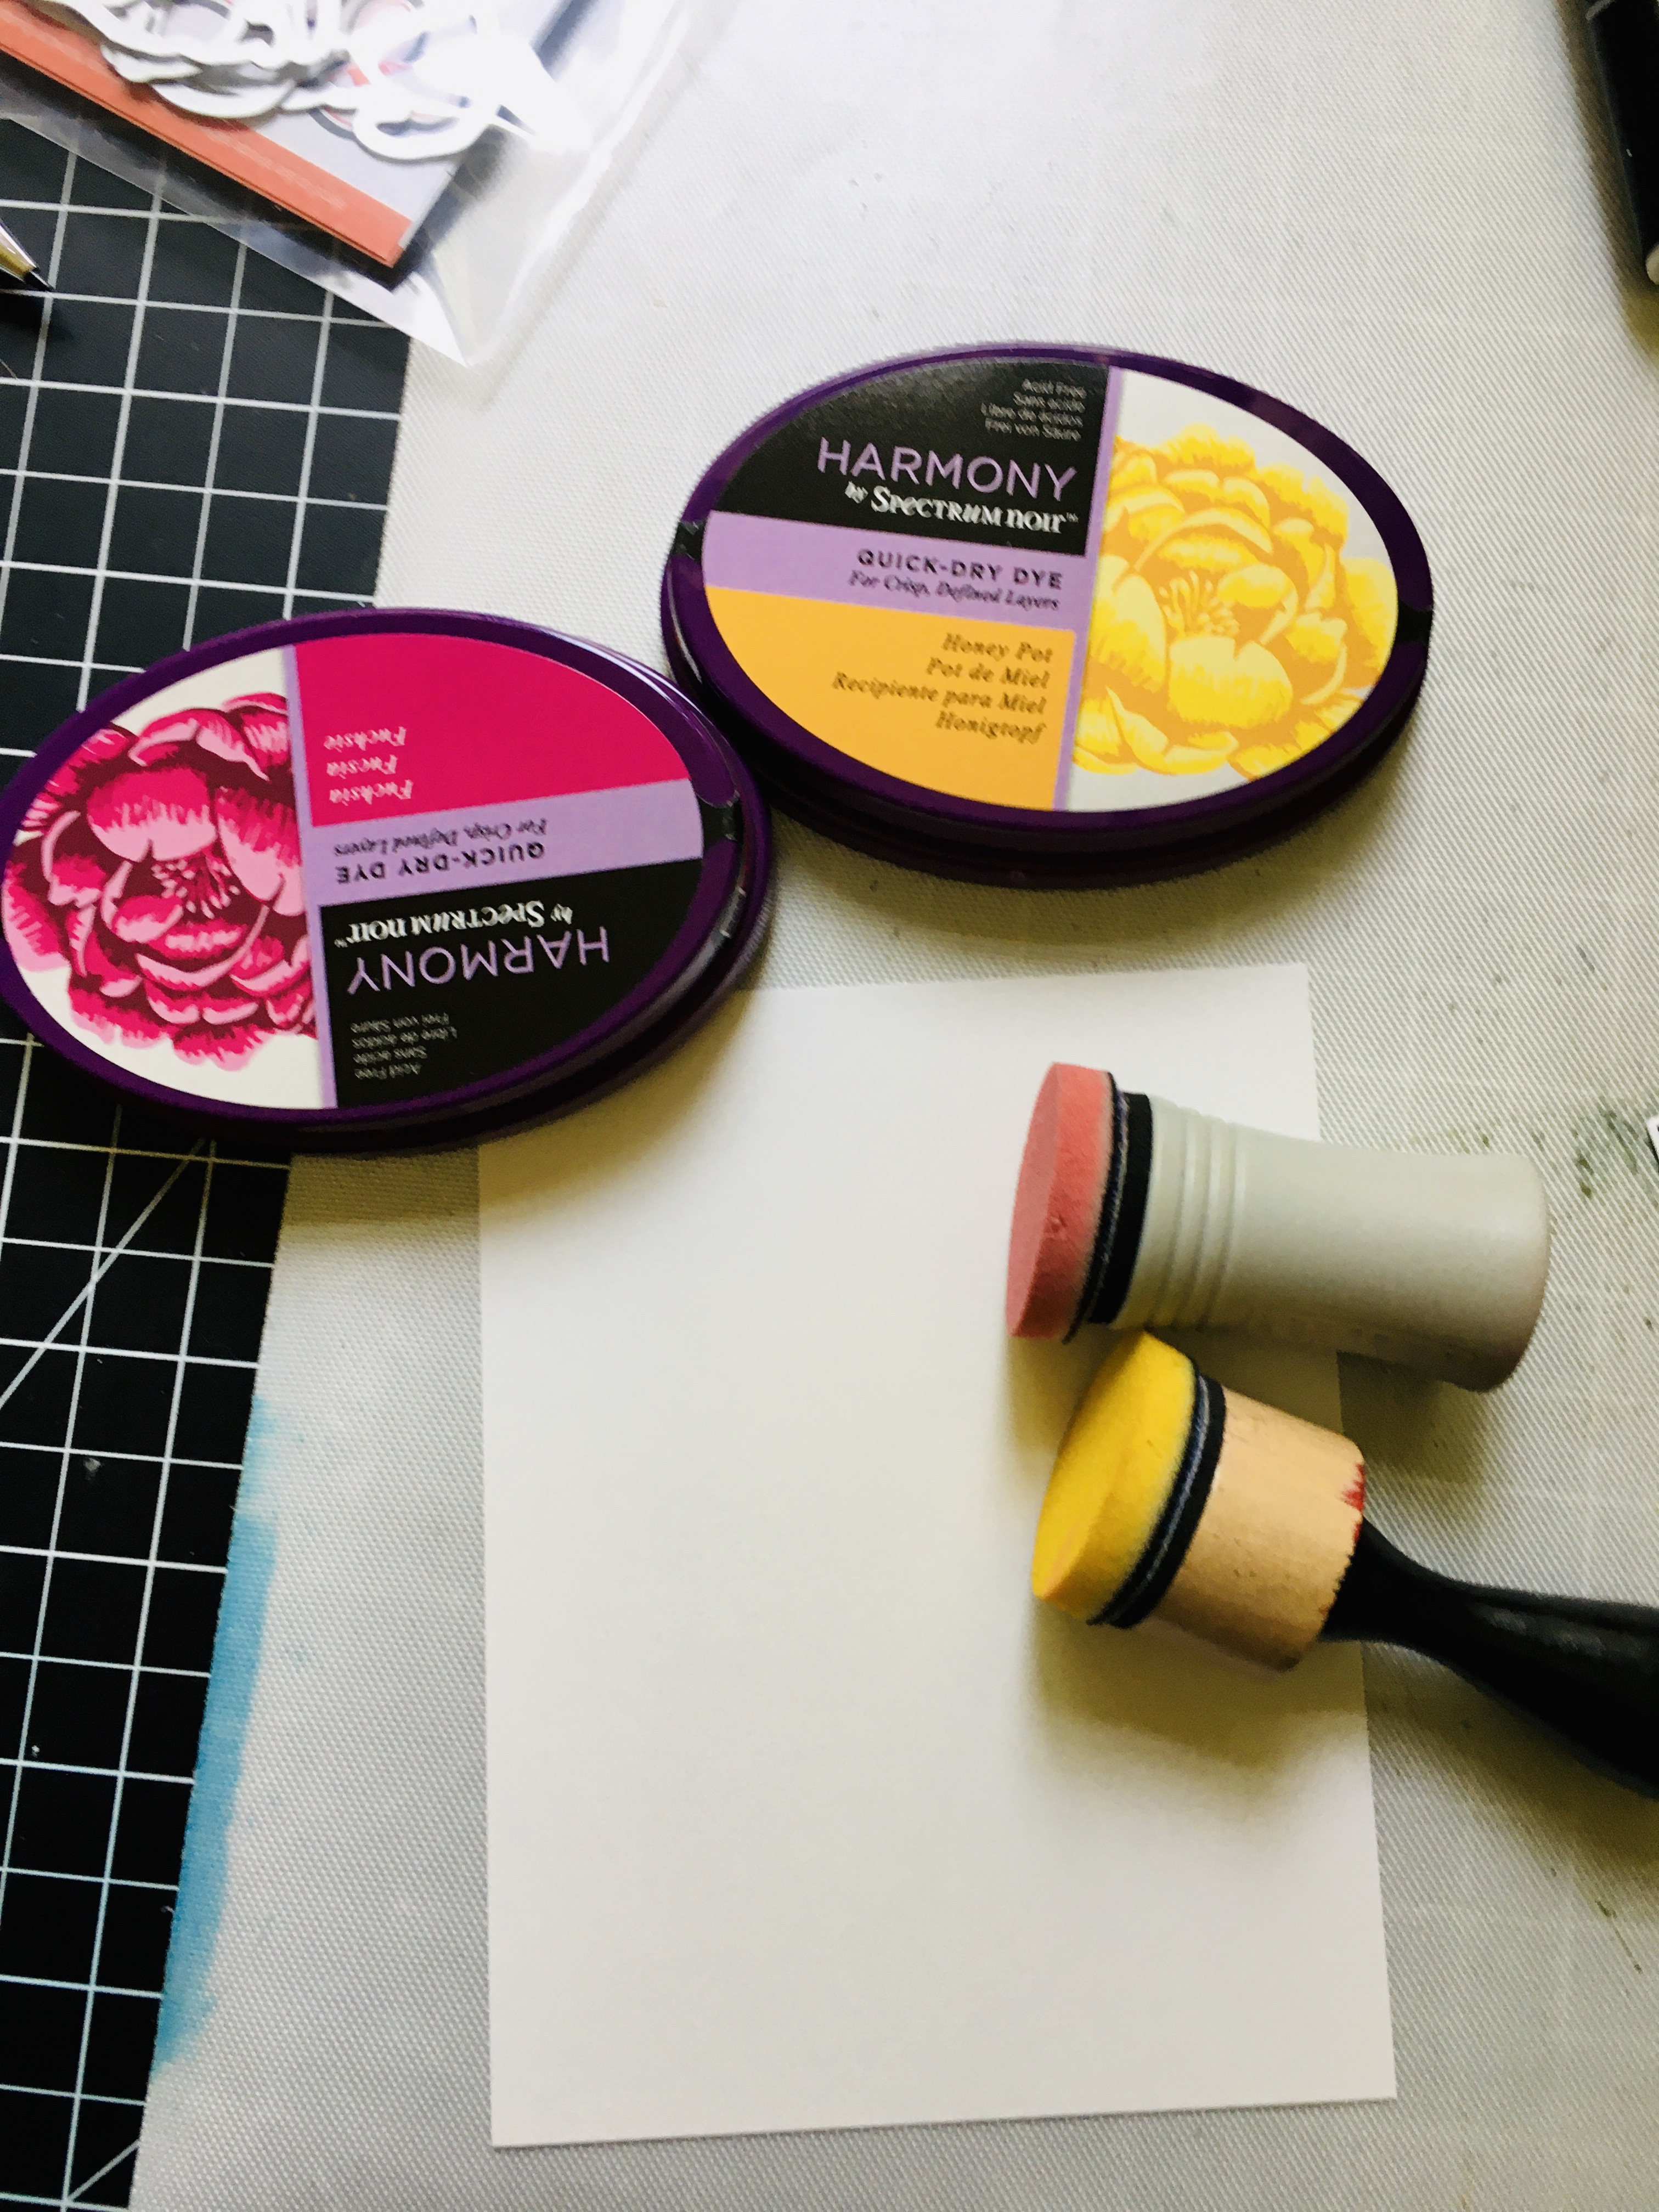
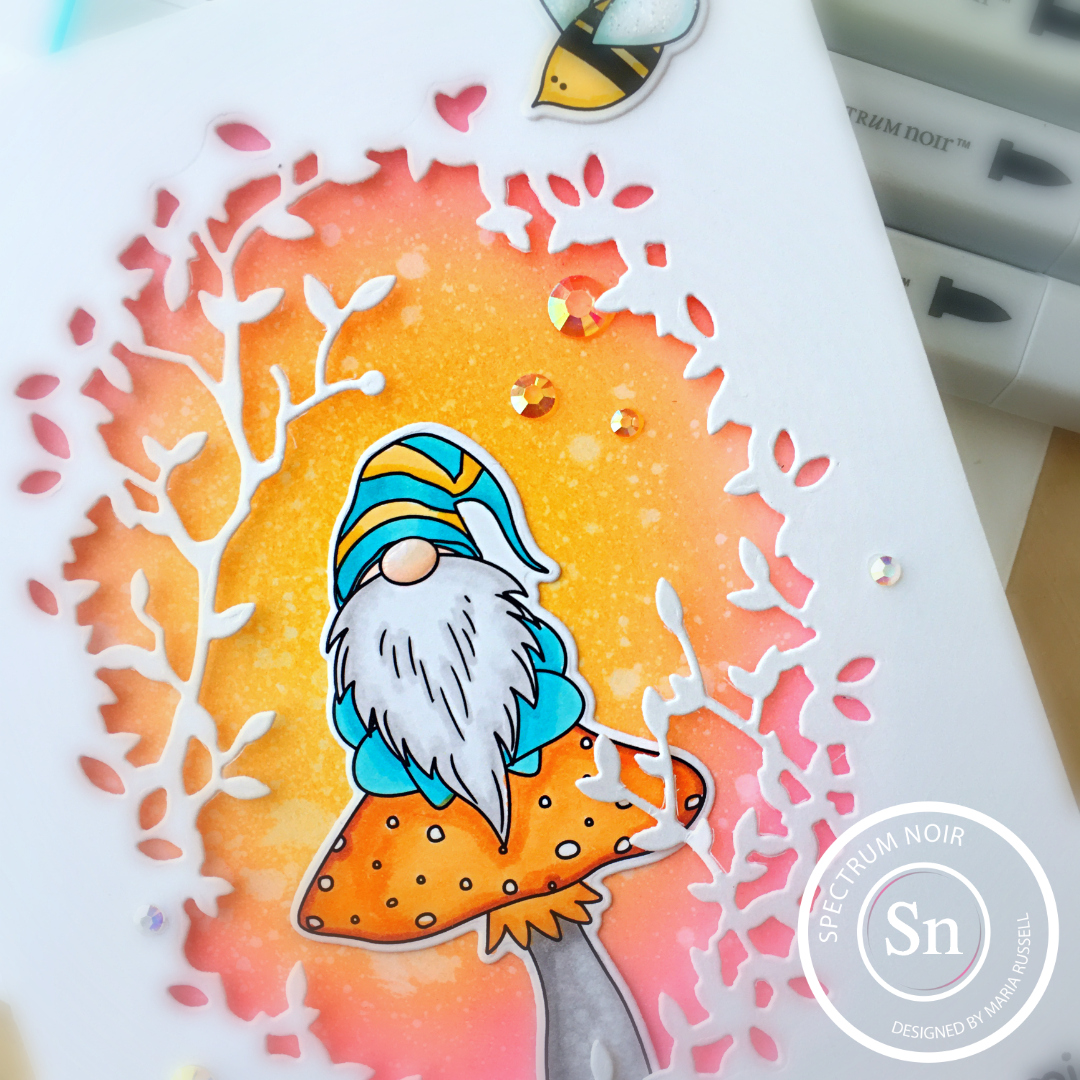
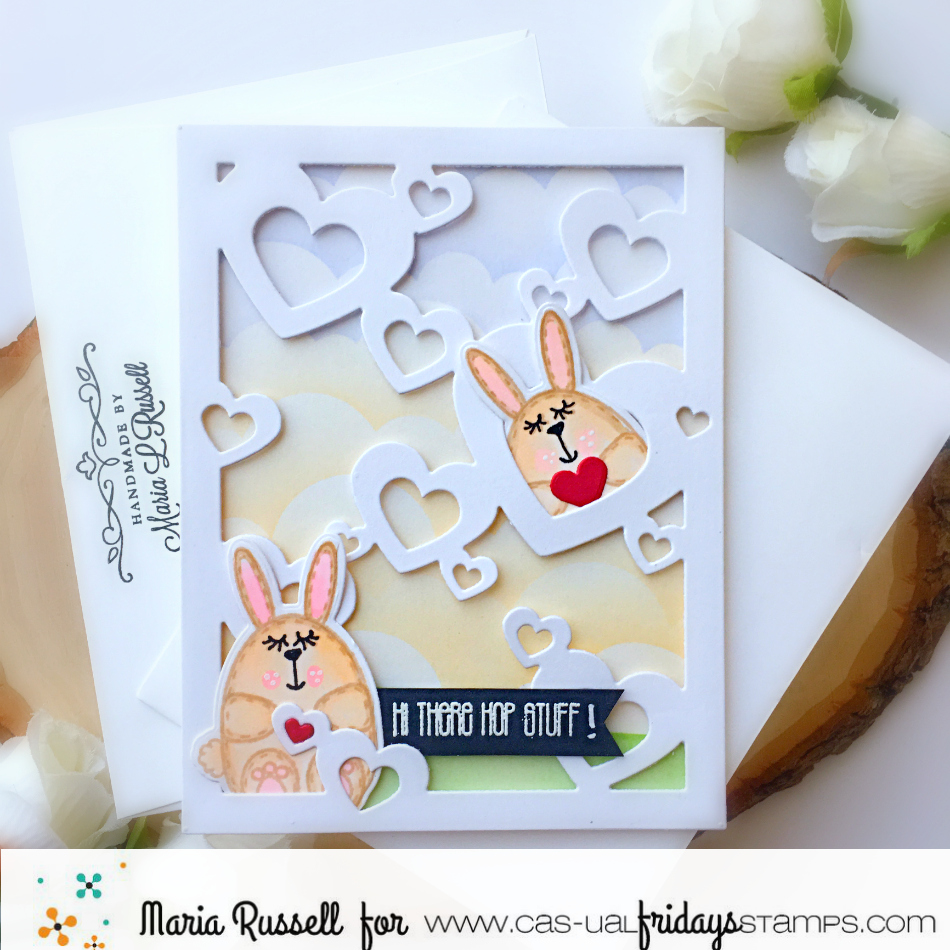
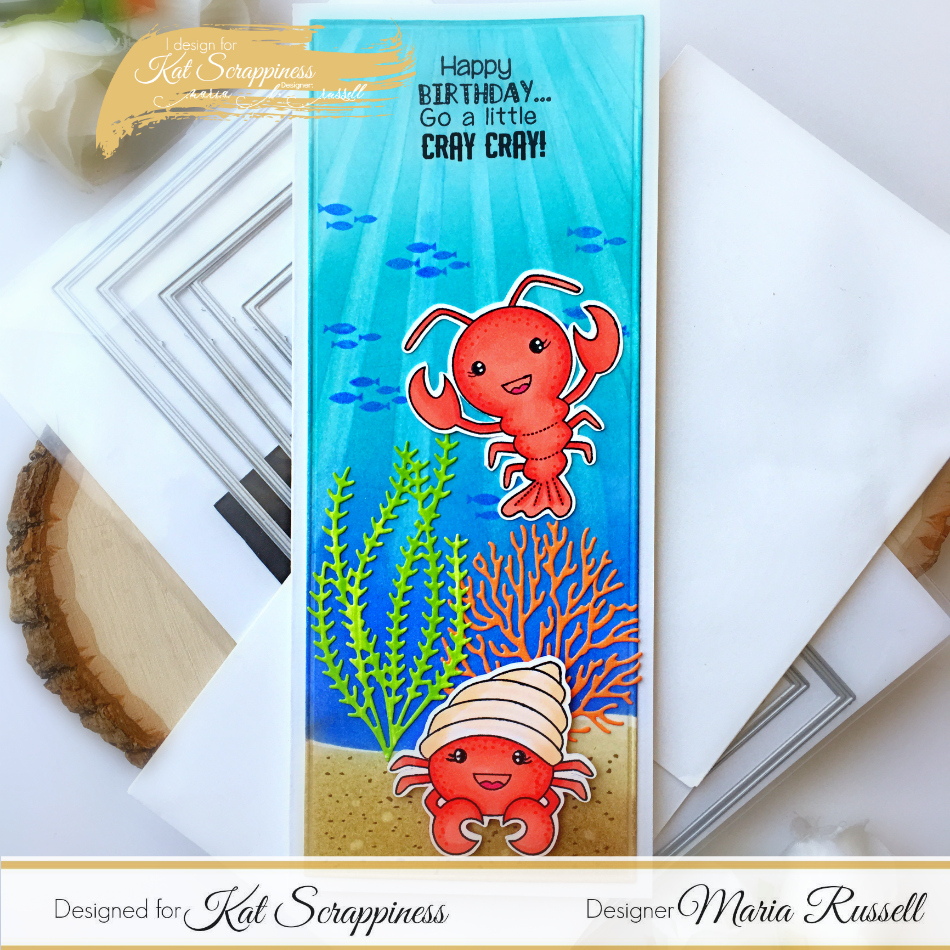
For my first card, I die-cut a panel of Bristol smooth white card stock using the new Embossed Edge Nesting Slimline die. and ink-blended this with salty ocean, peacock feathers and chipped sapphire distress oxide inks. I used the Ray of Light stencil with a baby wipe to achieve the look of sun rays shining on the water. Since distress oxide inks are water reactive, it took some color out of the card stock and it made it look more realistic. I die-cut another panel to create the sand with more distress oxide inks and used my alcohol markers to create more texture.
I stamped, colored and die-cut the images and foam mounted the sand on my card. I also adhered the images that I colored with either foam or liquid adhesive. The sea weed and coral were die-cut using a die from my stash and colored with alcohol markers.
I stamped the little fishies from the BB Mermazing stamp set. Lastly, I stamped the sentiment with Versafine Onyx black ink.
I love how this card turned out.

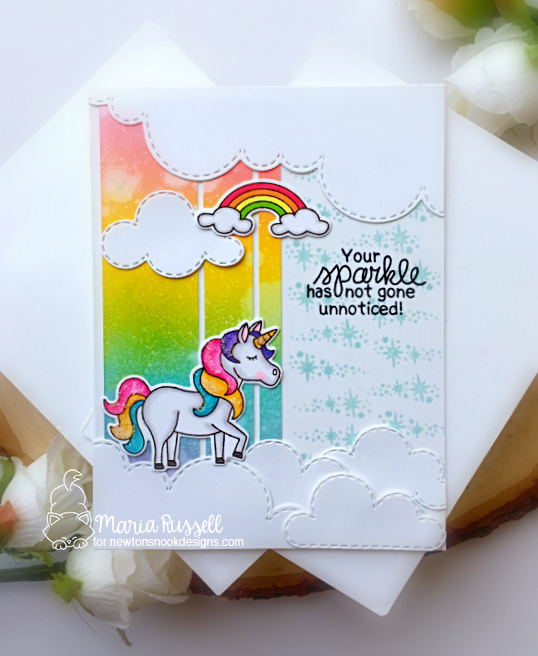
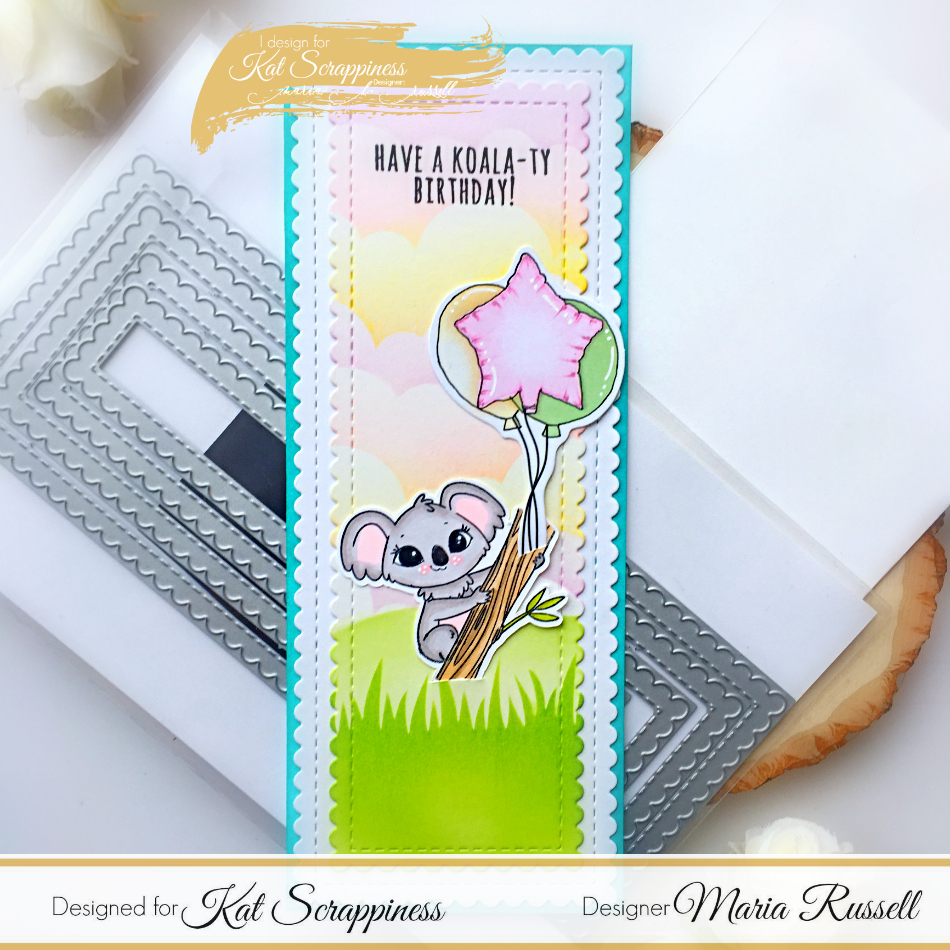
For my second card, I used the Stitched Scalloped Nesting Slimline die to die-cut another panel of Bristol smooth white card stock. I used the Clouds and Grass stencils from Newton’s Nook Designs to create the colorful clouds and grass hills on this panel.
I stamped my image and colored them in with my Spectrum Noir alcohol markers and die-cut using my Scan N Cut machine. I adhered the images with some liquid glue.
Lastly, I die-cut another panel using the biggest die from the nesting set to mat my card and adhered on my slimline card base measuring 3 1/2 by 8 1/2. I stamped the sentiment with Versafine Onyx black ink.
Both slimline dies cut like butter and as with any other Kat Scrappiness dies, they are pretty inexpensive compared to other dies available in the market. Here’s another look at my card:

I hope you like my cards and got inspired today. Thanks for stopping by and happy stamping!
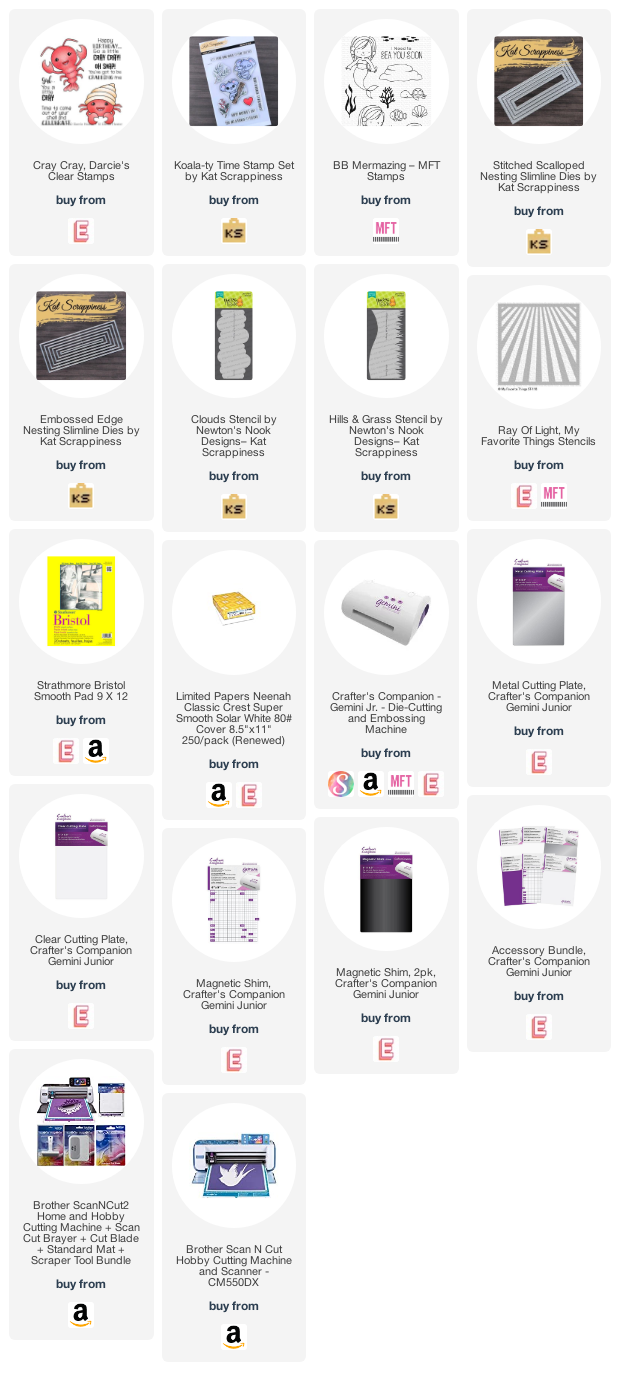
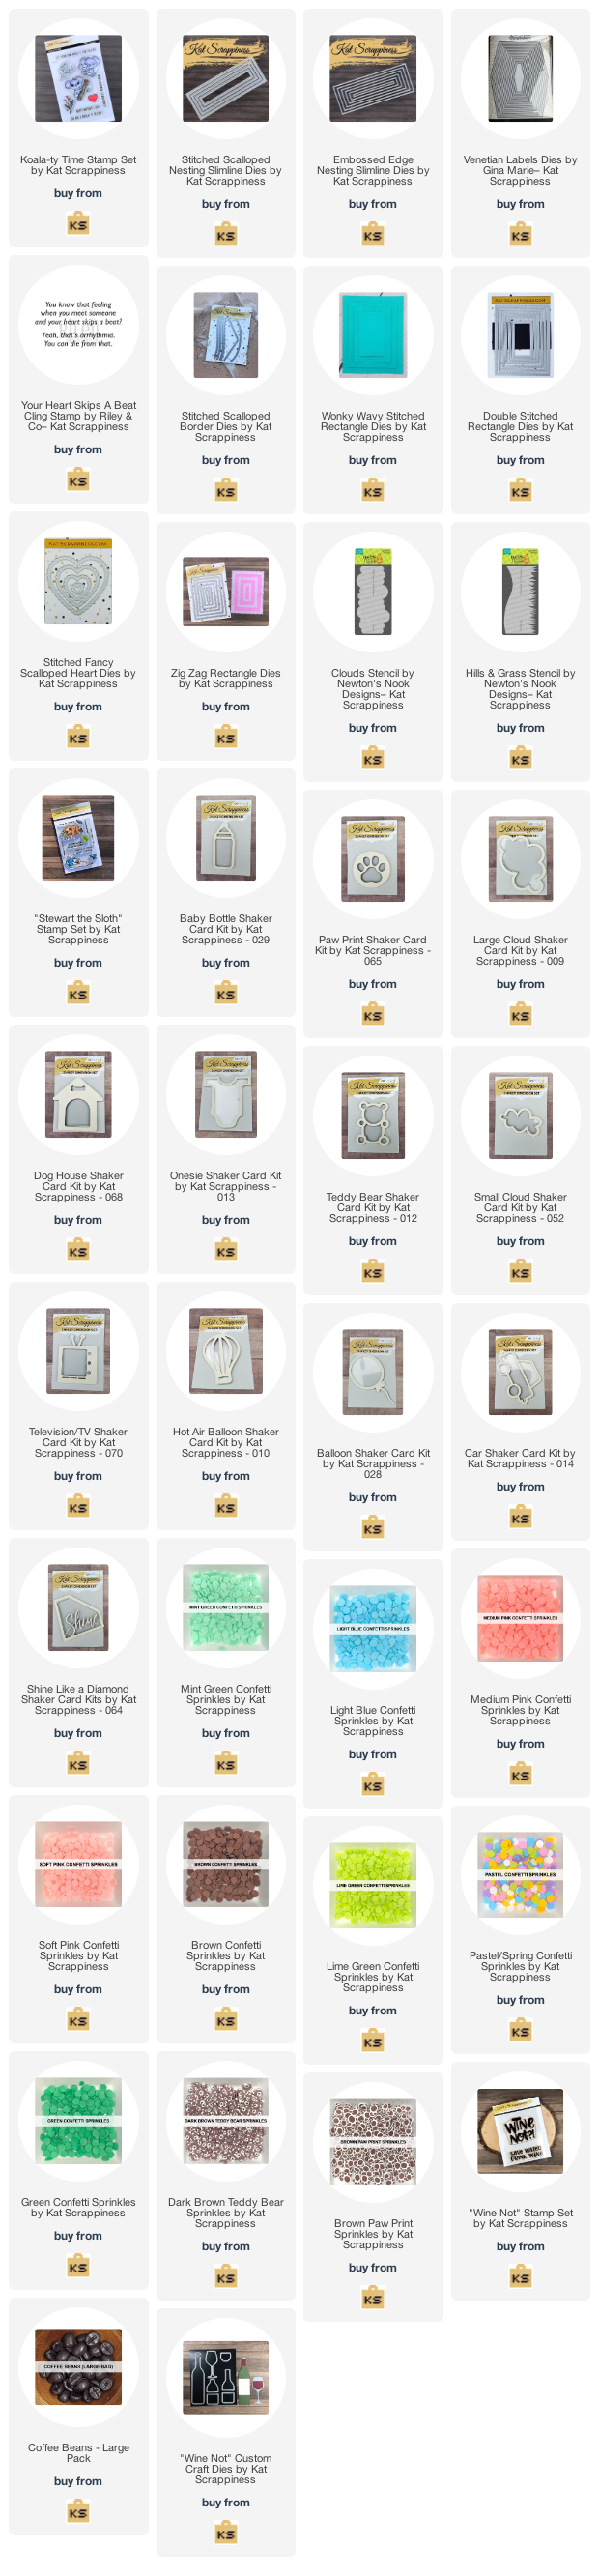
———-SUPPLIES———–