It is the third day of the reveals by Newton’s Nook Designs. I hope you were able to check out Monday and Tuesday’s reveal. You also have a chance to win the stamp set being revealed each day so please read through til the end of the blog post to find out more info. [Just a little important note: I know some of you had difficulties finding the comments section. If you would like to leave a comment to participate in the giveaway, the “comments section” will only be ever visible when a single post on Word Press is being viewed. Please click on this particular blog post and you will be able to leave a comment below. Thank you!]
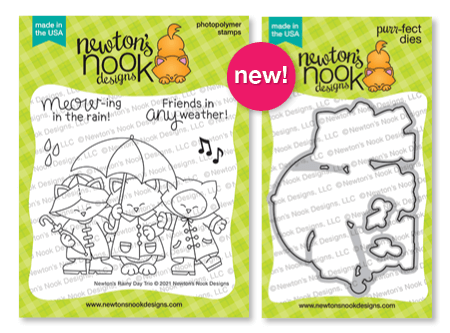
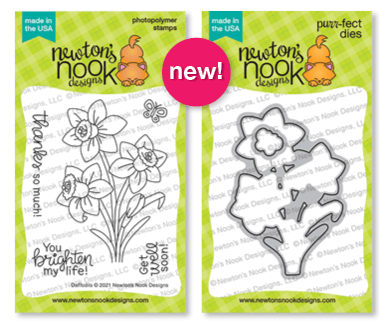
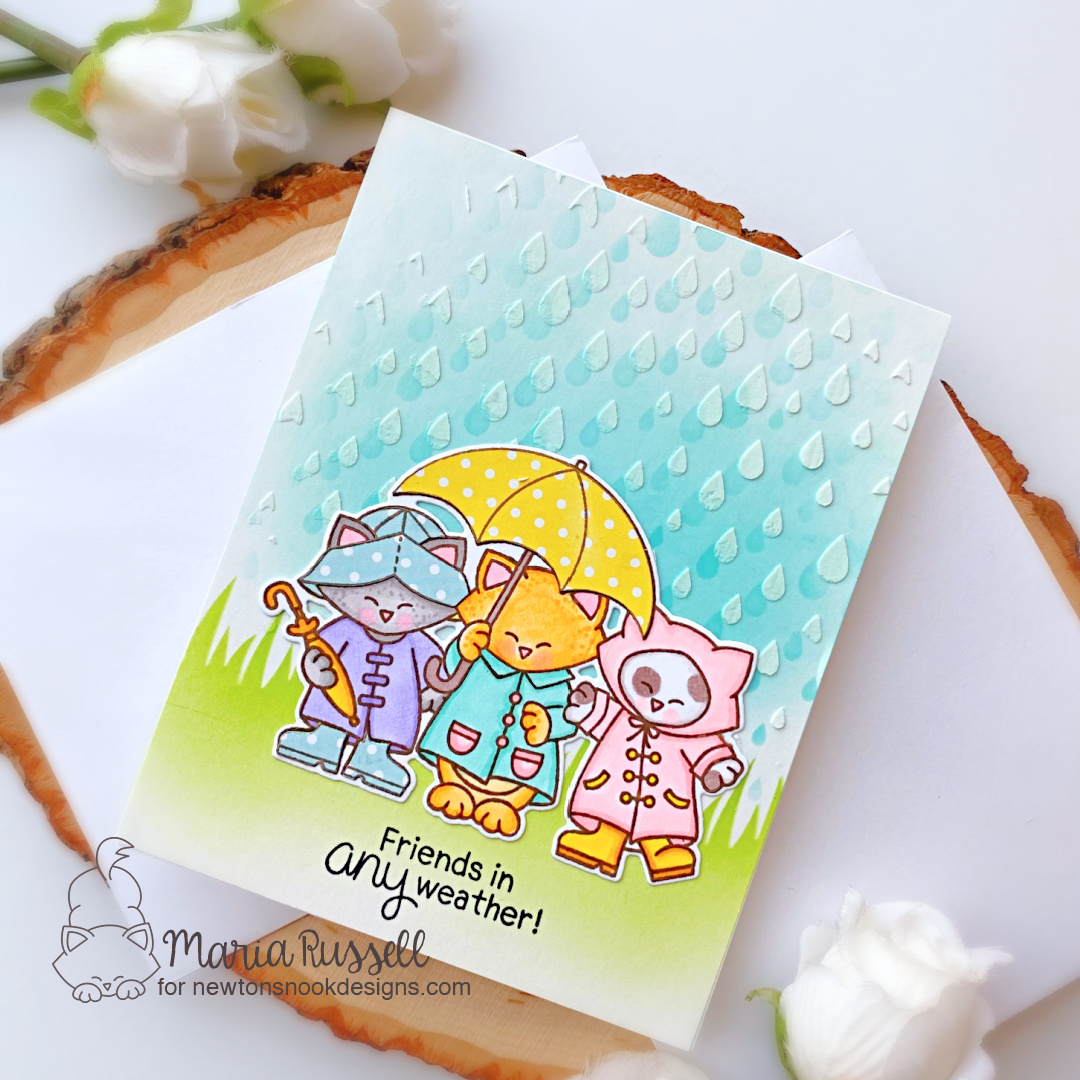
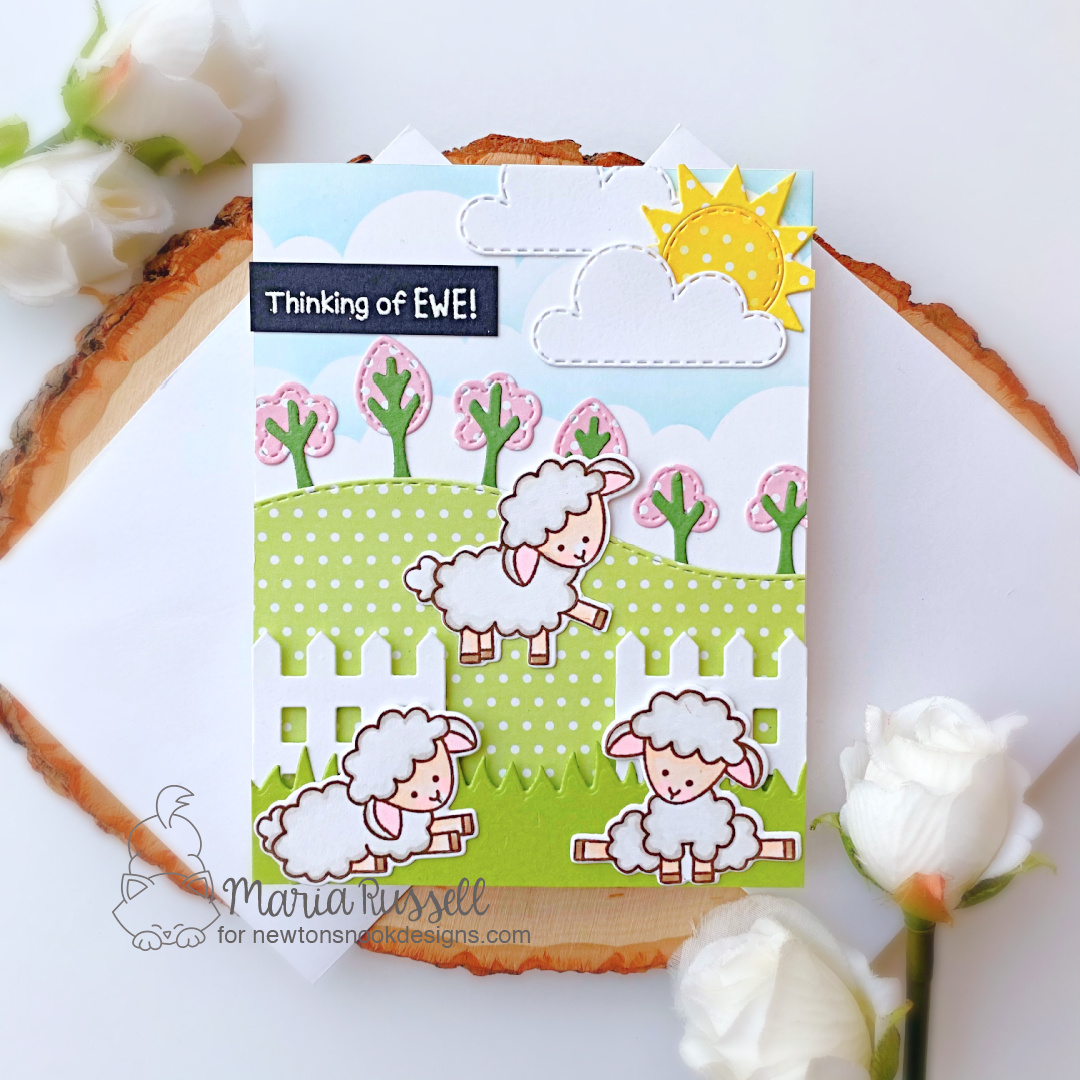
For Day 4, we are showcasing the Newton’s Rainy Day Trio stamp set and coordinating dies along with the Daffodils stamp set and coordinating dies.


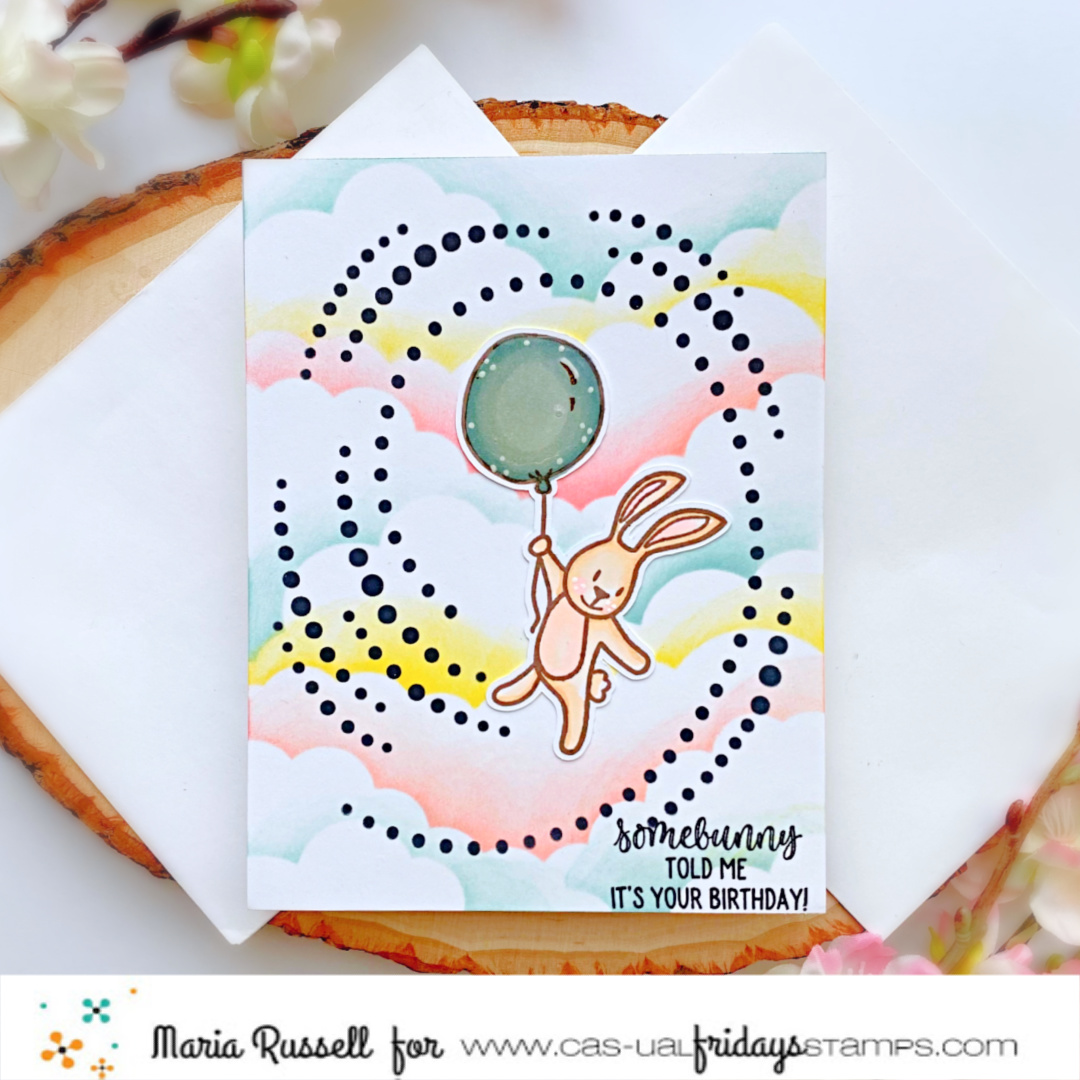
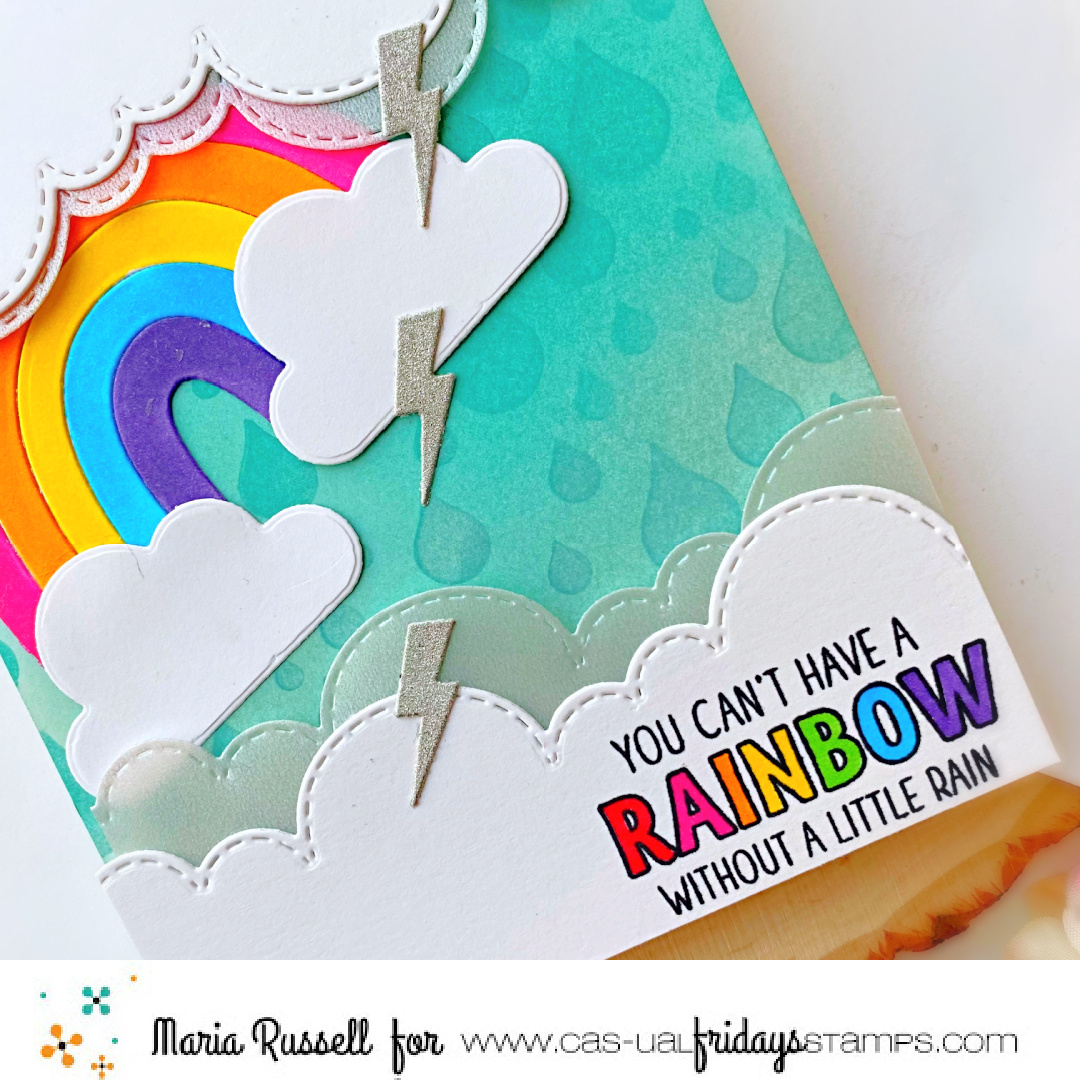
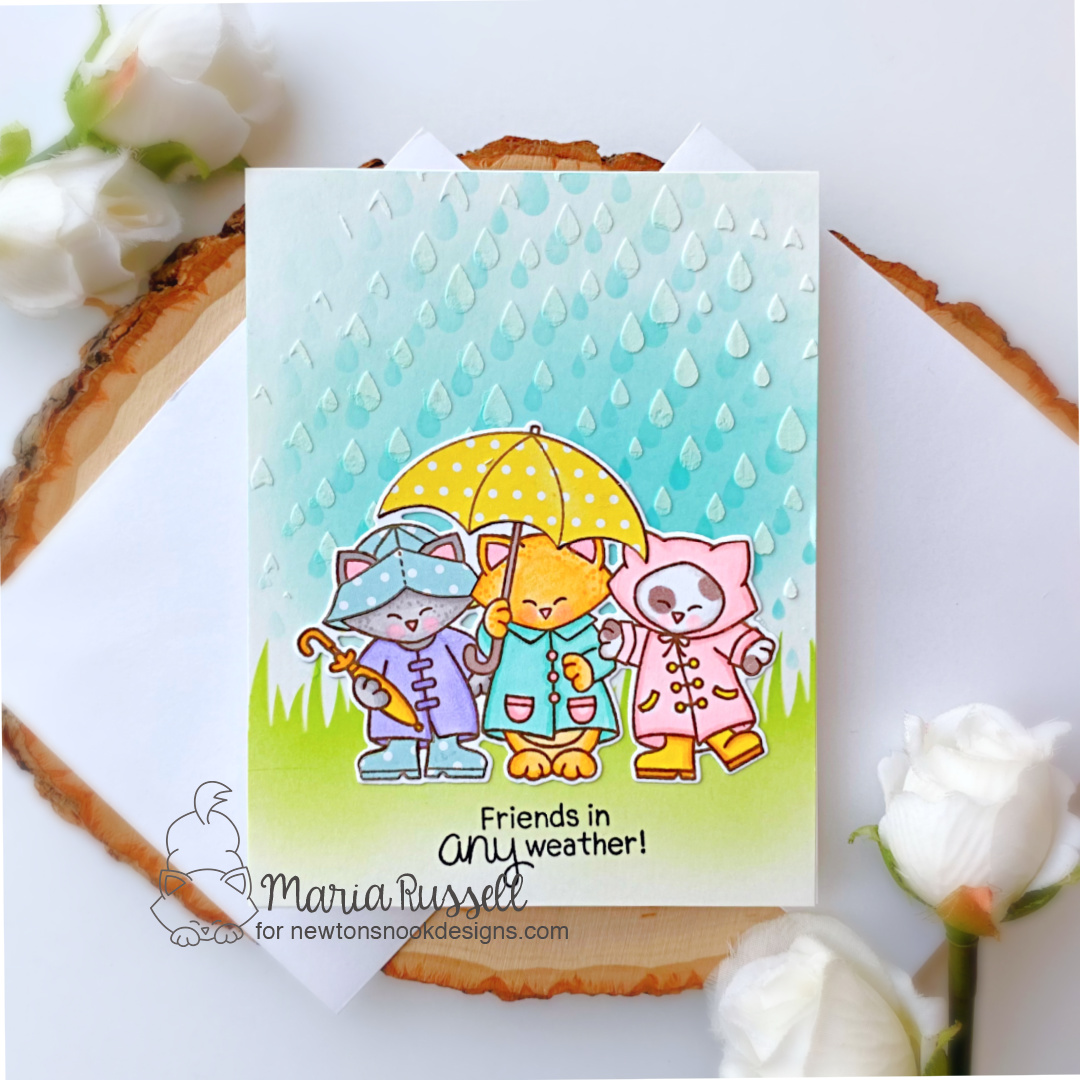
For my first card, I started with an A2 size panel of some Bristol smooth white card stock and created the background using the Hills & Grass stencil and Mowed Lawn distress oxide ink. To create the rain, I used the Raindrops stencil. with Peacock Feathers distress oxide ink. I slightly offset the stencil and used some texture paste for added texture and dimension. I set this aside to dry for about 30 minutes.

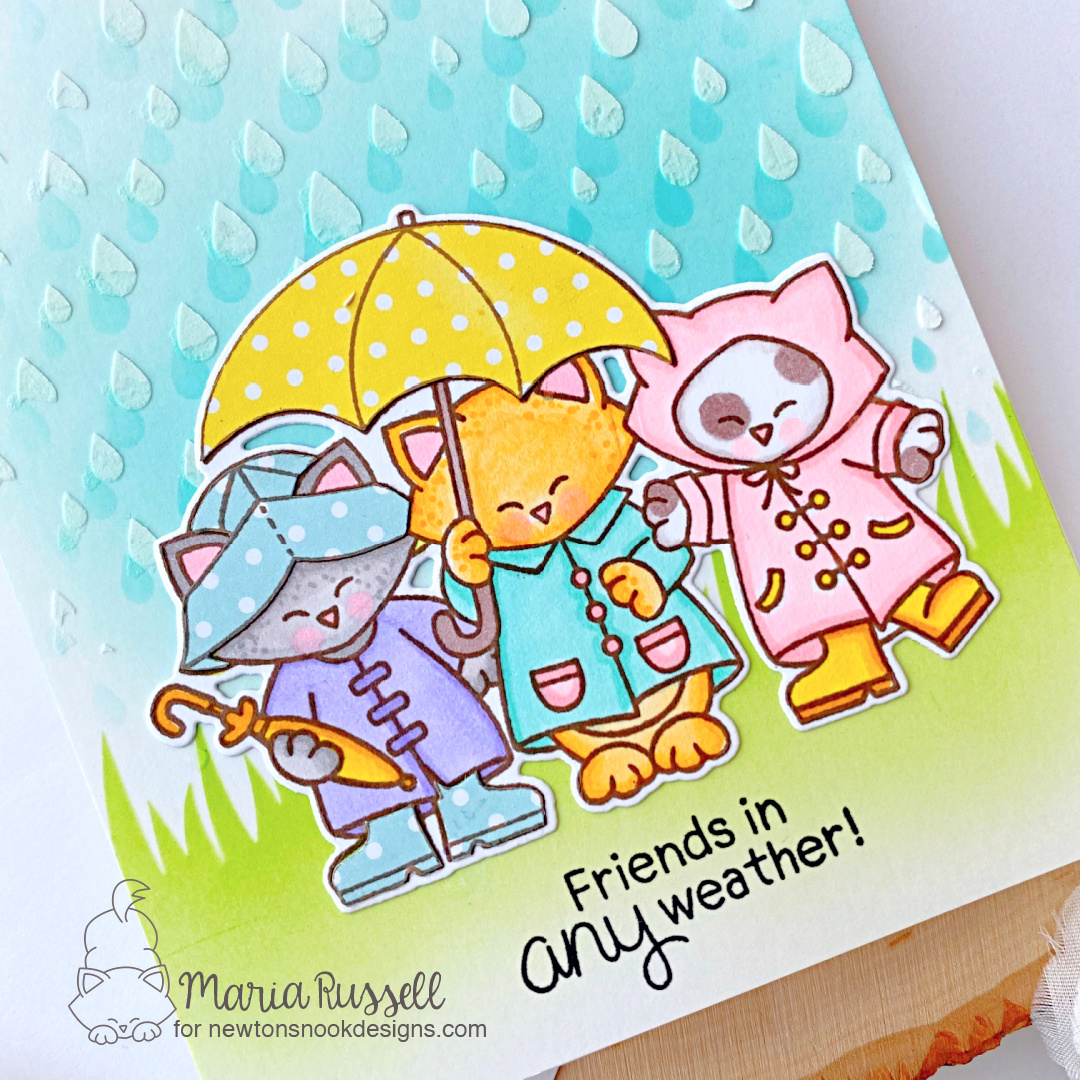
I stamped my images on some Neenah solar white with Memento Rich Cocoa ink. I colored the images in with alcohol markers and positioned my dies with some purple tape to die-cut them out. I originally colored the gray kitty’s hat with a different color and it just didn’t look good. I thought about throwing the image and stamping again but since I already spent too much time coloring the other kitties, I decided to keep it. I stamped the hat and boots on a patterned paper and fussy cut them with my precision snips, so that I can paper-piece and cover my mistake! I adhered them with liquid glue. I did the same thing to the umbrella.

I adhered the image on the card panel and added to an A2-size notecard. I finished my design by stamping the sentiment with Versafine Onyx black ink.

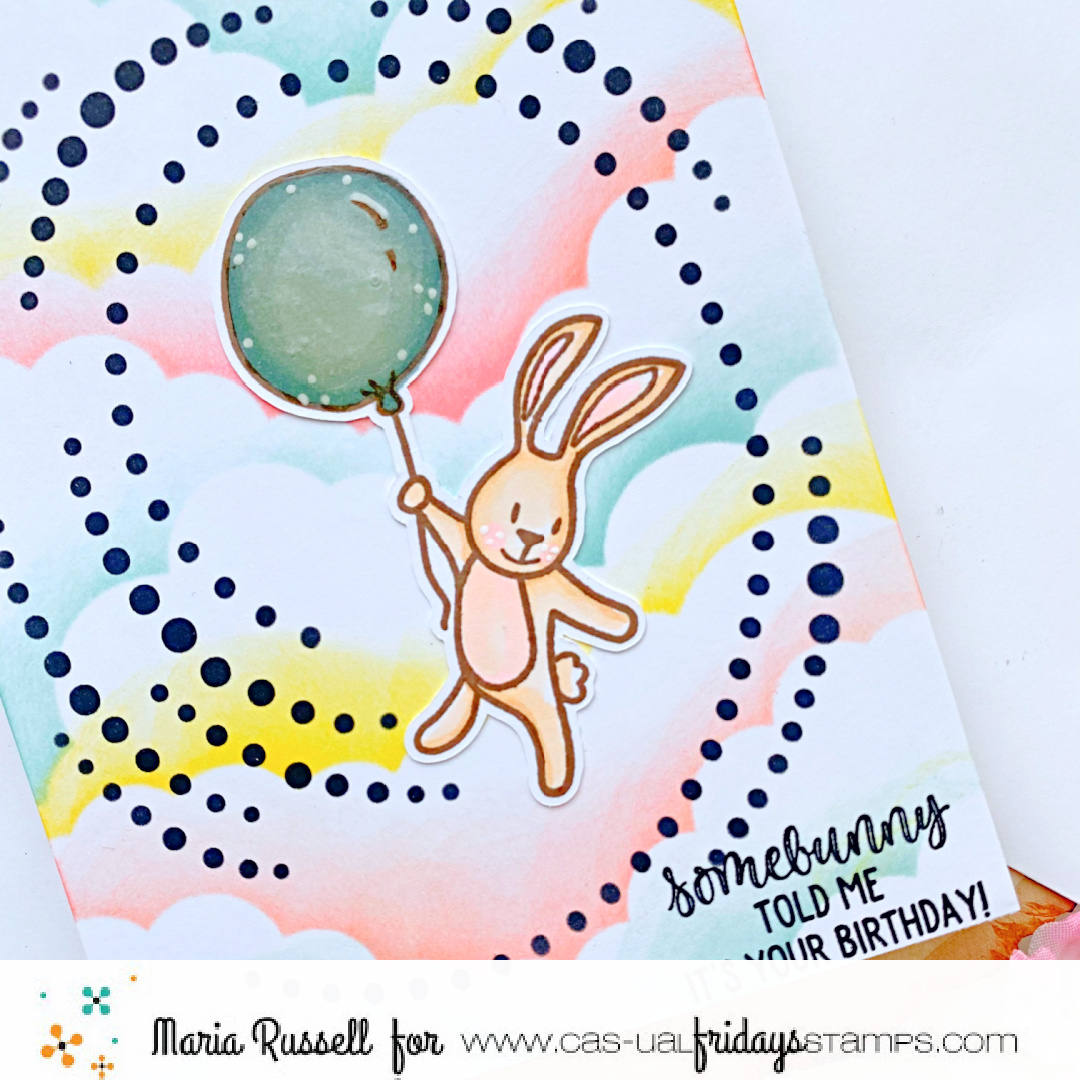
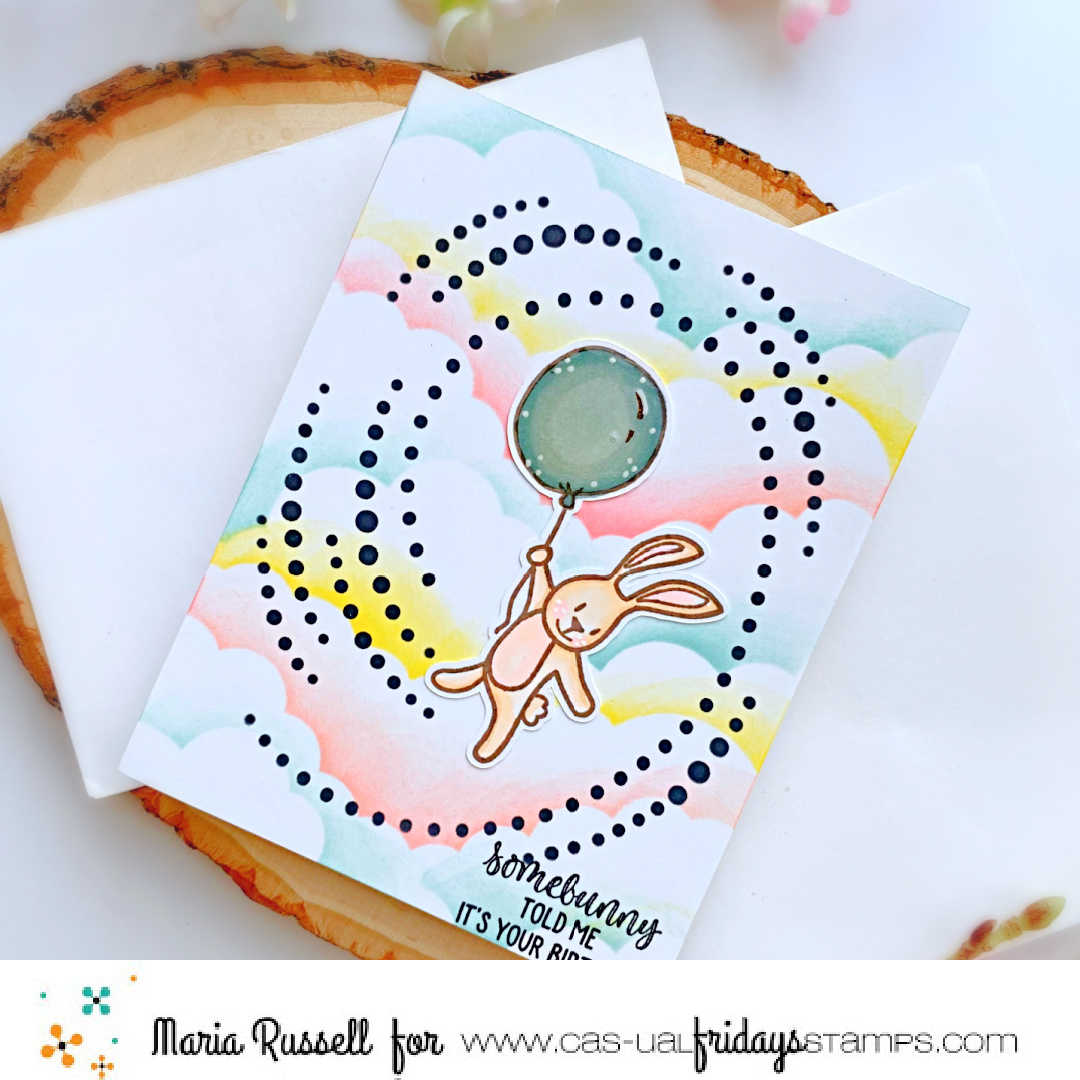
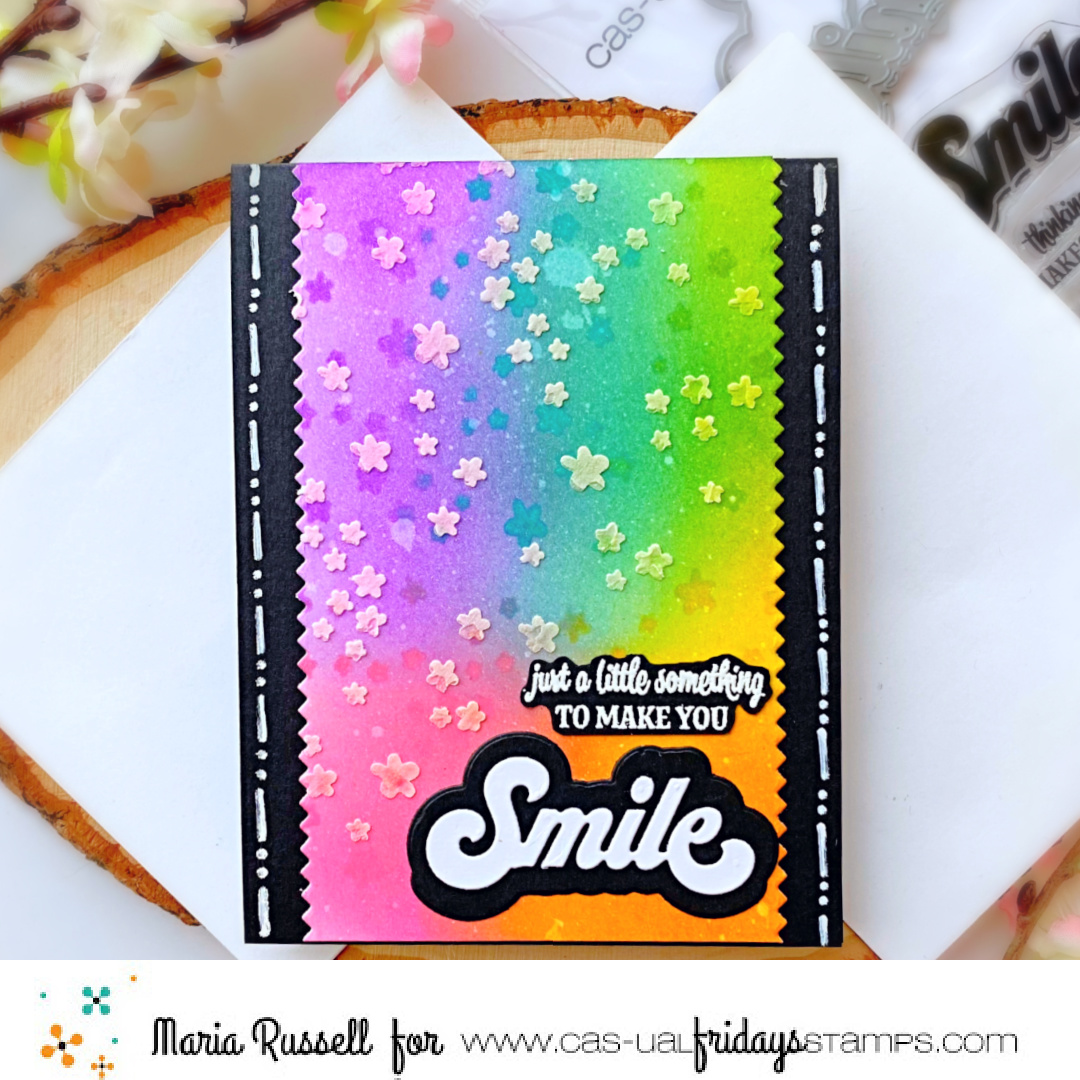
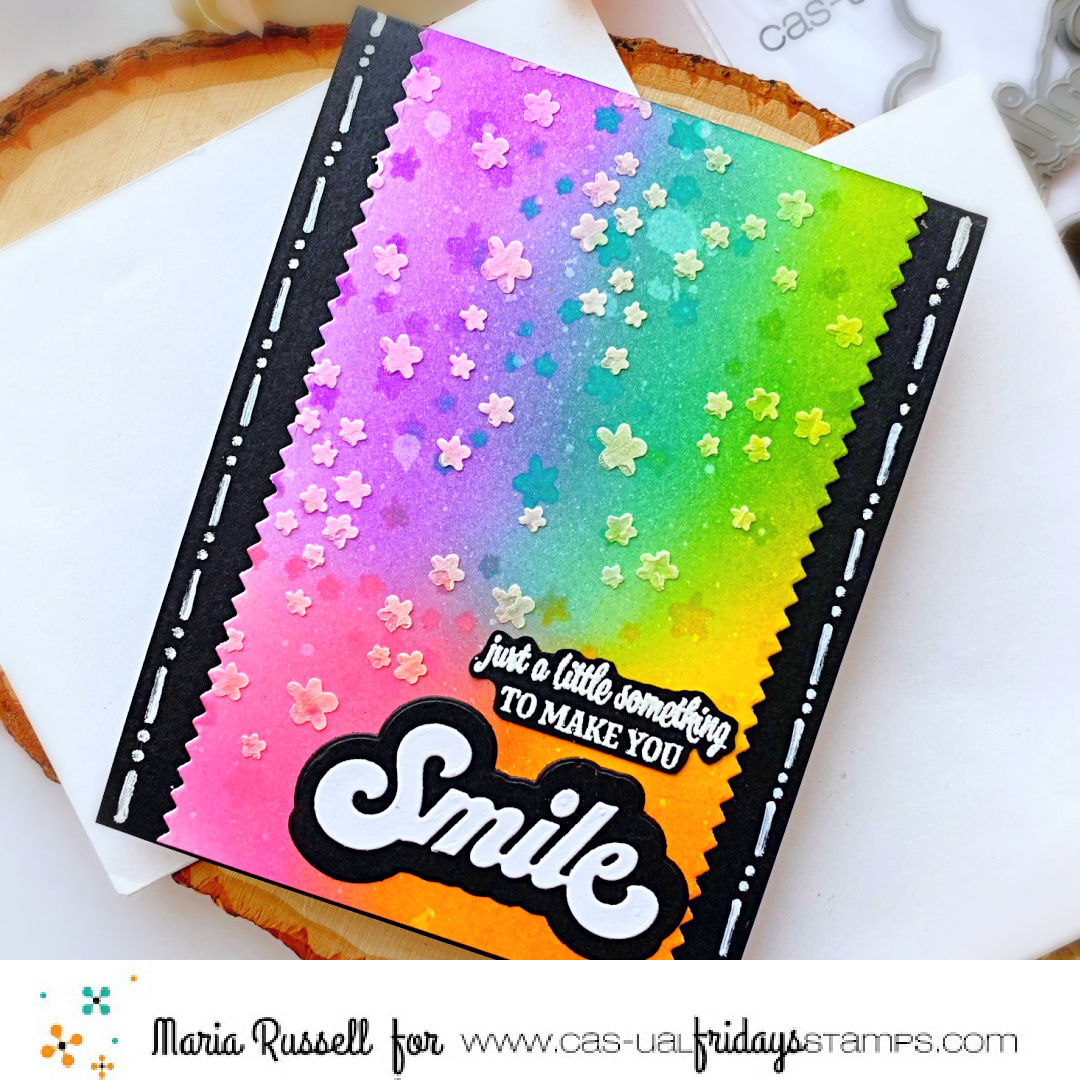
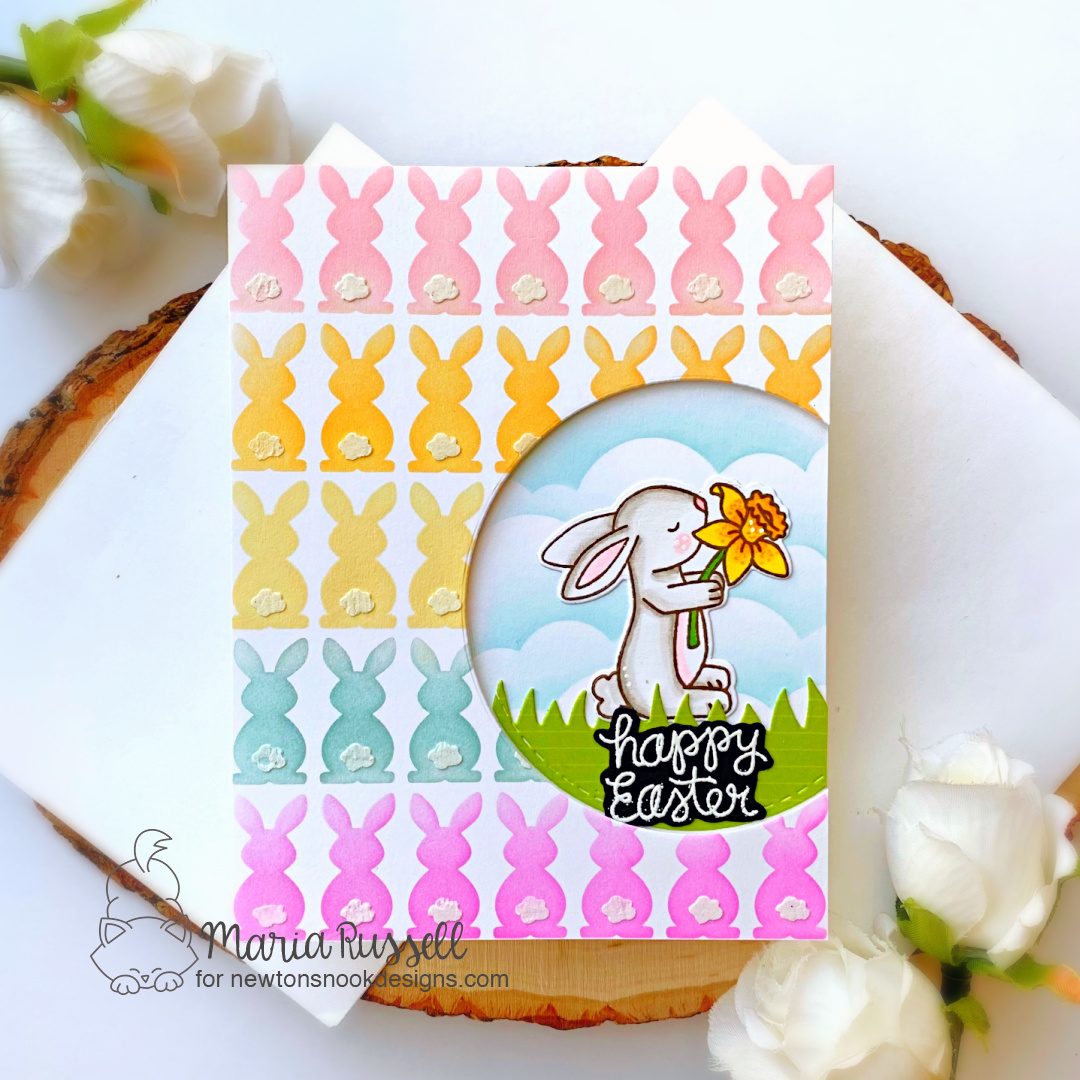
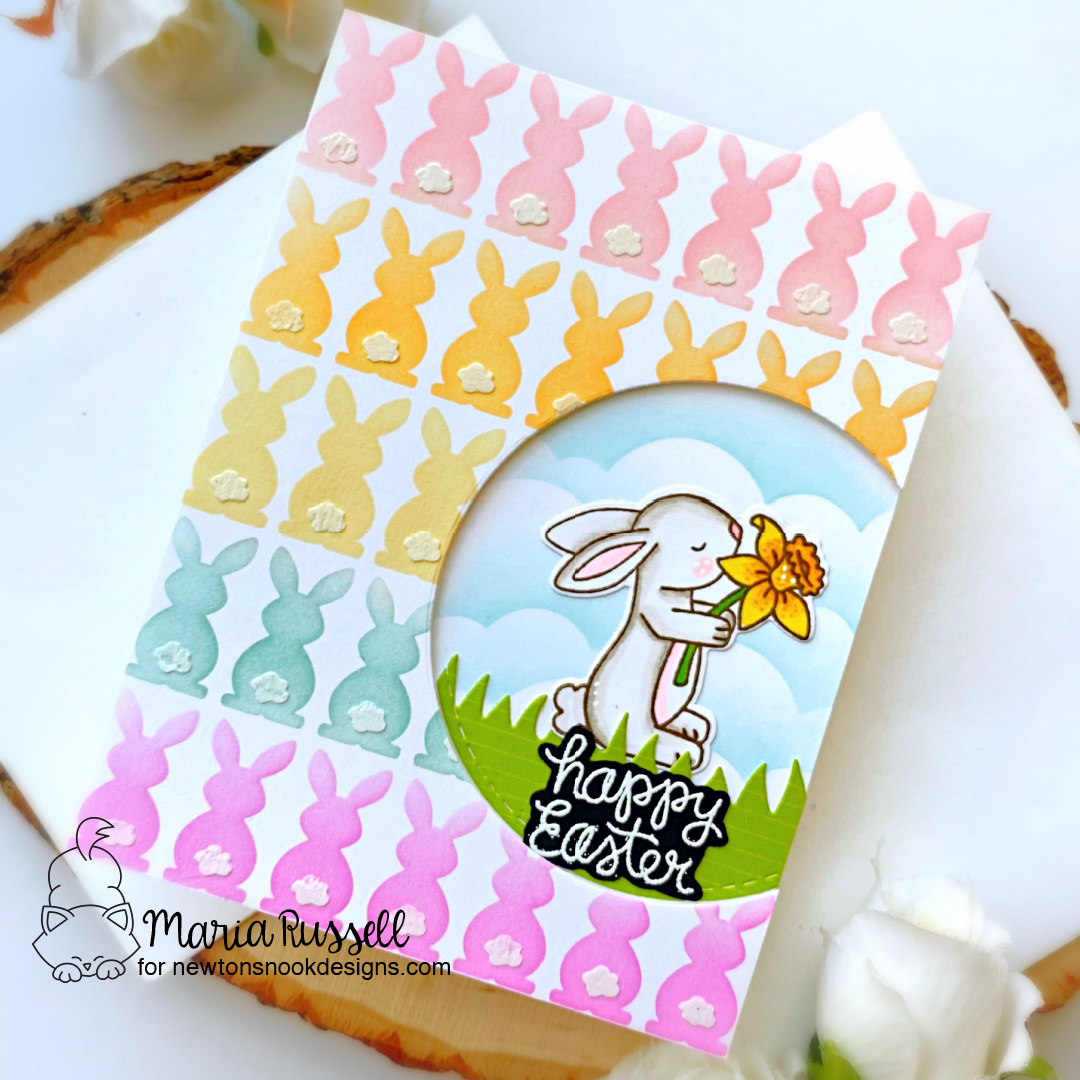
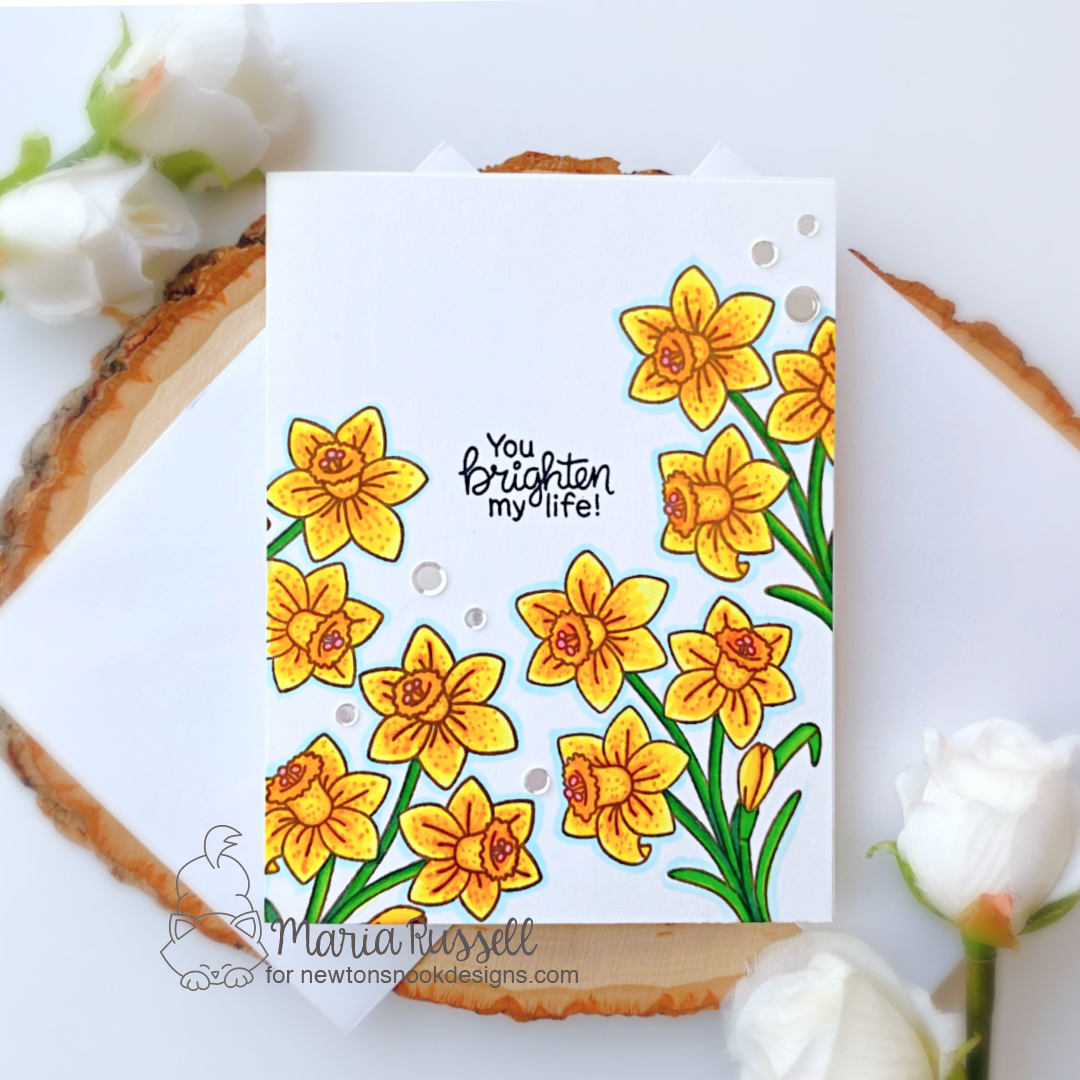
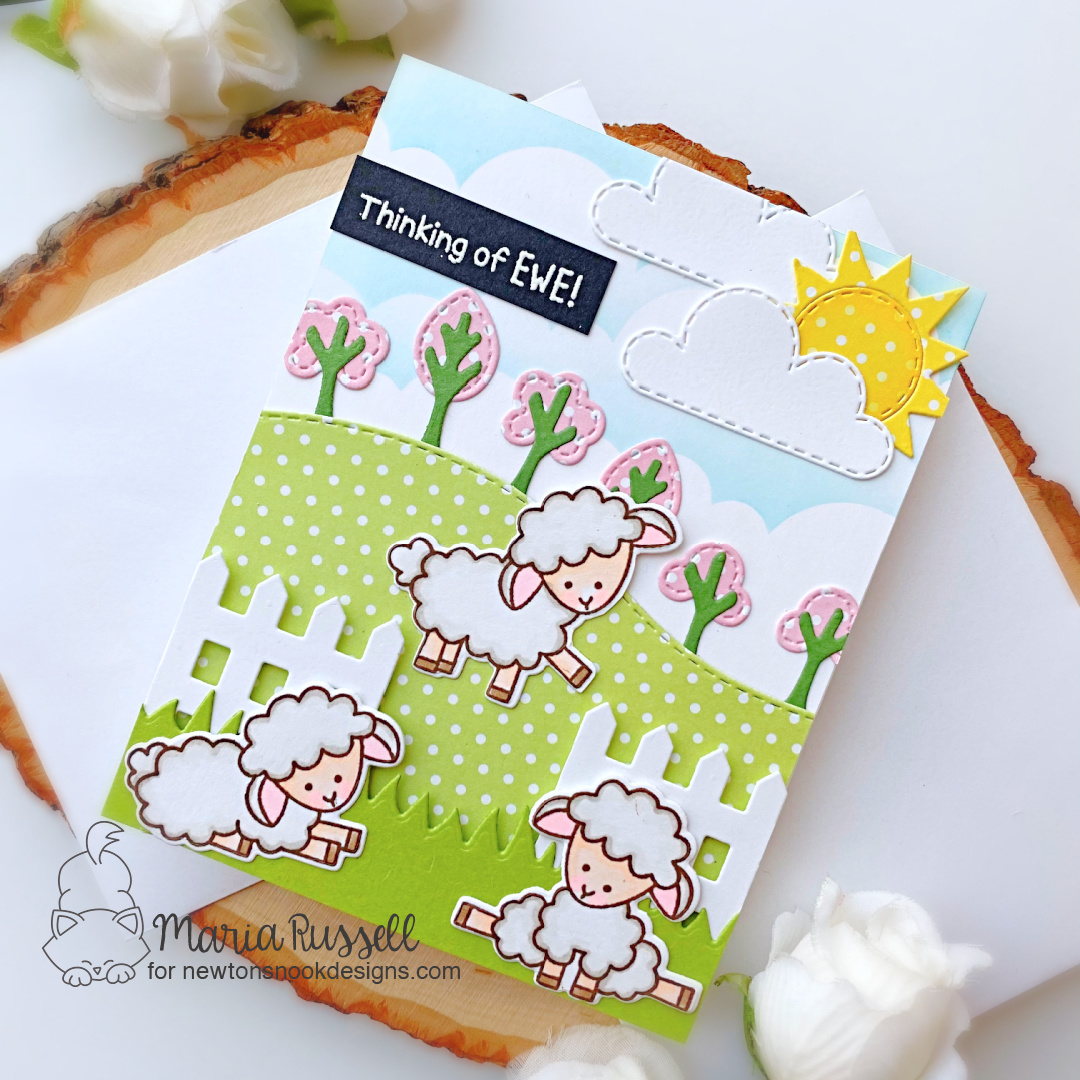
The next card below is fairly simple. I stamped the images a few times on some Neenah solar white card stock and used my Spectrum Noir alcohol markers to color them in.

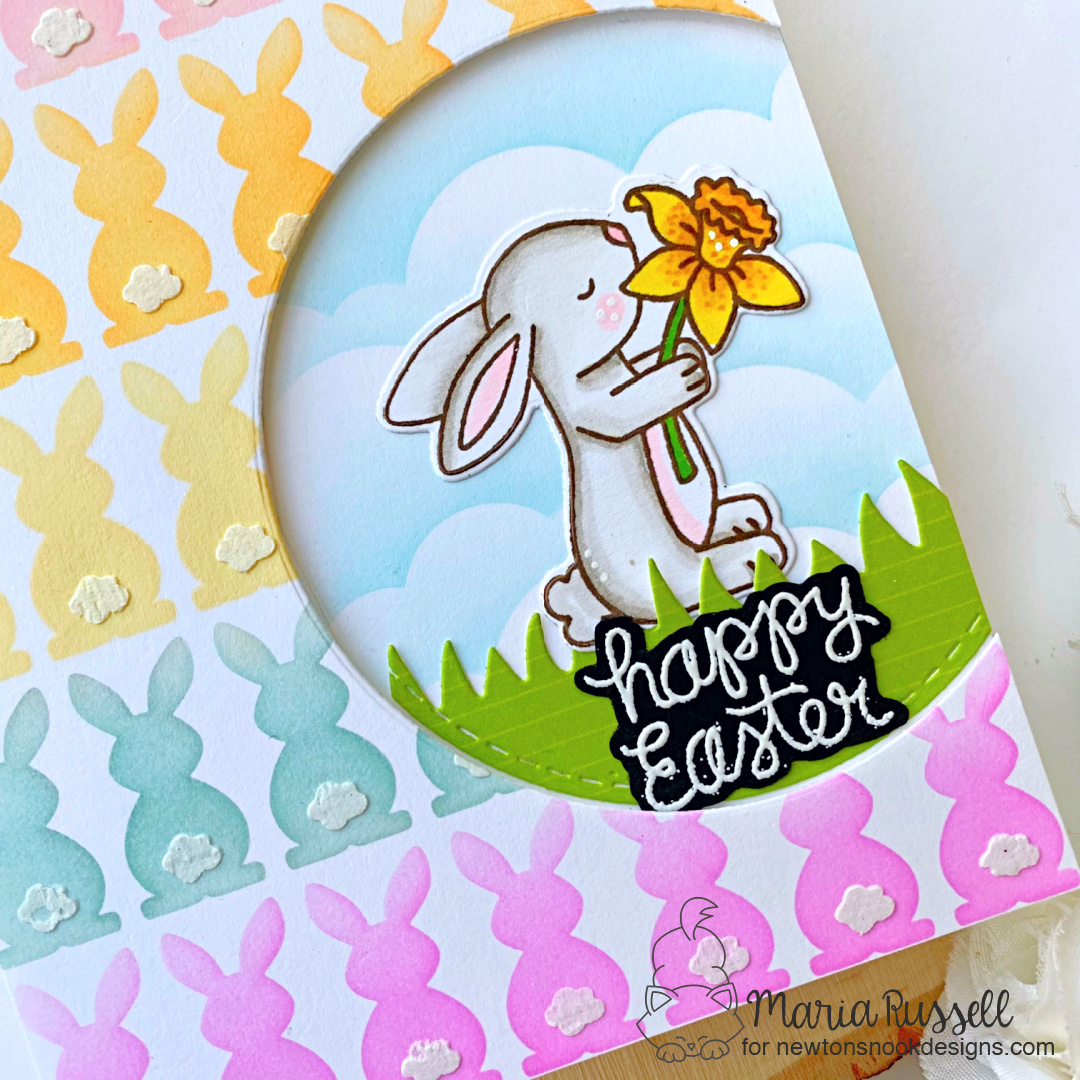
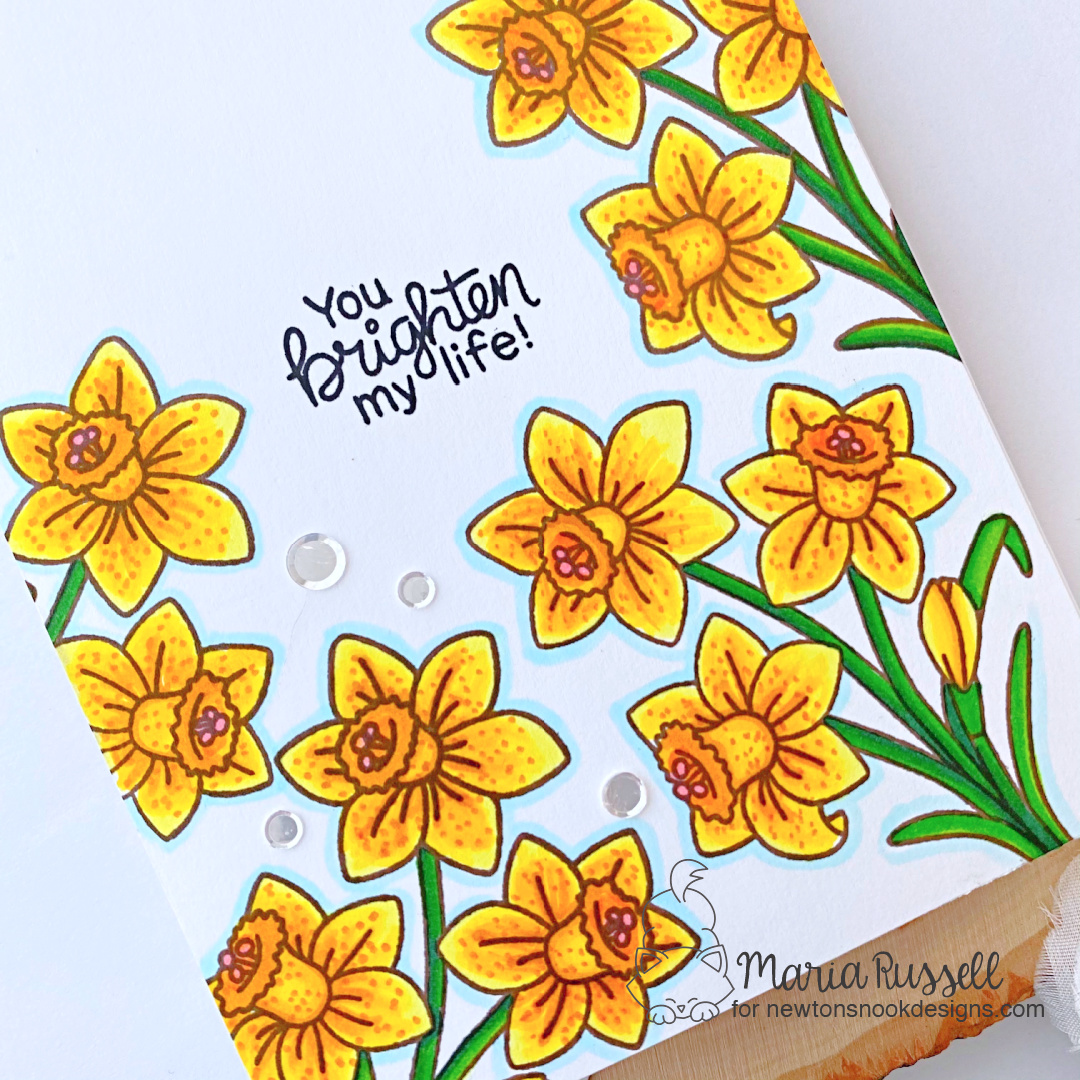
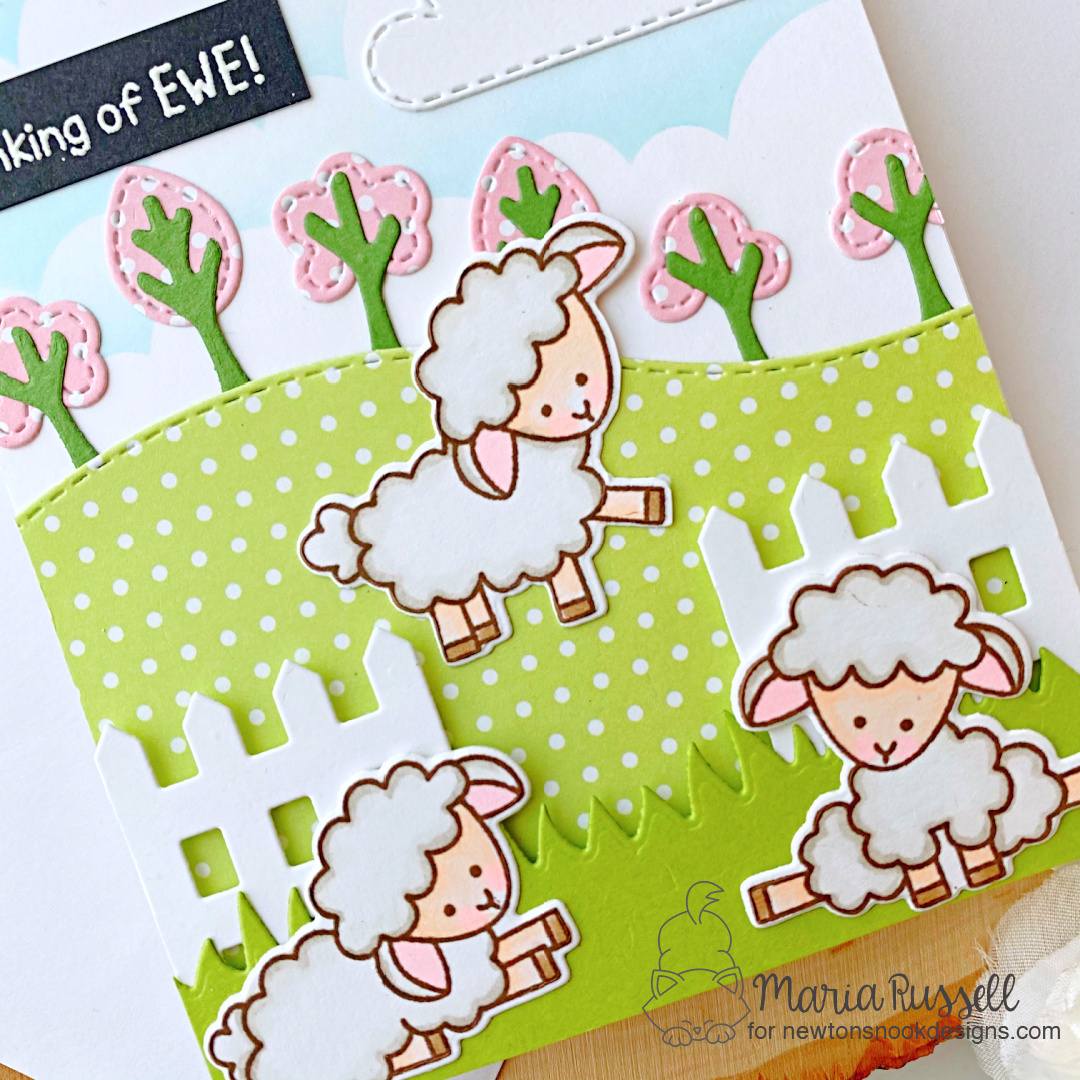
I used the darker marker to add some dots and more texture to the flowers, and also gave it a slight tint of blue outline to make them stand out. This brought it to life as you can see on the close-up below!

I finished my design by stamping the sentiment with Versafine Onyx black ink and added some White AB solid confetti mix.
Would you like to win the “Newton’s rainy Day Trio or the “Daffodils” Stamp Set? We will choose ONE lucky winner for each stamp set!
Here’s how to win: Comment on the NND blog and Design Team blogs (see list below)! The winner will be chosen at random from the collective reveal posts. Make sure to check out each of their blogs and comment for your chance to win. You will not know which blog has been chosen so the more you comment on the better your chances are of winning! You have until Thursday February 18th at 9pm EST to comment — winners will be announced on the blog post on Friday, February 19th.
Check out all the awesome Design Team Blogs below to enter:
Newton’s Nook Designs
Ellen Haxelmans
Tina Herbeck
Larissa Heskett
Samantha Mann
Zsofia Molnar
Maria Russell (you are here)
Farhana Sarker
Tatiana Trafimovich
Samantha VanArnhem
Amanda Wilcox
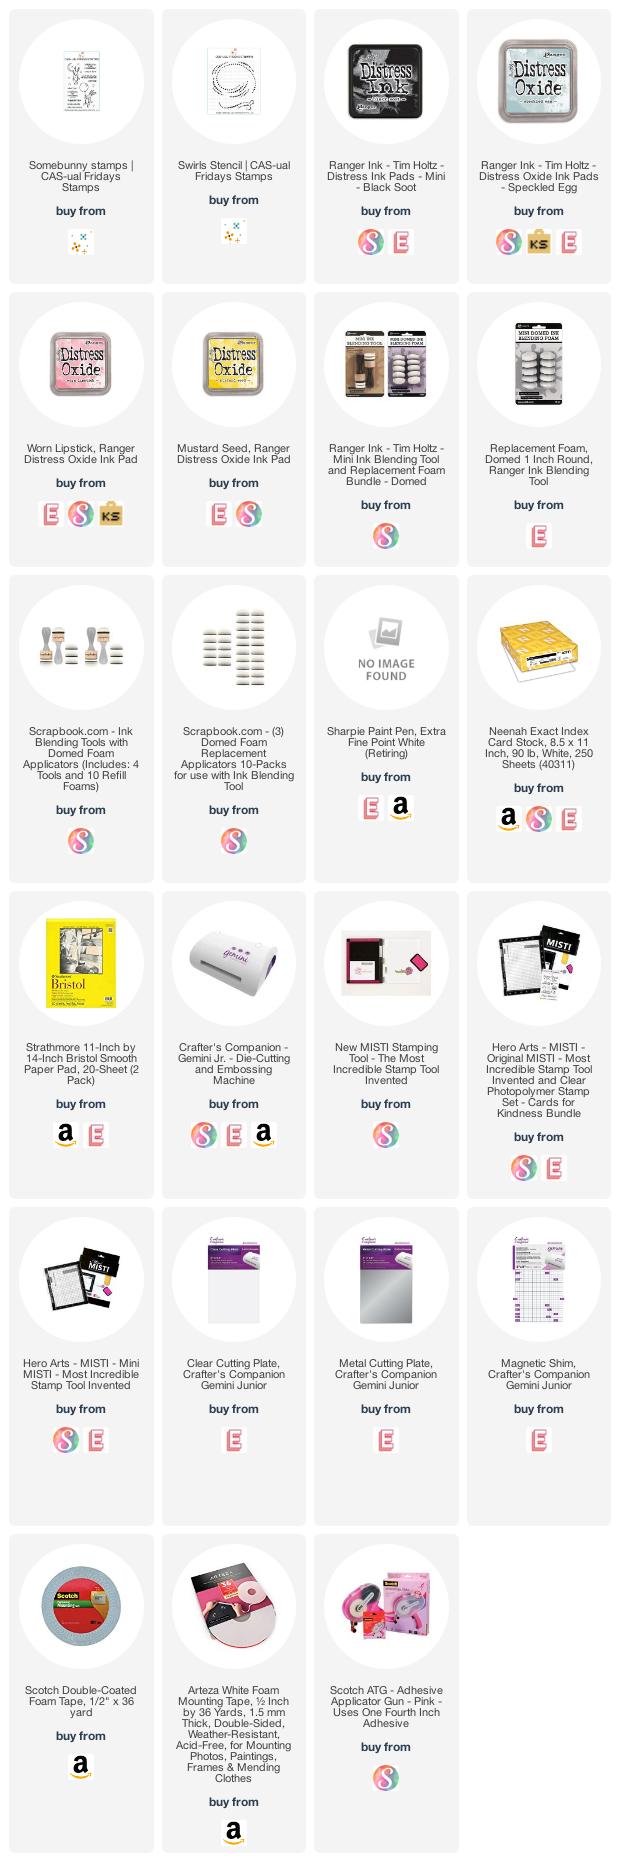
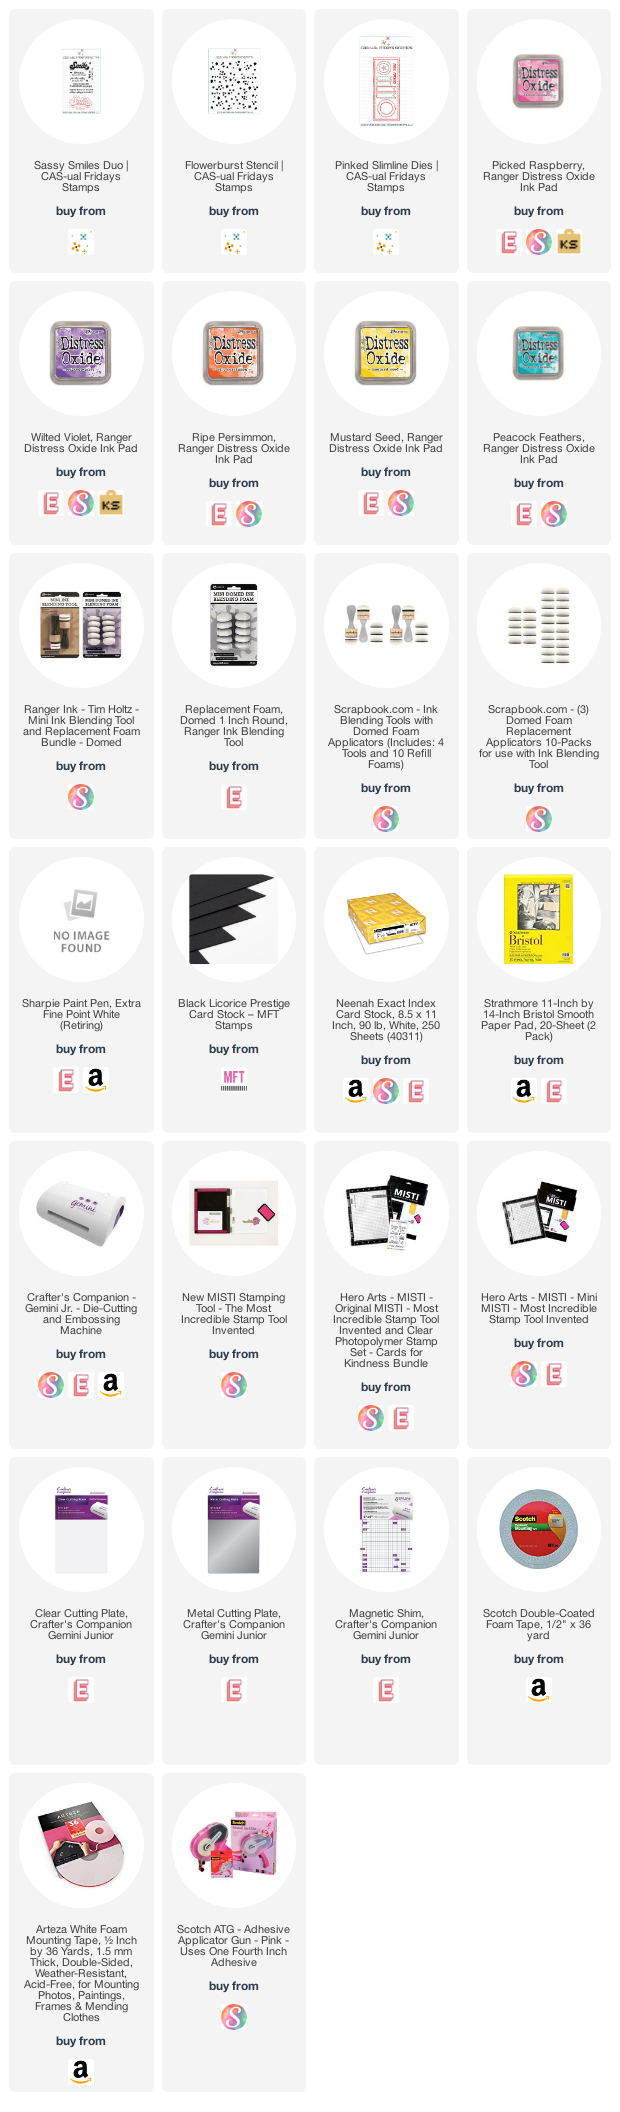
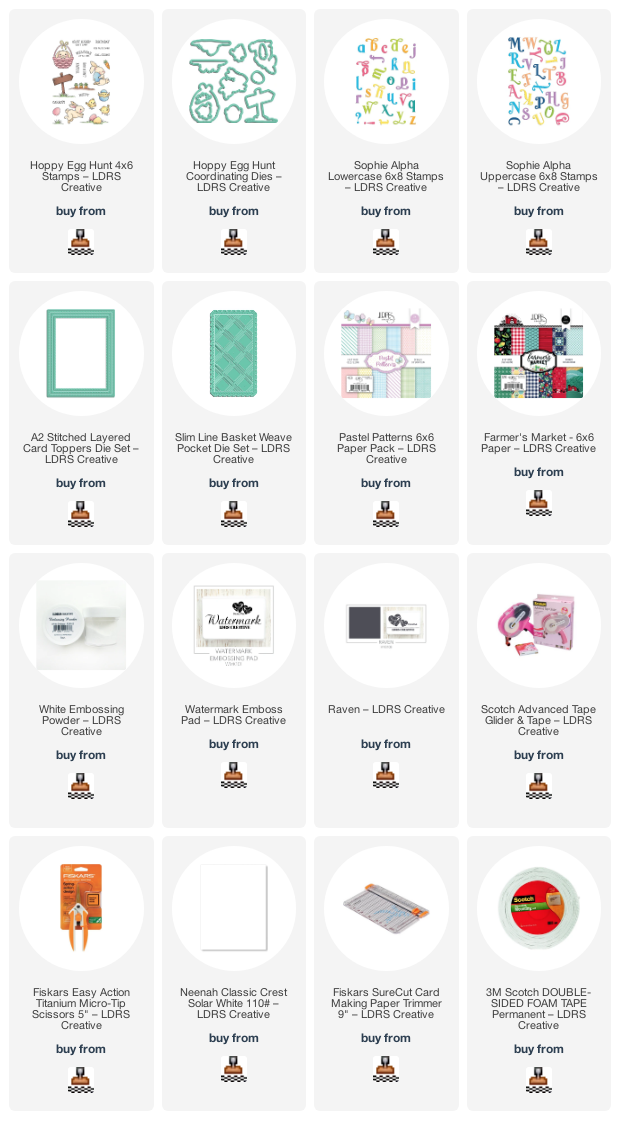
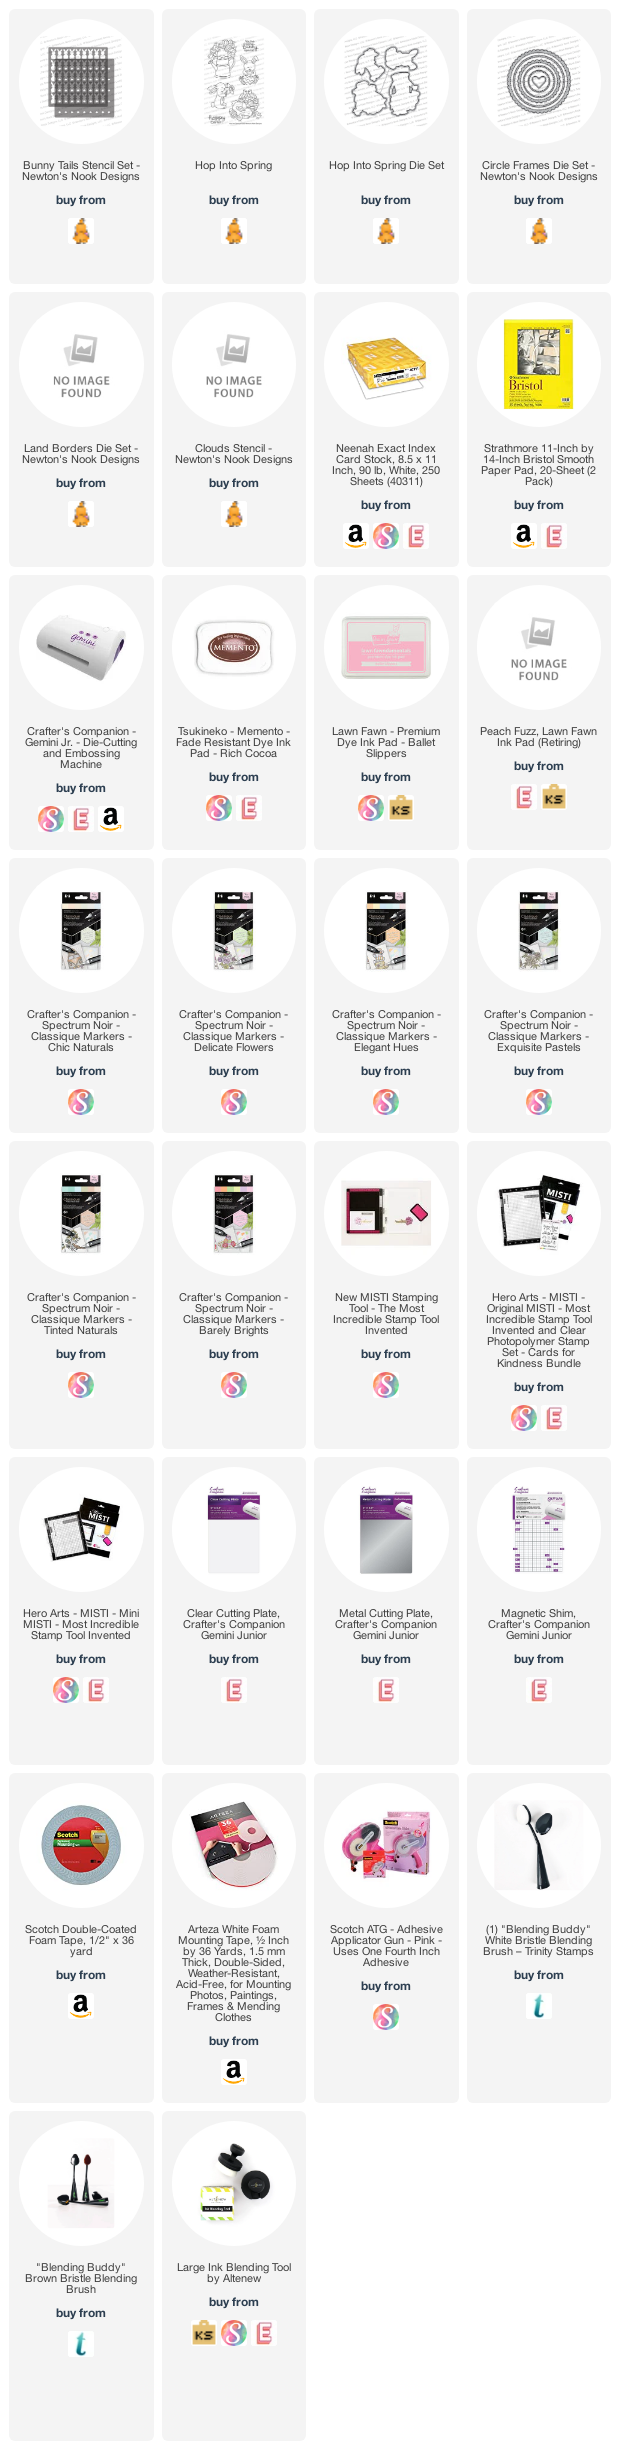
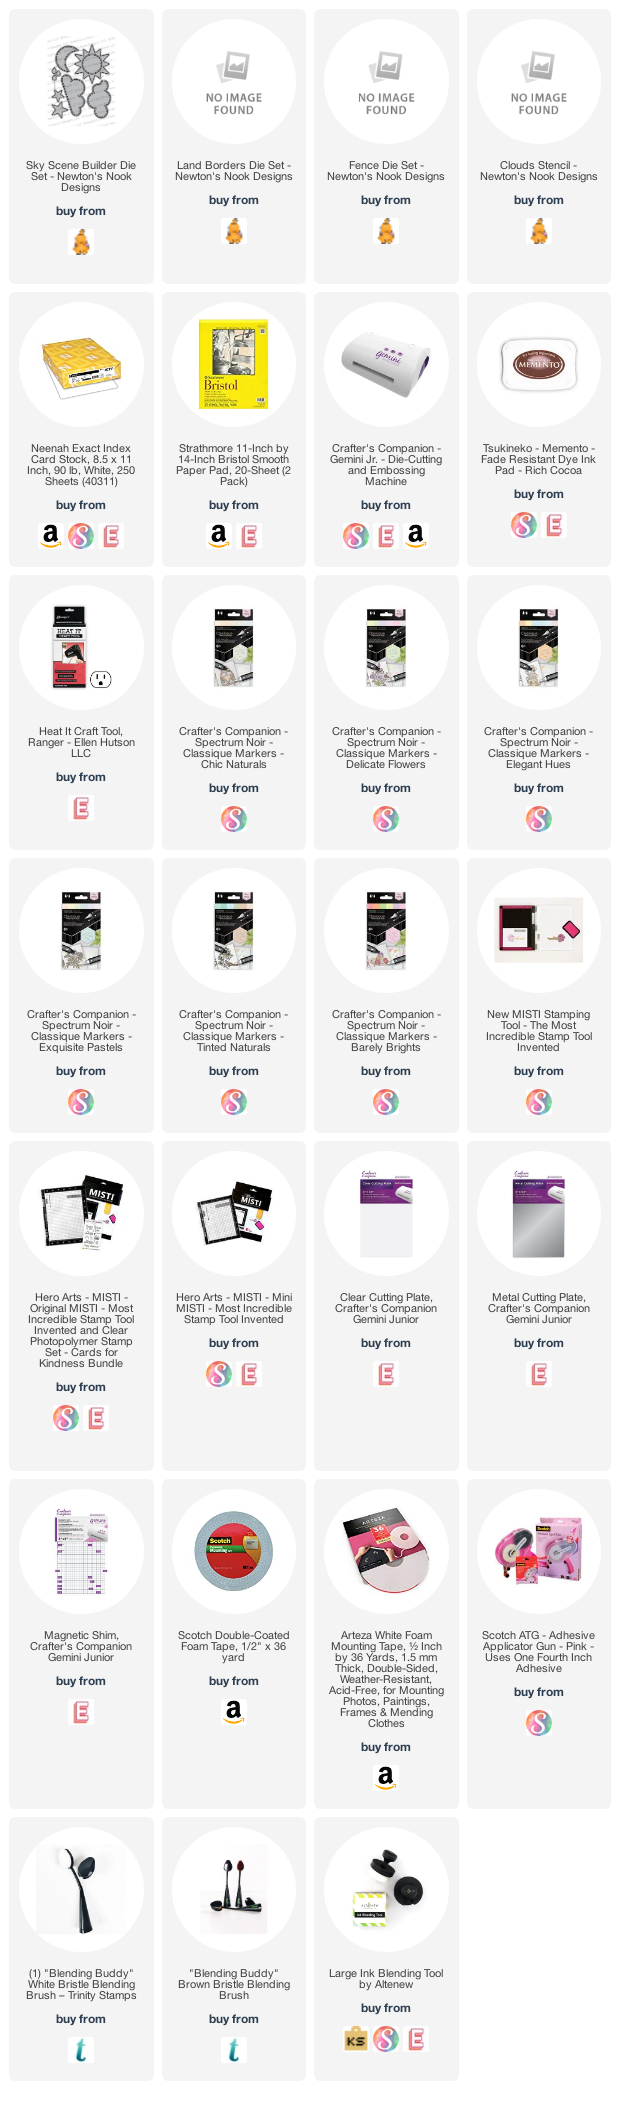
———-SUPPLIES———