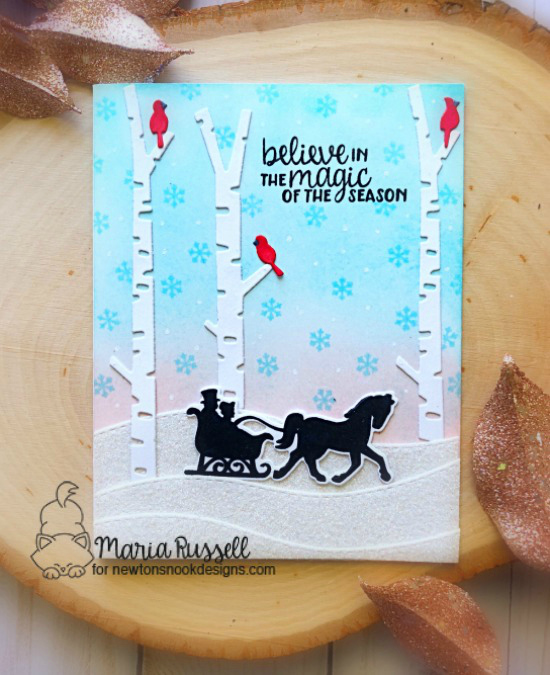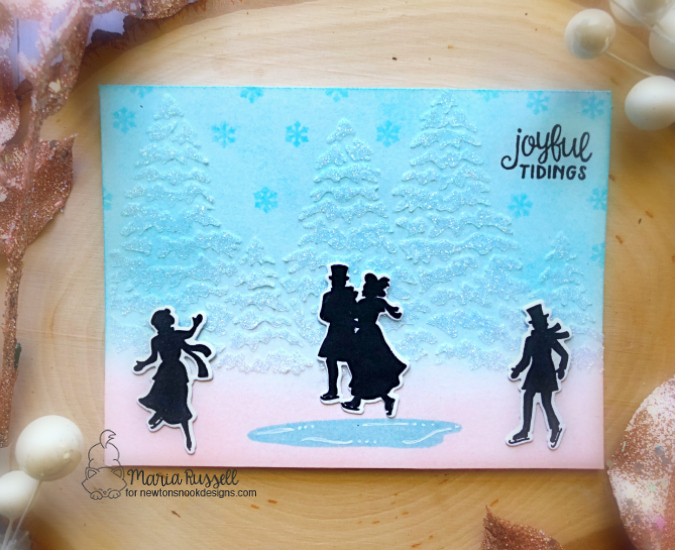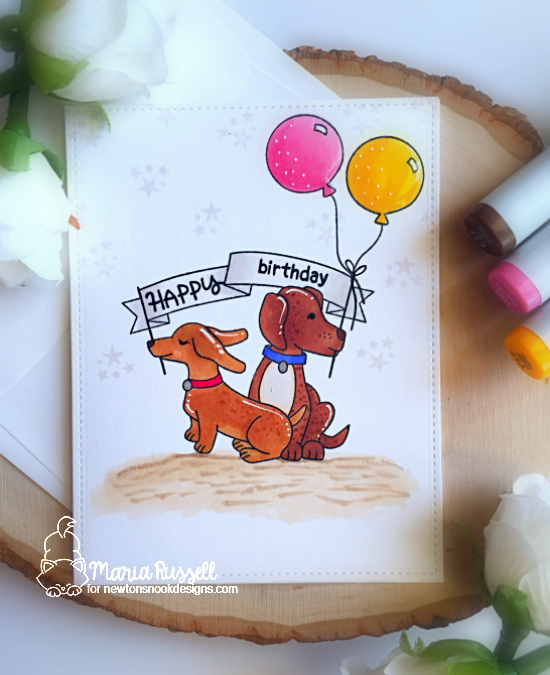


I hope you like my card today. Would you like to win a $25 store credit to Newton’s Nook Designs online shop? We will choose one lucky winner from our Hop!
Here’s how to win:
Check out all the awesome Design Team Blogs below to enter:


I hope you like my card today. Would you like to win a $25 store credit to Newton’s Nook Designs online shop? We will choose one lucky winner from our Hop!
Here’s how to win:
Check out all the awesome Design Team Blogs below to enter:
Hello my crafty peeps! Today is National Coffee Day and since I belong to 3 design teams, you will be getting 3 posts in relation to this.
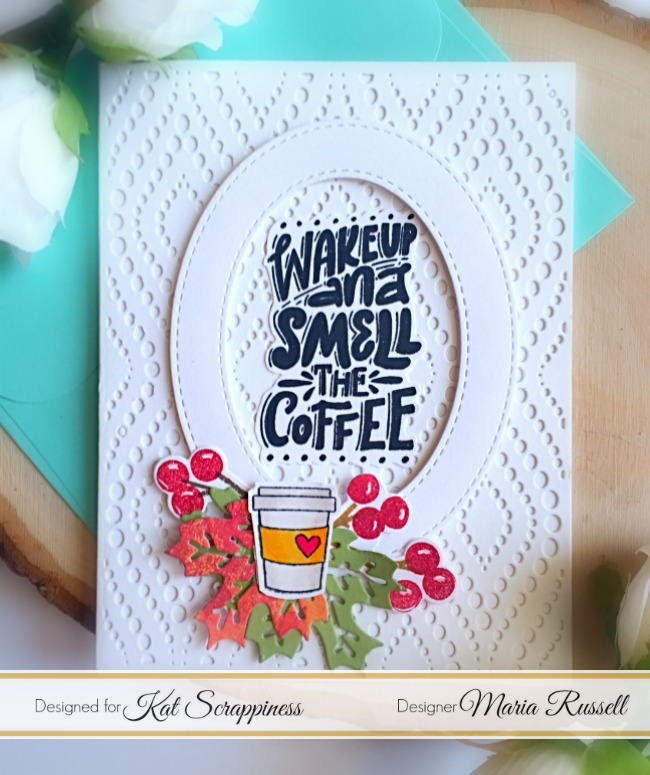
For my project today, I am showcasing the Let’s Get Caffeinated stamp set, with the Peacock Backdrop die and the double-stitched oval dies. Kat Scrappiness is also giving away two $25.00 gift cards to Kat Scrappiness shop, as well as a SECRET coupon code! Please go to http://www.katscrappinessblog.com to enter.

To enter the giveaway, simply leave a comment on the Kat Scrappiness blog post letting us know your favorite coffee related project from her blog post today as well as your favorite Coffee Related Product at Kat Scrappiness. Kat Scrappiness will choose TWO winners who will each win a $25 gift card to Kat Scrappiness to spend as you’d like! We will announce the two winners on Monday, October 8th right here on our blog! Here’s another look:
Remember that secret coupon code I mentioned at the beginning of this post? Here it is! Save 15% on all Coffee related items at Kat Scrappiness…WAIT A MINUTE! Let’s just make it 15% off EVERYTHING IN THE STORE!!! Just Use coupon code:
Coupon is valid from 9/29 – 10/1 at http://KatScrappiness.com Happy crafting!

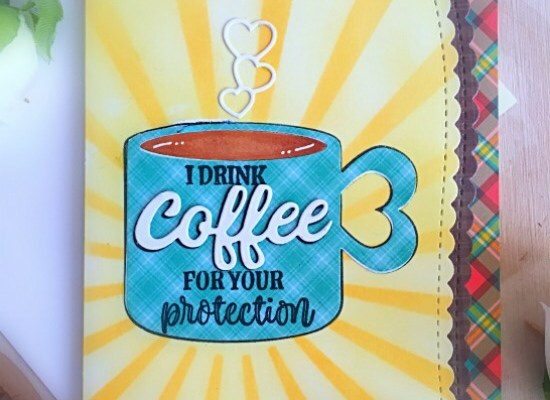
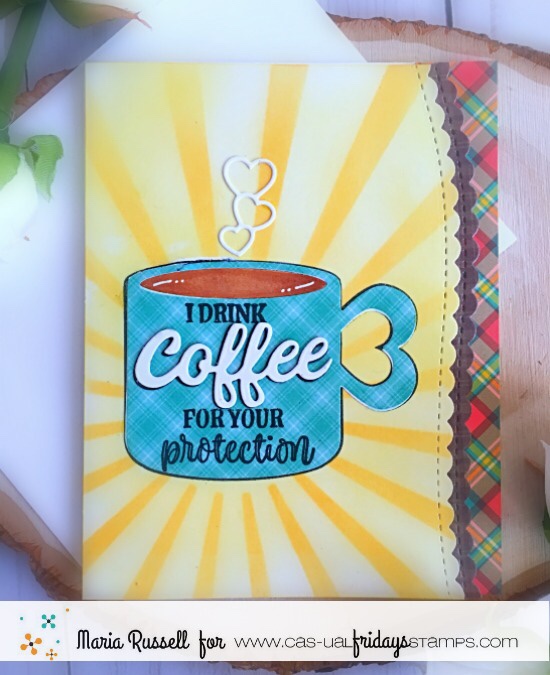
Today is National Coffee Day and we are doing a little blog hop at Cas-ual Fridays Stamps. For my card today, I am showcasing the Coffee Cup Fri-Dies with the Coffee Talk stamp set and Cup of Coffee stamp set.
I started by stamping my coffee cup stamp onto some patterned paper. I used the Coffee cup fri-dies to die-cut the image. I stamped my sentiment using the Coffee Talk stamp set and also used the “coffee script die to die-cut the coffee. I adhered this piece on my coffee cup.
On a piece of Bristol smooth card stock, I used a sunburst stencil to color my background with some distress oxide inks. Here is my card:
I really love how this card turned out. I used my white gel pen to add some details to my card. Here’s another look:
I hope you guys like my card today. Please visit Car-ual Fridays stamp to purchase the stamps and dies I used today. Don’t forget to use my coupon code below to get 15% off your order.
Hello everyone! This week, the Kindred Stamps is super busy with the September product release. The entire Kindred Stamps September release will be available on Friday, September 21 at 8 am PST/11 am EST. Be sure to check out the Kindred Stamps blog on Friday for the full product release as well as the complete line up of all the Kindred Stamps Design Team projects from release week! If you visit and comment on all of the designers’ blogs this week, you could win $15 in Kindred Stamps shop credit! So join the Fan Club and event, show the design team some love, and get ready to empty those wallets this Friday!
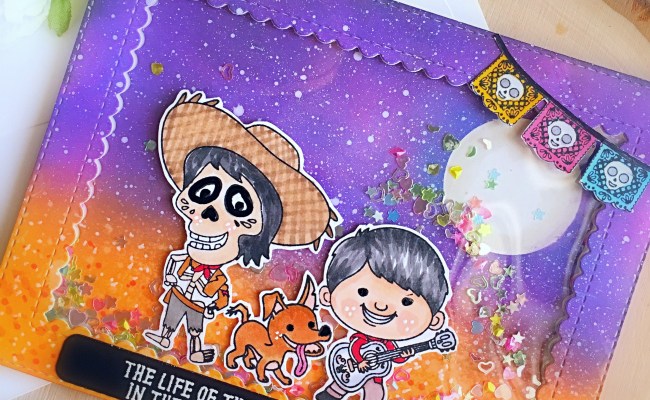
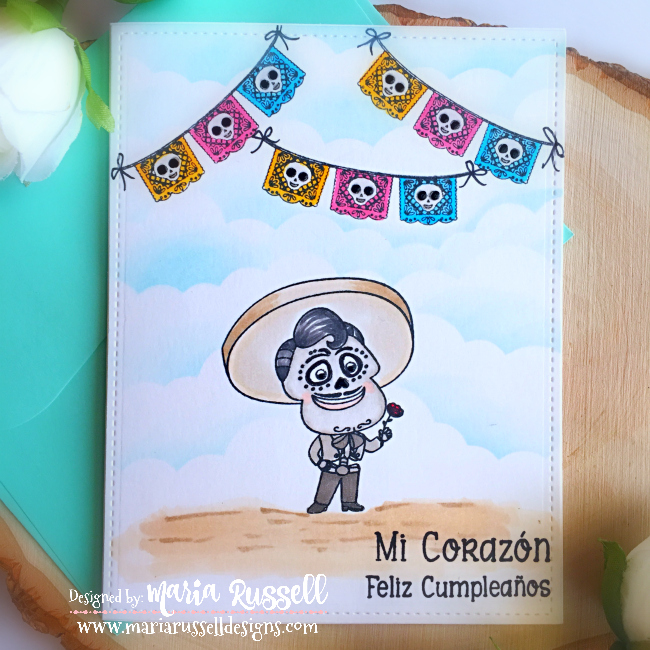
For my projects today, I am showcasing the Day of the Dead 4 x 6 stamp set. I’ve always loved the Day of the Dead images. For some reason, the colorful banners, sugar skulls and flowers cheer me up. I think this is probably because of my Latin blood.
I started out by cutting an A2 size piece of some Bristol smooth white card stock. I used my circle punch to cut a masking paper and applied it on my card stock. I inked up my background with some distress oxide inks, i.e. Seedless Preserves, Blueprint Sketch, Black Soot, Spiced Marmalade and Wild Honey. I smooshed some white paint on an acrylic block and added a few drops of water, then used my watercolor brush to splatter some white paint on my colored background. I let this piece dry for about half an hour, before die-cutting it with my Stitched Scallop Rectangle die.
I adhered the middle piece of the colored card stock onto my card base. I used my liquid glue to add a piece of acetate and also added some foam adhesive to my frame to create my well to hold my shaker element.

I used some light colored sequins as my shaker element and adhered the frame on my card base.

I stamped my images on some Neenah solar white card stock and colored the images in with my Copic markers. I fussy-cut the images with my precision scissors. I adhered these images onto my card.
To finish my design, I stamped the sentiment on black card stock and heat-embossed this piece with white embossing powder Here’s my shaker card:

Isn’t this stamp set so adorable? This card is so cheerful and is also perfect for Halloween. Here’s a closer look:

That little dog is the cutest ever! I think the sentiment I used is perfect for this card.
For my second card, I stamped the images on some Bristol smooth white card stock and also cut a masks to cover the images. I adhered the masks onto the images and I used my clouds stencil to ink up my background. I removed the masks and colored my images in with Copic markers. Here is the second card:

I LOVE all of the pop-culture stamps by Kindred Stamps! I think the images are proportionately sized for an A2 size card. You can also used these stamps creating a scrapbook layout. They are also perfect to use for your planners or traveling journals. Here’s a little close-up:

I hope you like my projects today. Please visit Kindred Stamps to purchase the stamp set I used today. Happy crafting!

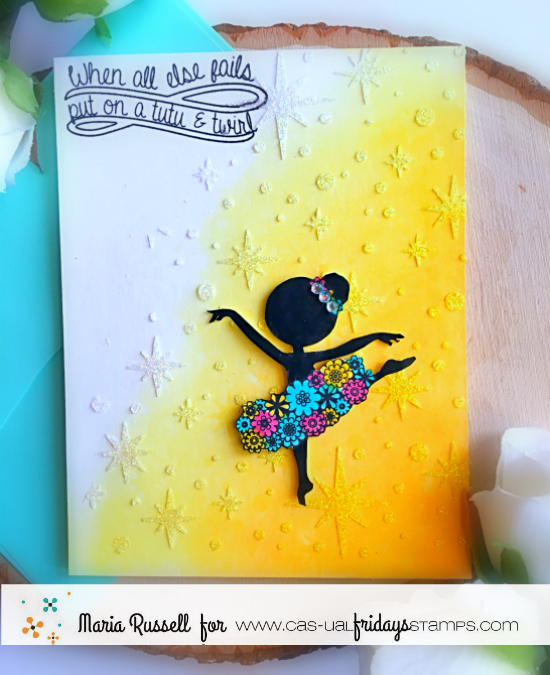
Hello CAS-ual Fridays fans! I’m back today with a simple inspirational card, showcasing the Tutu stamp set.
![]() |
| Tutu Stamp Set |
I started out with some Bristol smooth white card stock and inked in up with Squeezed Lemonade and Wild Honey distress oxide inks. I blended the colors together and sprayed it with water using my distress spray bottle. I dabbed it dry with paper towel.
I used a snowflake stencil from my stash and applied my Nuvo Glimmer paste using my palette knife. I let it dry for about half an hour.
I stamped my little ballerina with my Jet Black ink and colored the image with my Copic markers. I fussy-cut the image with my scissors and adhered this piece with some foam adhesive.
I just LOVE the sparkly effect of the glimmer paste taking on the color underneath. I finished my design my stamping my sentiment with Versafine Onyx black ink. Here’s a little close-up:
I added some sparkling clear jewels on my little ballerina too. I am giving this card to a friend of mine. Her granddaughter is now taking ballet lessons and I think she’s going to love this card.
I hope you like my card today. Don’t forget to use my coupon code below for 15% off your order. Also check out the retiring stamps sale because once they are gone, it will not be restocked anymore.
Thank you for stopping by and happy crafting!


Hello again Newton’s Nook fans! Did you manage to hop along with the team last week for the September product release? They are available at the shop now. Which one was your favorite? To be honest, I can’t really pick one!

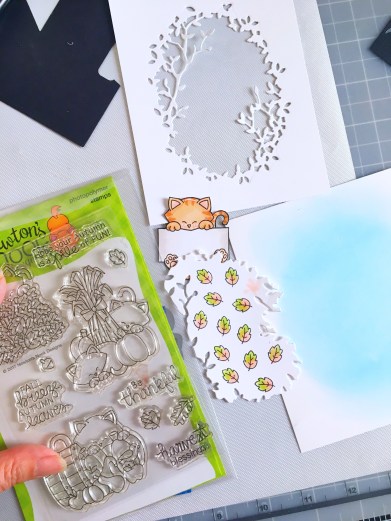
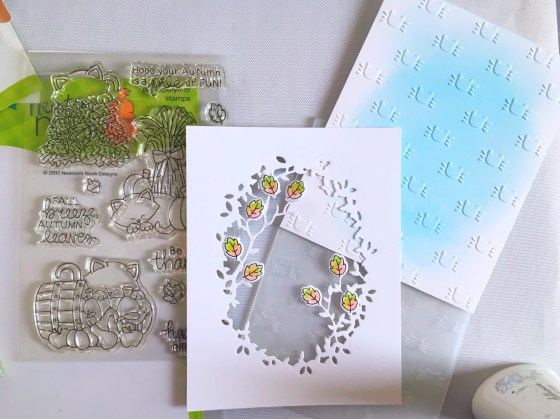
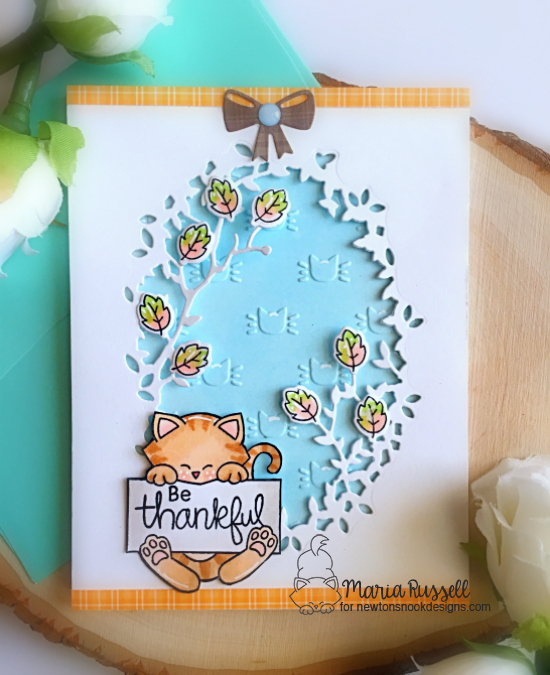
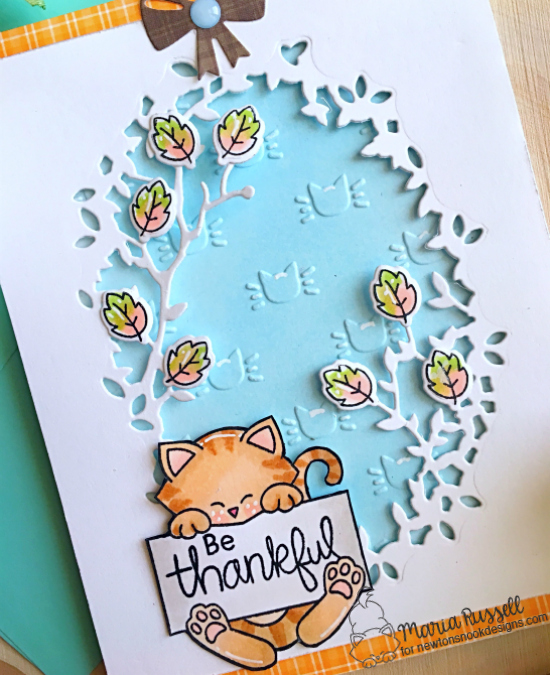
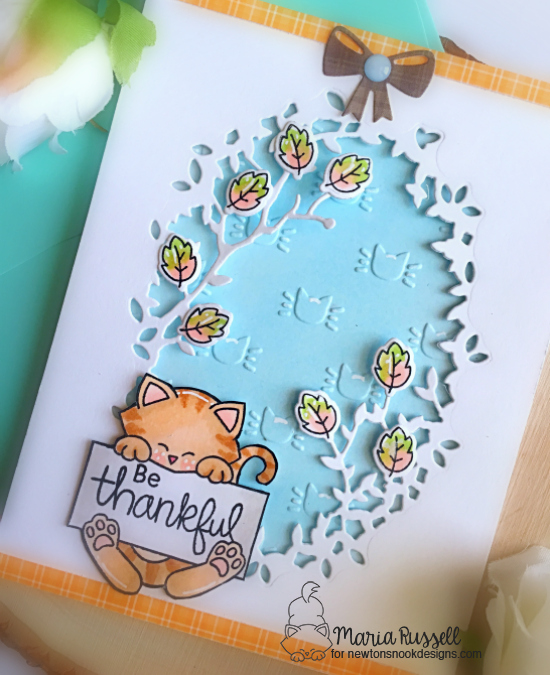
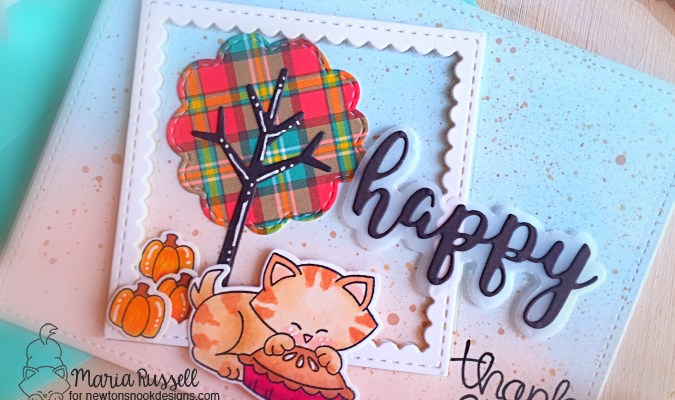
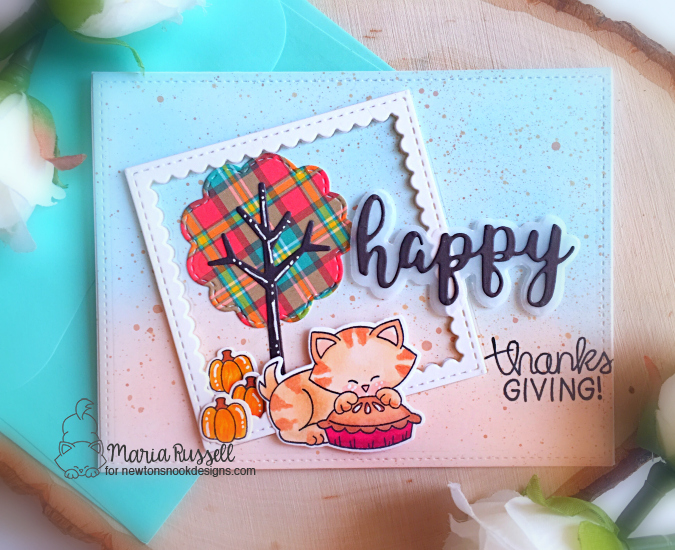
For my project today, I am showcasing the Newton’s Thanksgiving stamp set and coordinating dies.
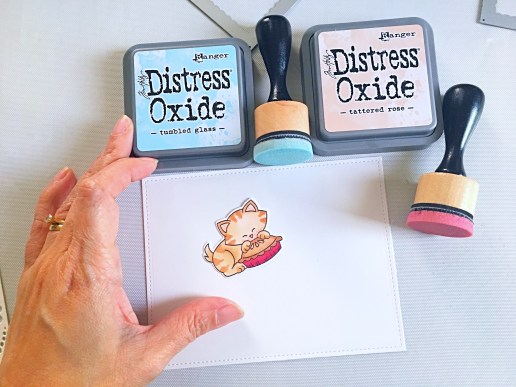
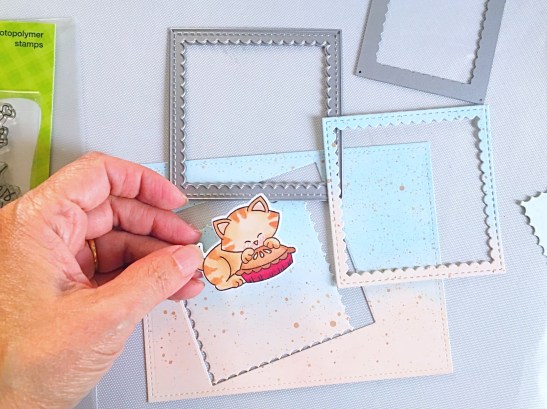
Since this card is all about Thanksgiving, I wanted to create a fall scene today. I started by stamping the image on some smooth white card stock and colored it in with my Copic markers. I will also be inking up my Bristol smooth white card stock with some distress oxide inks.

I inked up my background with Tumbled Glass and Tattered Rose distress oxide inks. I have been LOVING this color-combo lately for a fall sky. I used vintage photo distress oxide to splatter some dots on my background, and blotted it dry with my paper towel. I used a scallop die from my stash to cut a position of this card stock to create a little window.

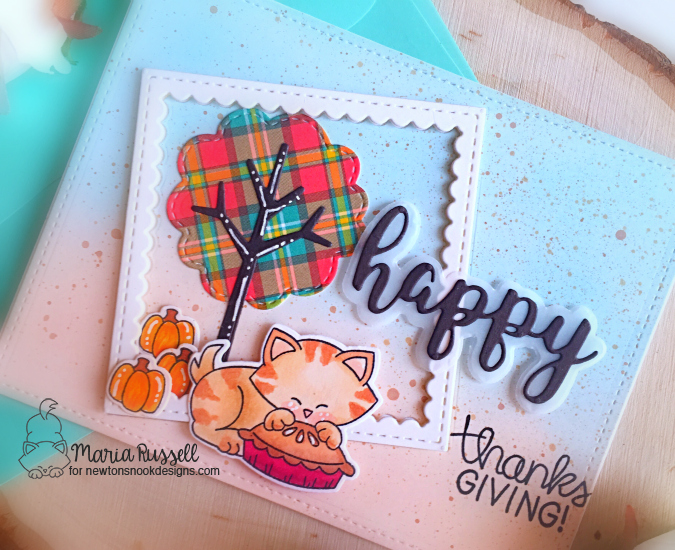
I adhered my colored background onto my card base and inlaid the frame. I added some fun elements to create my fall scene.

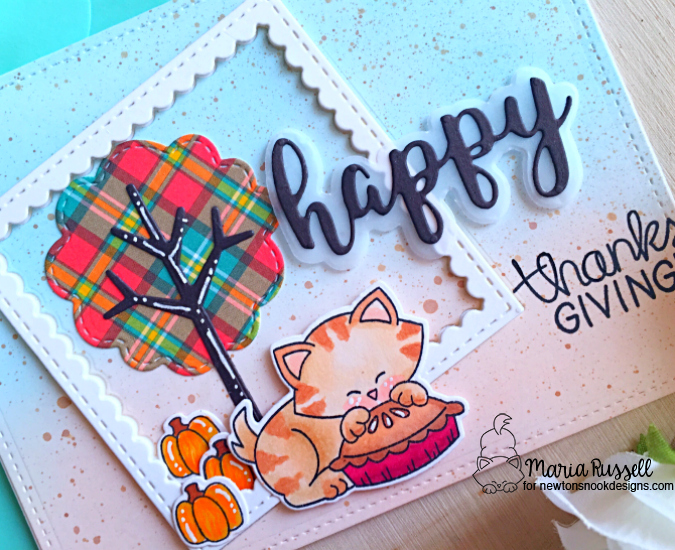
To finish my design, I added the “happy” sentiment from a die that I have from my stash with some foam adhesive. Also used my white gel pen to add some interest to the card. Here’s a close-up:

I completely ADORE this stamp set. If you haven’t picked it up yet, please visit the shop before they sell out.

I hope you like my card and got inspired. The supplies I used are listed and linked below. Happy crafting!
————-SUPPLIES————–
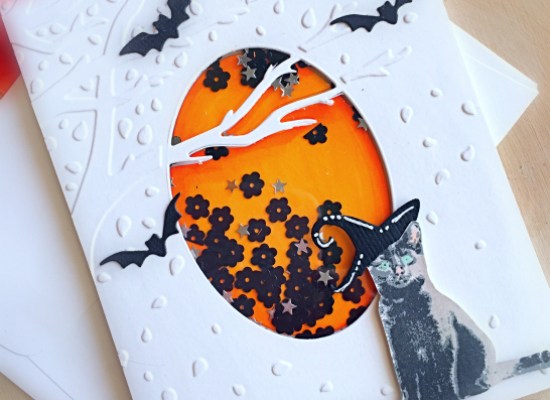
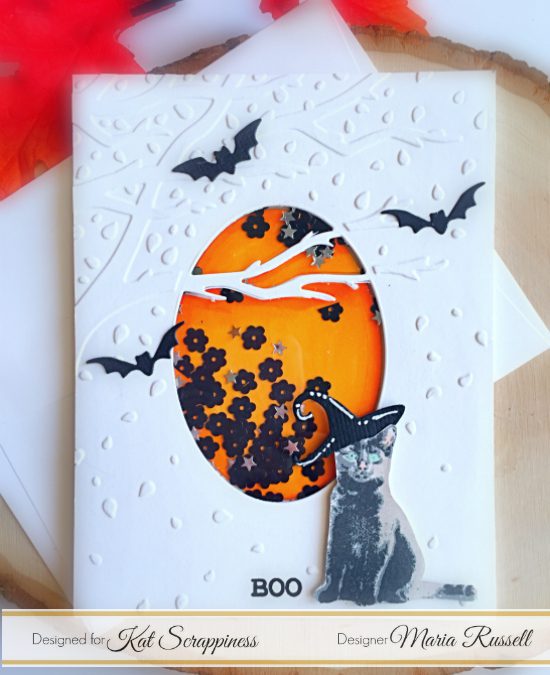
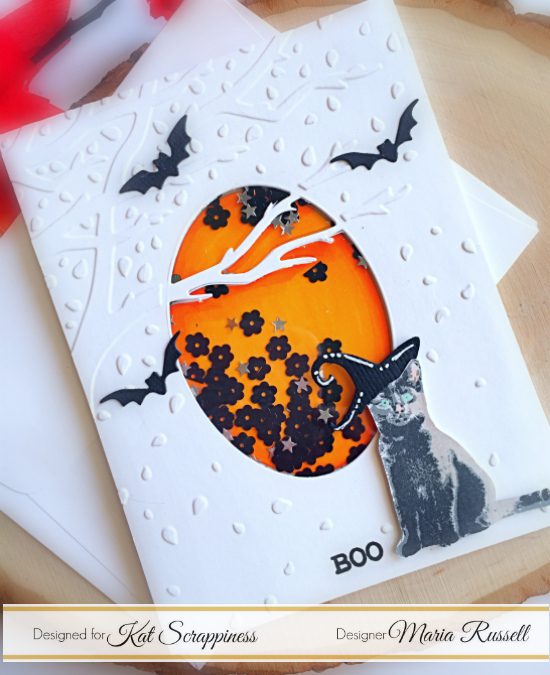
Fall is my favorite season and it is that time of the year when I start creating Halloween cards to send to my friends. Is orange the new pink during Halloween? haha! I’m back today with this very simple Halloween shaker card, showcasing the Toil & Trouble stamp set with matching dies. This stamp set was released last year but they are still available at the shop.
I started out by stamping my cat image on some white card stock using shades of gray and black inks. Even though this image has a coordinating die, I went ahead to fussy-cut the image.
I die-cut and dry-embossed some white card stock with an embossing folder from my stash. The middle part cuts out so I colored those pieces with my Copic markers. I adhered this piece onto my card base, and added some 6 mm Black Flat Flower Sequins and Metallic Silver Solid Star Confetti with my Nuvo Craft Spoon.
I adhered some acetate and added foam adhesive to create my shaker well. I adhered my embossed card panel onto my card base.
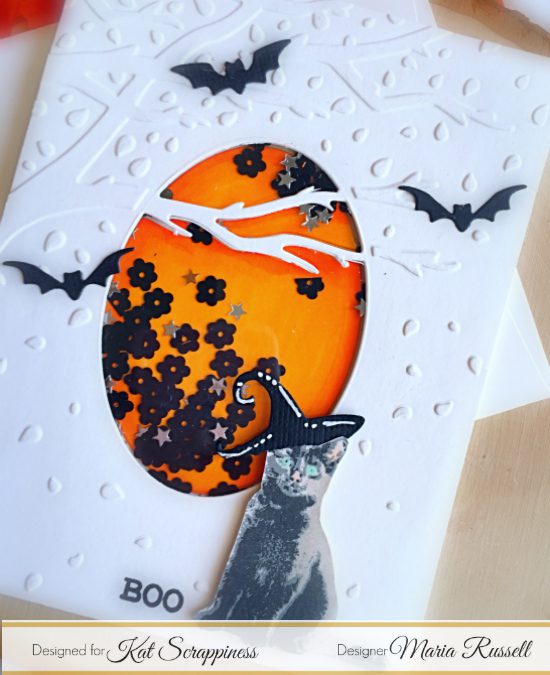
To finish my design I adhered the cat and added the Witch’s hat and the black bats, then stamped the sentiment next to the cat. I also added some color to the cat’s ears with my Copic markers. Here’s a little close-up:
I love the simplicity of this card. I also used my white gel pen to add some details to the witches hat. I love how this card turned out.
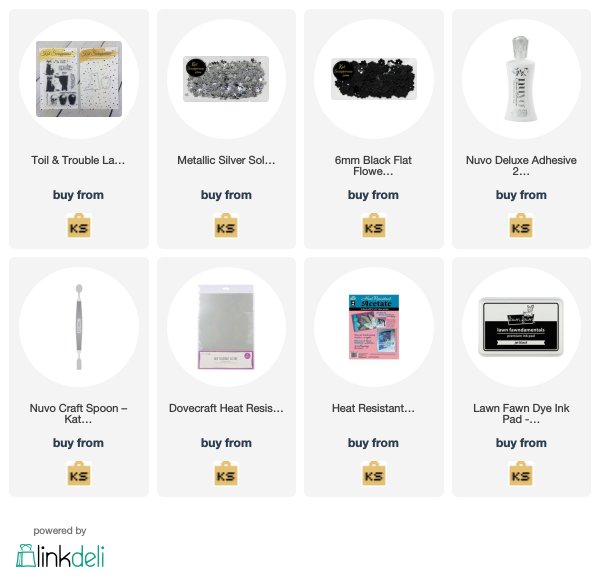
I hope you like my project today. Please don’t forget to use my coupon code “MARIA10” for 10% off your order at the shop. I would also be very grateful if you could click on the items I listed below to purchase the products I used today. Have a wonderful day and happy crafting!
———–SUPPLIES——–
Maria here on the blog today with this cute fall card featuring the Forest Friends stamp set. I absolutely adore the images on this set. They are perfectly sized for an A2 size card.
To start, I stamped my images on some Neenah solar white card stock with Memento Rich Cocoa ink and colored them in with my Copic markers. I fuzzy-cut the images with my precision scissors.

I cut another A2 size piece of some Bristol smooth white card stock and inked it up with my distress oxide inks using my mini ink blending tools. I used Tumbled Glass and Tattered Rose. I smooshed my Vintage photo distress oxide ink onto an acrylic block, sprayed it with water and used my watercolor brush to spritz the color on my background.

I die-cut the white frame, trees and the label die to start assembling my card. I adhered the frame first with some foam adhesive. I added the rest of the elements to decorate the card. To finish my design, I stamped the sentiment onto my card.

This Forest Friends stamp set is so versatile. I think you can also use these images to create a cute Christmas card. Here’s another look:

I hope you like my card today. Please visit Kindred Stamps to purchase the Forest Friends stamp set that I used today. If you are also into pop-culture stamps, Kindred has a ton of them available at the shop. Thanks for stopping by and have a nice day!