In honor of Michele’s son, who turned 21 yesterday the 21% off sale continues today until 6 pm (mountain time) only. You can also use my coupon code below for an additional 15% off so that’s HUGE! Hurry up and order your favorites now!
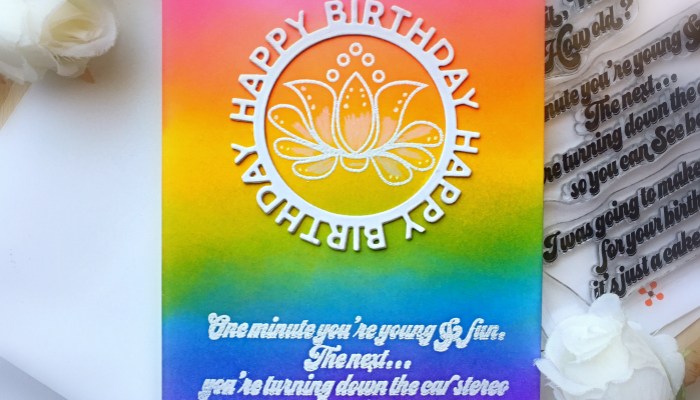
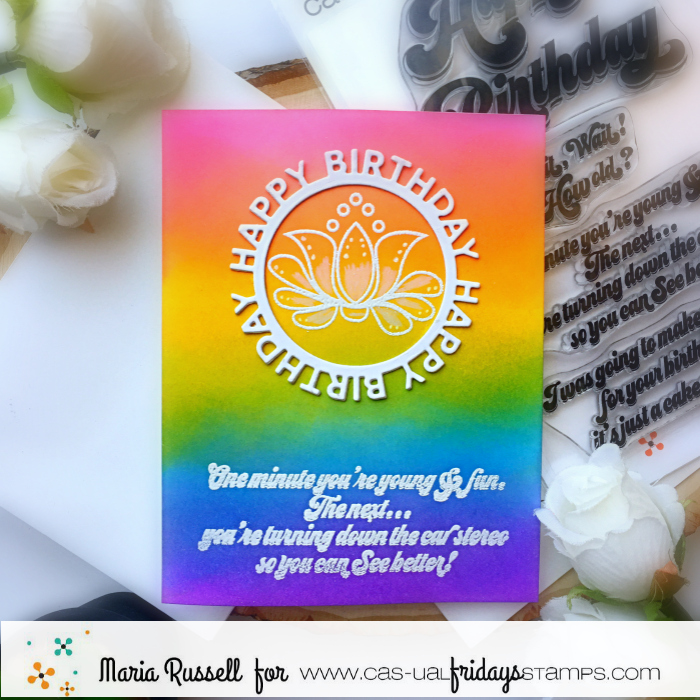
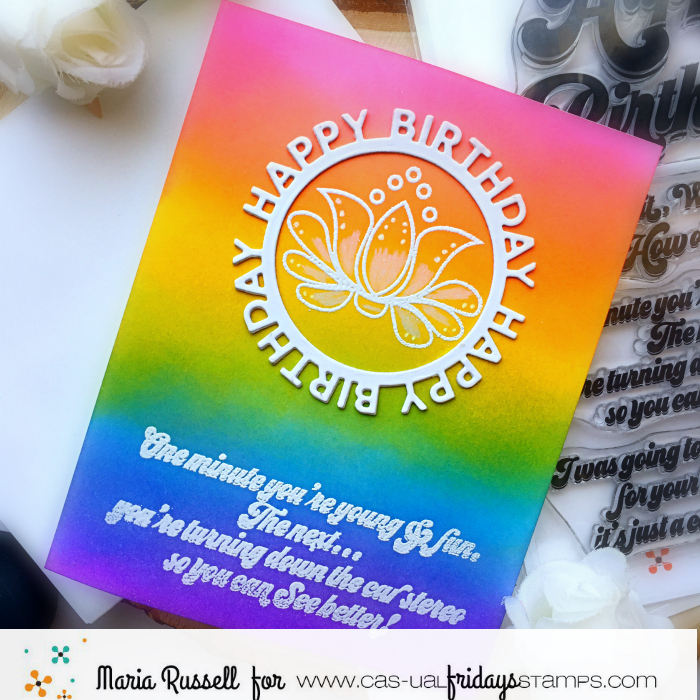
I started by ink-blending an A2 size panel of Bristol smooth white card stock with some distress oxide inks. I waited for about half an hour for this card panel to dry.
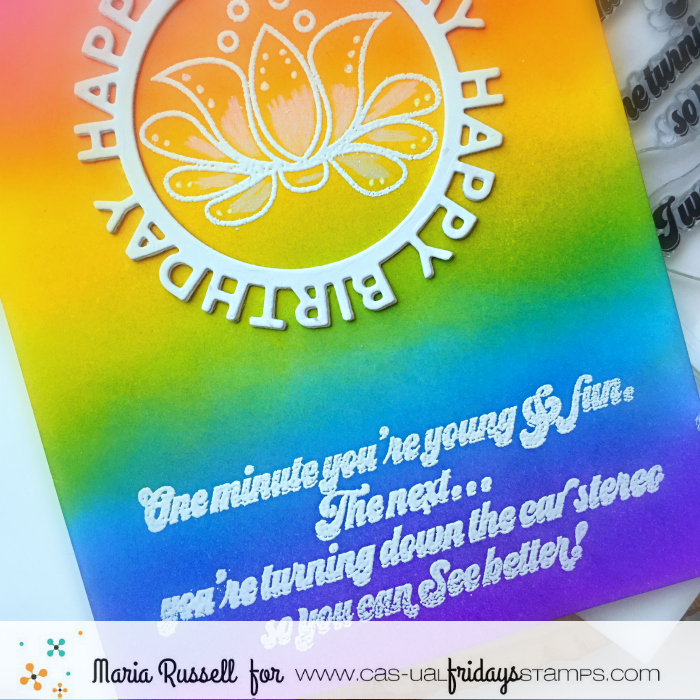
I used my stamping tool and stamped the flower image and the sentiment with Versamark ink. I sprinkled some white embossing powder and heat-set with my heating tool.
I used my white color pencil and Sakura white gel pen to add more texture and details to the flower.
I finished my design by die-cutting the circle Happy Birthday sentiment using a die from my stash and adhered it on the card.
Isn’t that sentiment so funny? I must have done that a couple of times already while I was driving my car, haha!
Don’t forget to use my coupon code below for 15% off your order. You can use this coupon on top of the sale. Thanks for stopping by and happy stamping!
It is that time of the month where the entire design team get so excited to show off the new stamps, dies and stencils by Newton’s Nook Designs. You also have a chance to win the stamp set being revealed each day so please read through til the end of the blog post to find out more info. [Just a little important note: I know some of you had difficulties finding the comments section. If you would like to leave a comment to participate in the giveaway, the “comments section” will only be ever visible when a single post on Word Press is being viewed. Please click on this particular blog post and you will be able to leave a commentbelow. Thank you!]
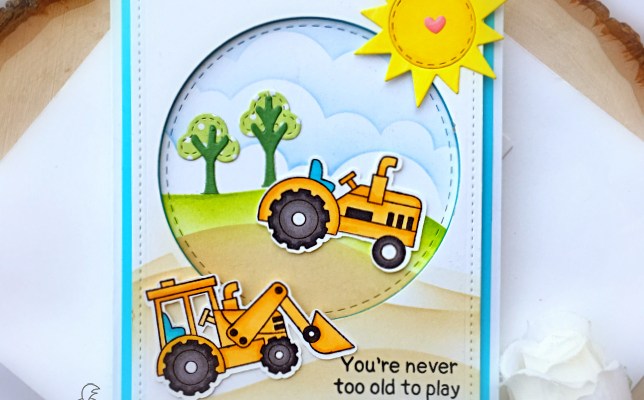
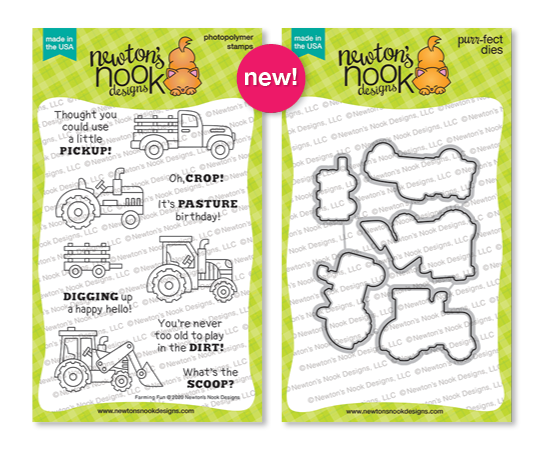
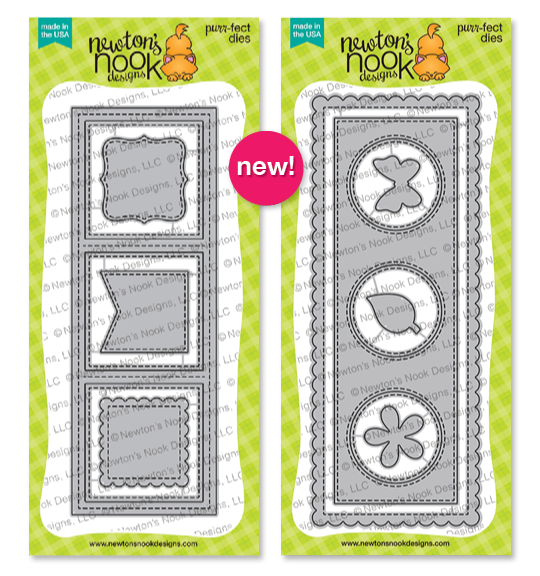
For the first day of the reveals we are starting with a HUGE bang and showcasing the Farming Fun stamp set with its coordinating dies along with the Slimline Frames & Portholes and Slimline Frames & Windows die set. I am so bummed as I didn’t receive the dies before this release (it is still stuck in NY as I write this post) so you will not see them on my projects this week.
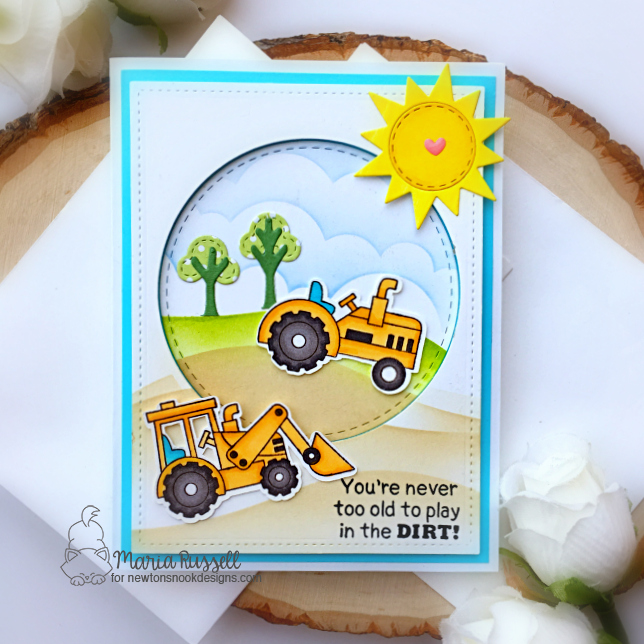
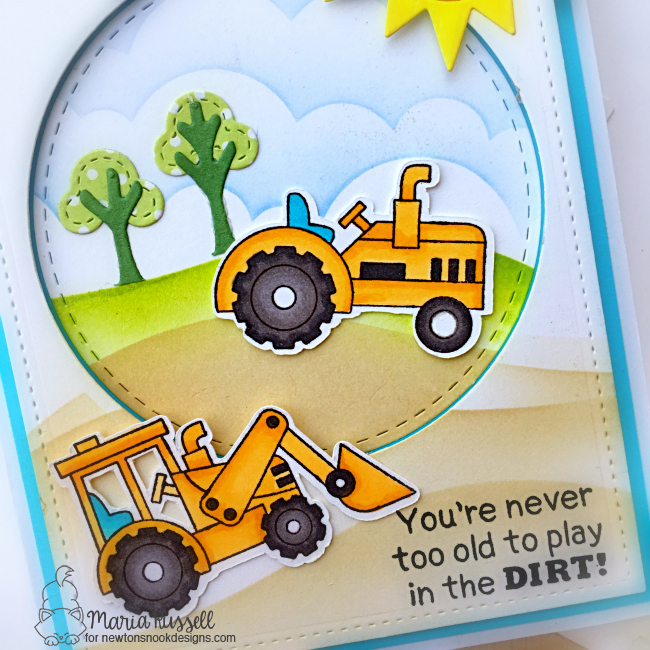
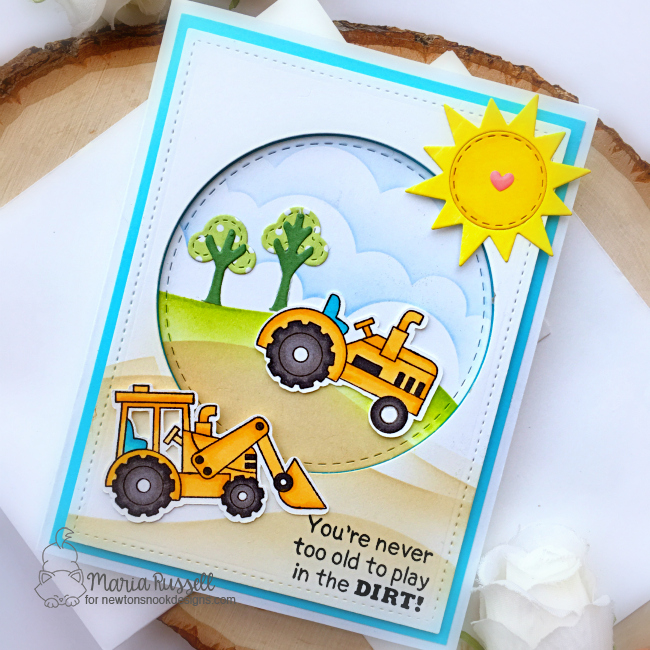
To make my card, I started by stamping my images on some Neenah solar white card stock. I colored my images in with my Spectrum Noir alcohol markers. Since I didn’t have the dies, I used my precision snips to fussy-cut the images.
I used the Circle Frame dies to die-cut the window in the middle of my A2-size card stock. I used the Hills & Grass stencil with some dye inks to create my scene. I also inked-up the circle die-cut using the same Hills & Grass stencil with the Clouds stencil to continue the design for a more cohesive look.
I adhered the colored images on my card with some liquid glue.
To finish my card design, I added the sun from the Sky Scene Builder die set and also added the small trees using a die from my collection. Here’s another look:
Would you like to win the “Farming Fun” Stamp Set?This stamp set will be given away to ONE lucky winner!
Here’s how to win: Comment on the NND blog and Design Team blogs (see list below)! Thewinner will be chosen at random from the collective reveal posts. Make sure to check out each of their blogs and comment for your chance to win. You will not know which blog has been chosen so the more you comment on the better your chances are of winning! You have until Thursday June 18th at 9pm EST to comment — winners will be announced on the blog post on Friday, June 19th.
Check out all the awesome Design Team Blogs below to enter:
Hello my crafty peeps! I am back today to share another fun project using Sublimation markers to create your own Bag Tags!
I am also sharing a process video to share some tips on how to get a clear impression of your images. The first Bag Tag that I made turned out cute but I had some bleeding issues with my marker. I created a second one to show you the difference between the two bag tags.
First, place the bookmark on a piece of plain copy paper and trace the outline using a pencil. This will then determine the area that you have to work with. Don’t worry about the pencil lines because this will not transfer to your bag tag.
Step 2.
Mount your stamp on an acrylic block (or stamping tool) and stamp the image on the copy paper using Artesprix Sublimation Ink Pad. Repeat this process for the rest of the images that you need to use for your bookmark.
Helpful TIP No. 1: Stamp the sentiment first and trace using the Fine Point Sublimation Marker in Black before coloring the image. Use a heating tool to speed up the drying process before coloring everything to avoid bleeding on your images.
Step 3.
Next, color your stamp design using your Iron-on-Ink sublimation markers. I used the Artesprix Original, Gnomie Botanical and Pastel Sublimation Markers to color my images. Don’t worry if the color looks a little muted, it will come to life when the heat is applied to your project.
Step 4.
Take your Bag Tag and place it against the ink. Use the Artesprix Heat Tape and tape it down so your design doesn’t shift. If you are using the Artesprix Heat Press, you only need one on each side to hold it down. If you are using an iron, you will need more. Sometimes the iron will cause the image to slip and you will get a ghost image. [Only use Artesprix Heat Tape on the outer edge of the design (not over it).]
If using an Artesprix Heat Press, set the temperature to 400 degrees F and timer to 45 seconds. If using a dry iron, set to linen or highest setting. [For a home iron, set to linen and “no steam.” Note: The holes in your home iron do not allow the heat to pass through evenly.]
Step 5.
Now, it is time for a sublimation sandwich. Cut two pieces of Artesprix Protective Paper to cover your project on the top and bottom. Place it inside the Heat Press and close the machine. You’ll want your Artesprix Project Mat handy because your project will be hot, and you don’t want it to damage your work space.
Step 6.
When the Heat Press beeps, this indicates that your project is ready. Pull the handle up and use protective gloves or oven mitts to protect your hands before taking the project out. Place it on top of the project mat and wait for about 20 minutes to cool down.
Step 7.
Gently remove the paper from the Bag Tag to reveal the design.
As you can see, I didn’t get a good impression on the sentiment for the first bag tag. The second one looks a lot better.
For the Bag Tag on the right, I stamped the sentiment first and traced it on the other side. I also used my heating tool to make sure that the sentiment is dry before I colored the entire background and the images. Here’s a closer look at the second tag.
I love being able to stamp or draw and color my designs on a plain piece of paper and transfer onto a blank to create a unique DIY project!
Helpful TIP no. 2 – If you are using an image printed out using your laser printer (traced using your sublimation marker), make sure to use the heat tape to “cover” any image or marks that you don’t want to get transferred onto your blank. I didn’t realize this until I heat press the tag. Take a look at the photo below:
For Tag No. 2, I used the Photopolymer Stamps – Hand Lettered Basics for the back of the Bag Tag.
The back of the second tag is what’s shown on the right in the photo below:
I absolutely LOVE the second tag. I am quite happy how it turned out and I think it looks really cute! I am planning on adding some iridescent gem stones to cover the bubbles and make it look 3D. For that, I think I will have to use a strong adhesive like E-6000. I will let you know how it turned out.
Here’s my process video:
You can FOLLOW this tutorial to create more than just Bag Tags. You will find all the blanks available for purchase on the Artespix website. The supplies are also listed and linked below. Thank you for stopping by and happy crafting!
To begin, I stamped my images on some Neenah solar white card stock and colored them in with my Spectrum Noir alcohol markers. I used the coordinating dies to die-cut them out.
I used the Circle Frame dies to die-cut some white card stock three times, and die-cut three colors of patterned paper. I adhered the pieces together with some liquid adhesive.
For my background, I die-cut a neutral patterned paper and adhered this piece on an A2-size, side-fold card base. I adhered two of the circle frames with some glue and foam-mounted the third piece for added dimension. I added the colored images on the center of each circle frame.
I finished my design by using my white gel pen to add some dots on the cacti and stamped the sentiment with some Versafine ink in Onyx black.
My next project is very simple and can be easily mass-produced. I want some cheerful cards to donate at the local nursing homes so I actually made 30 of these cards.
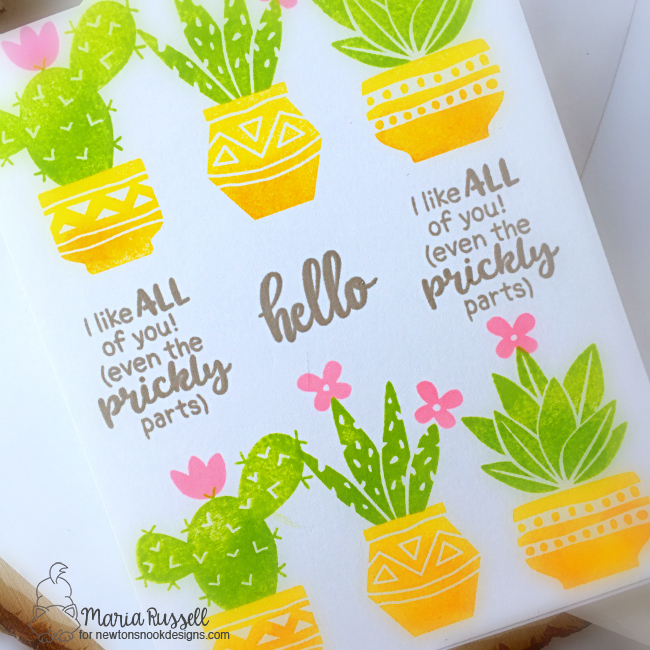
I stamped the images using some Quick-dry ink by Spectrum Noir. I used my mini sponge dauber to add a deeper shade on each image.
I didn’t do any measurements for this card. The images are very easy to line up and I love that I didn’t have to color them because of the solid stamping. You can easily get more depth and dimension by adding a deeper shade of the color that you used.
The sentiment was stamped using a light brown-gray ink.
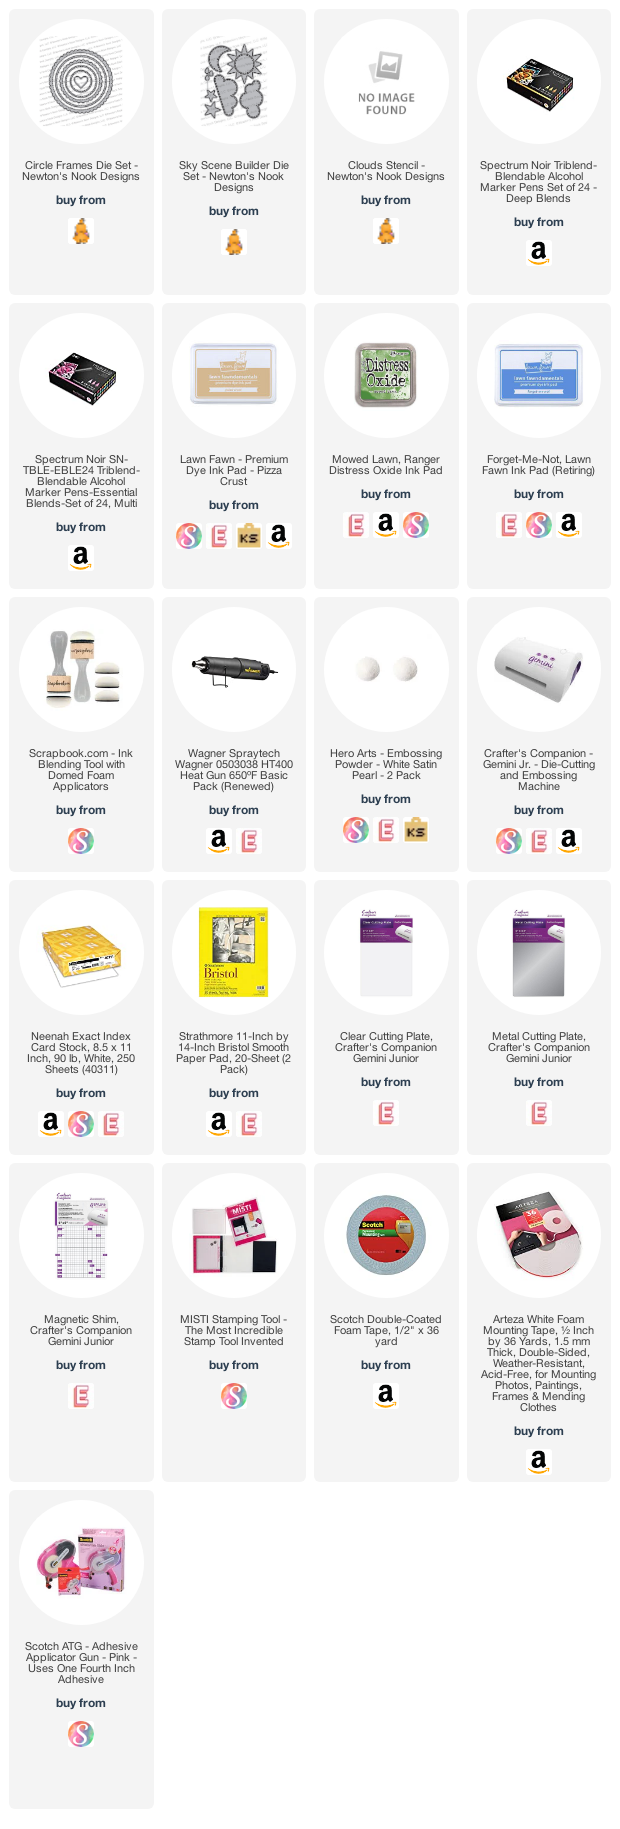
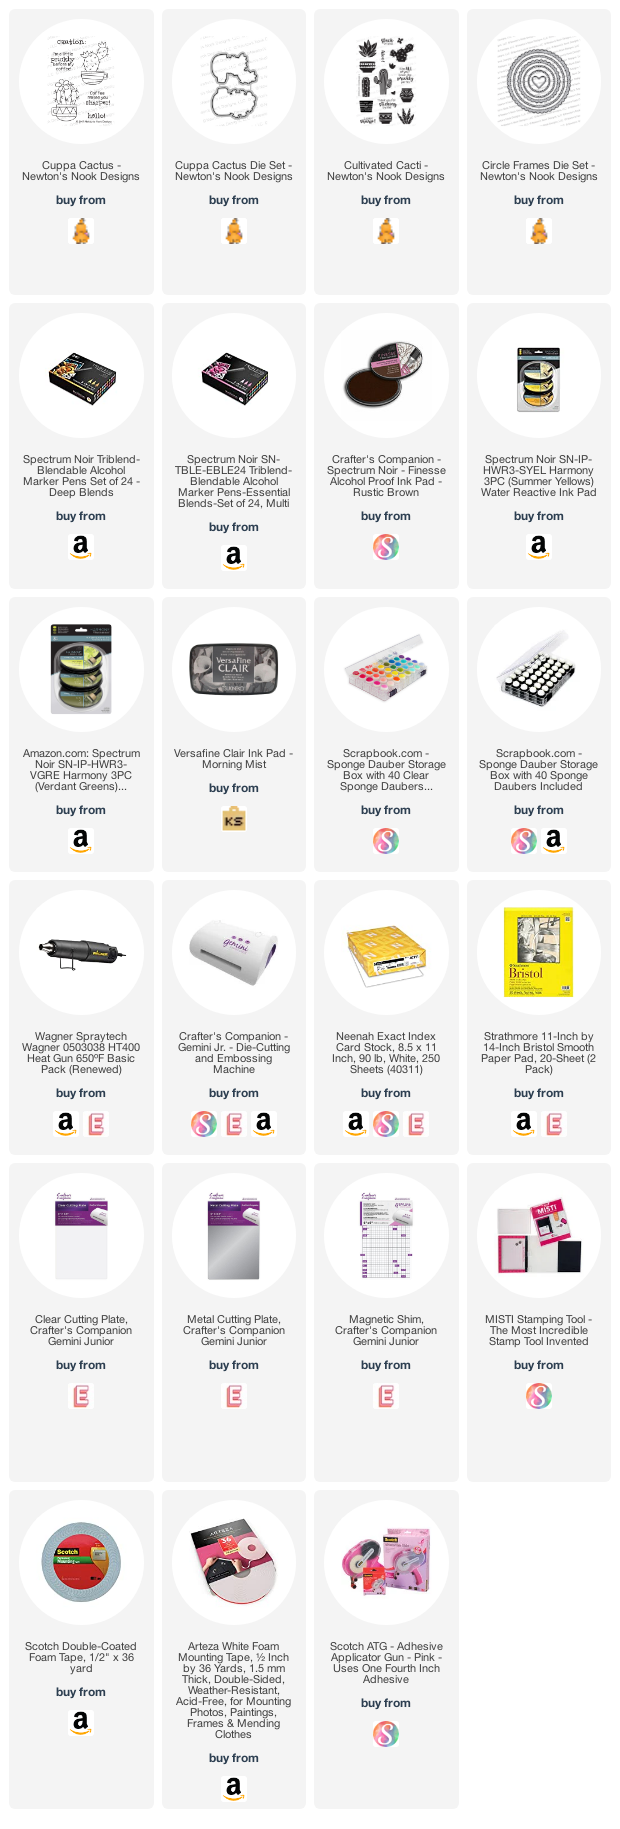
I hope I gave you some inspiration today to create something beautiful. The supplies I use are listed and linked below. Thank you for stopping by and have an amazing day! Happy stamping!
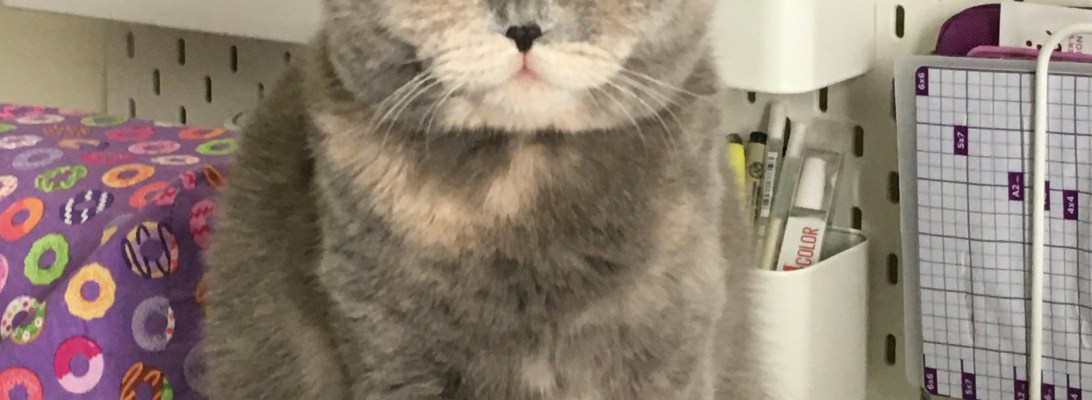
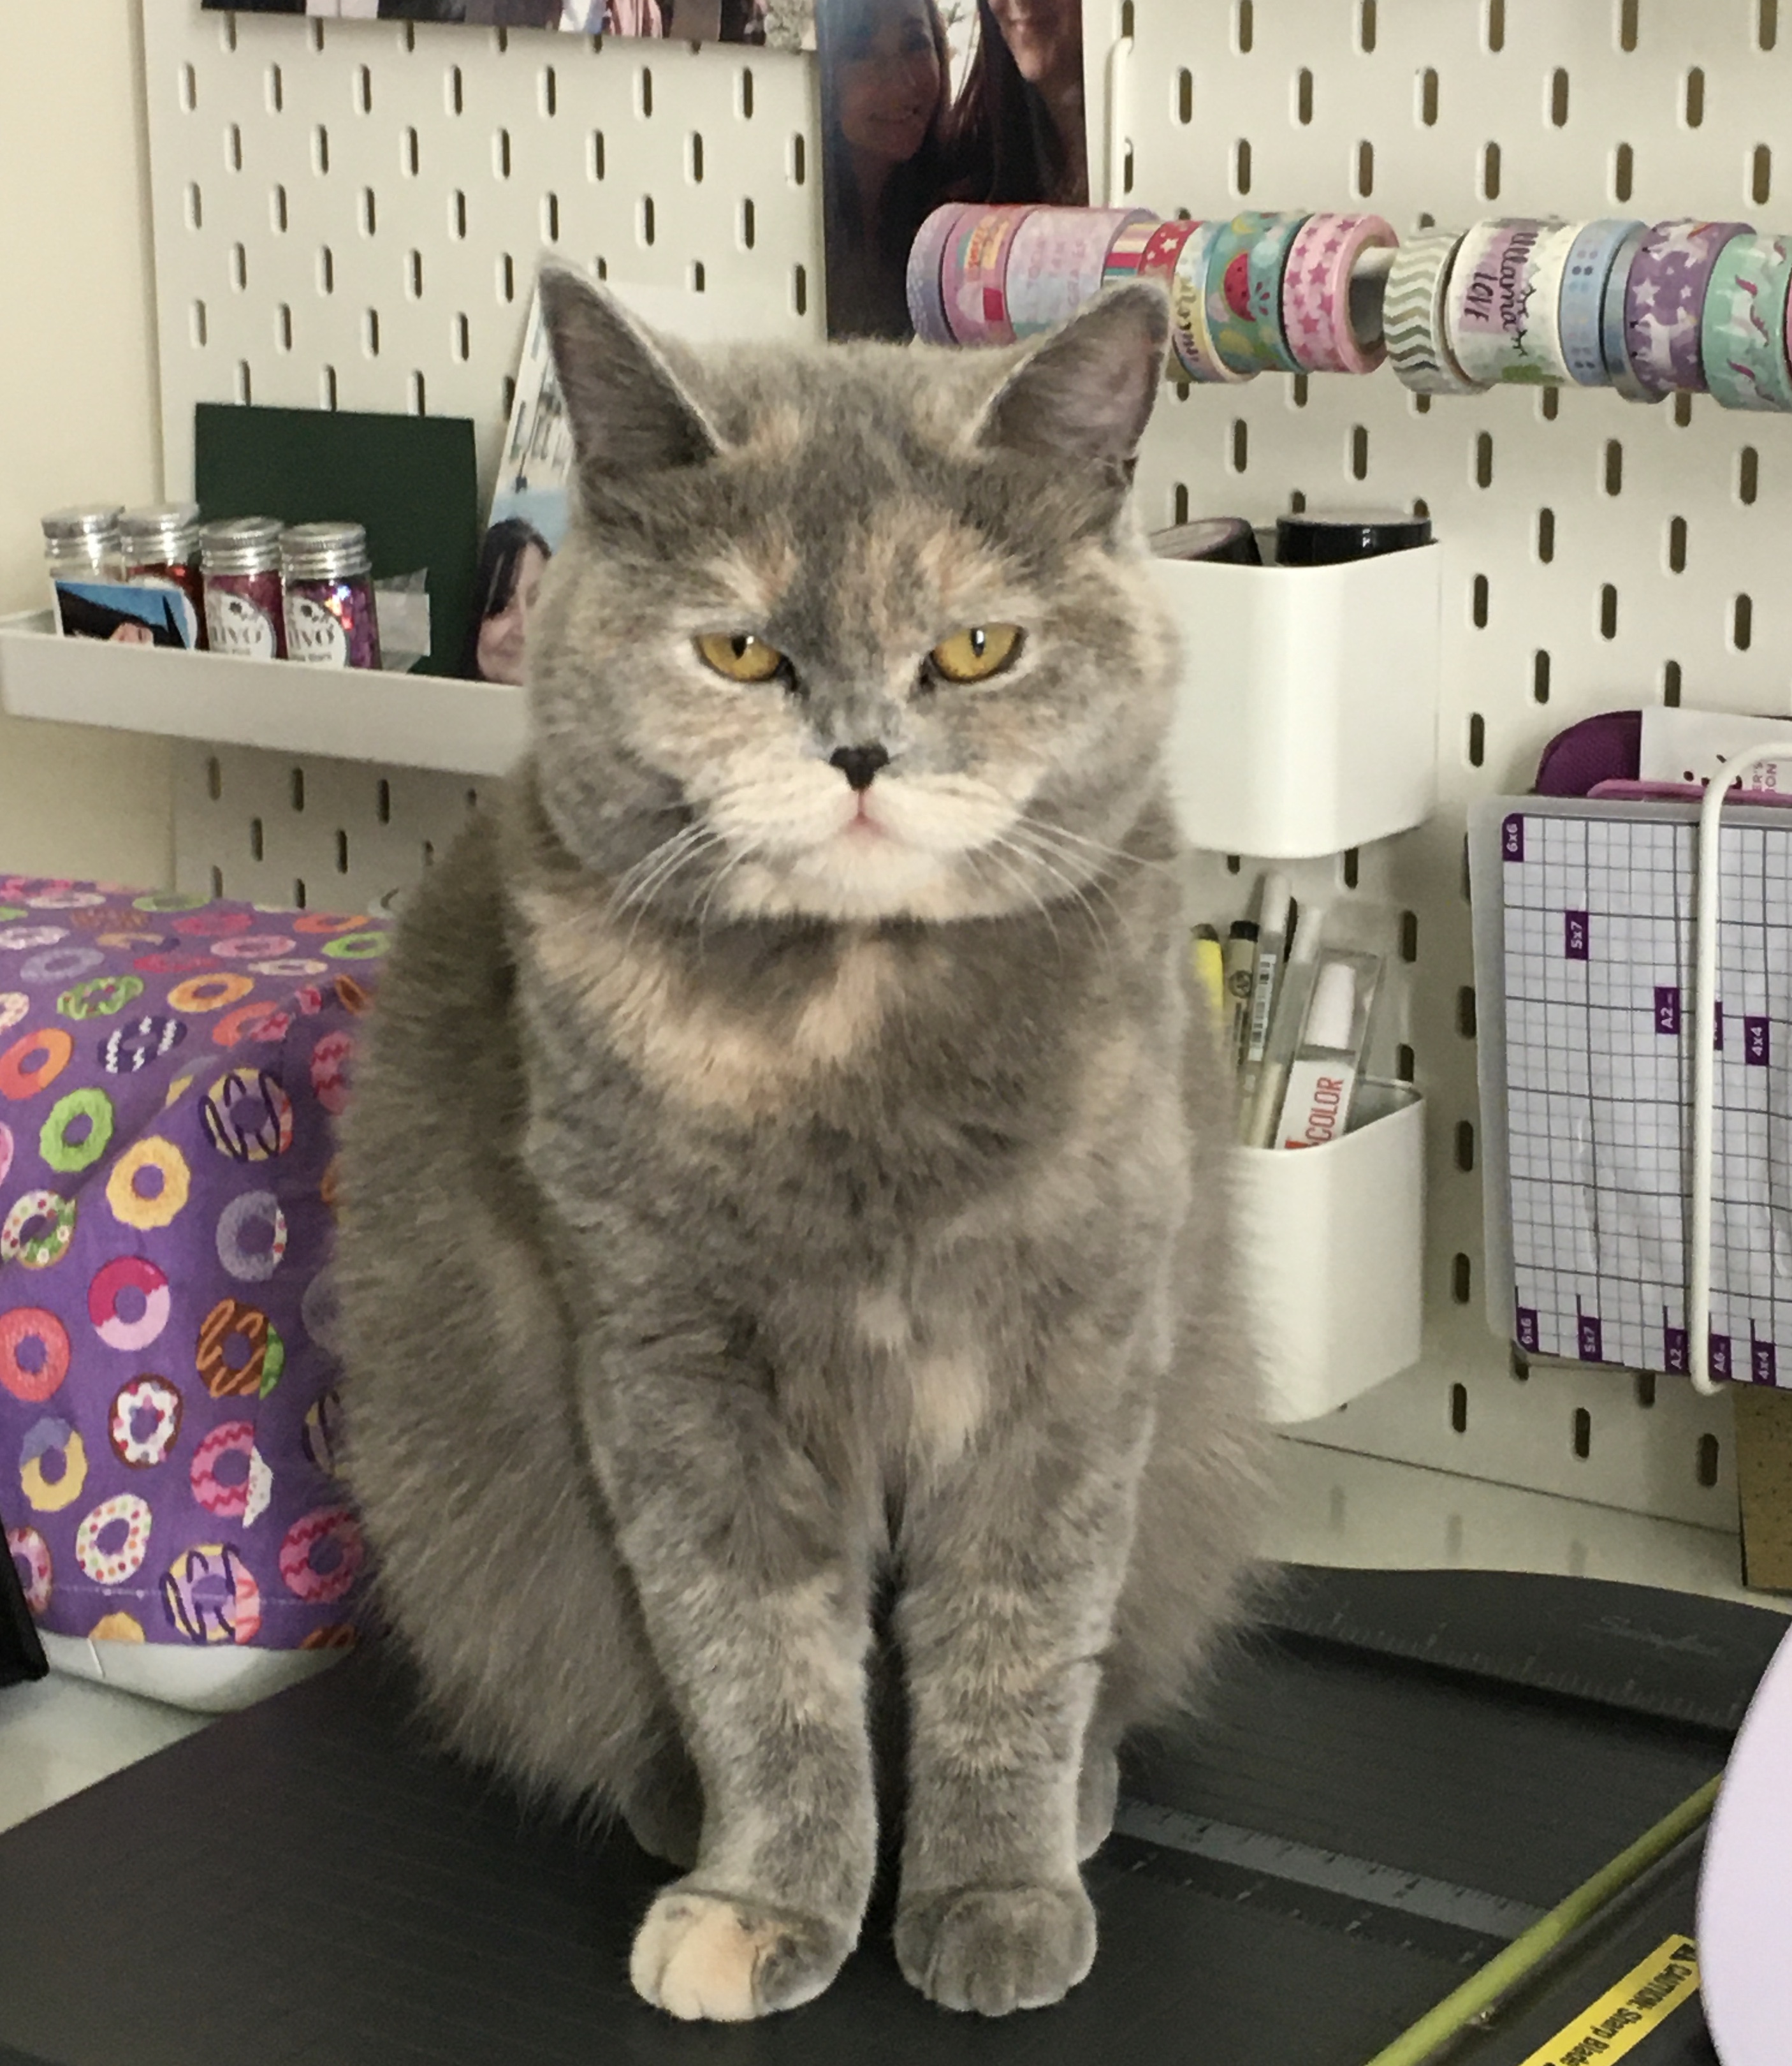
It’s “Hug your Cat Day” and I am celebrating by not only hugging my fur-baby cat, Phoebe but also sharing a simple card! Before I give you the details of how I made my project, here’s a photo of my cat. Isn’t she adorable?! I love her so much!
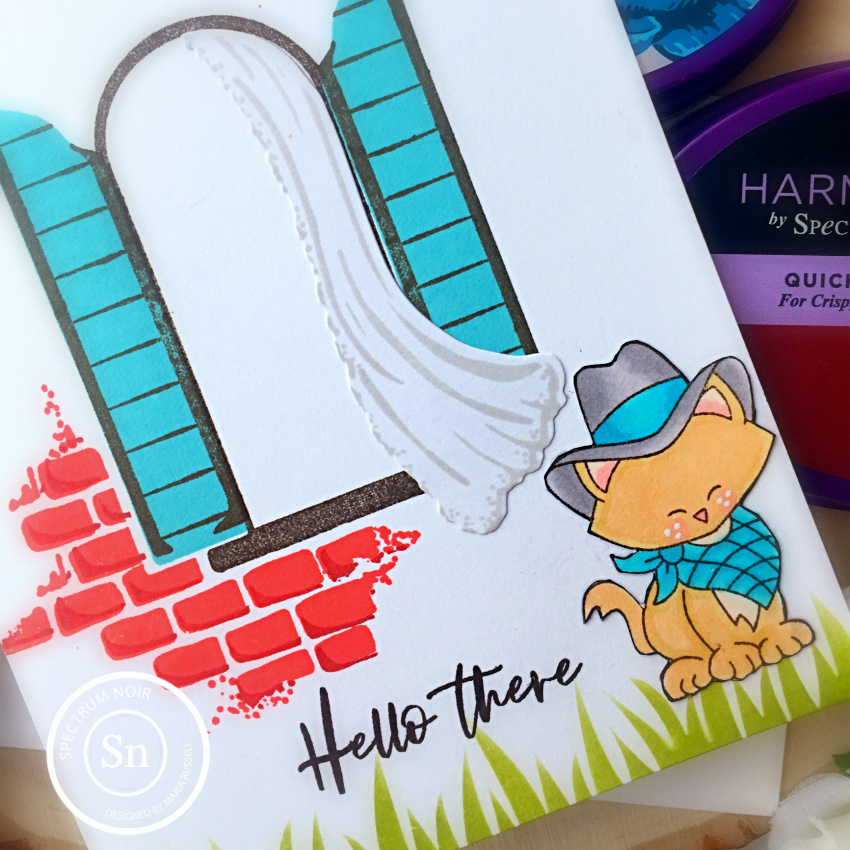
For my card today, I am showcasing the Newton Rides West stamp set, Hills and Grass Stencil and the background scene is a stamp set by The Greetery called Fresh Air.
I stamped the cat image and colored him in with my Spectrum Noir TriBlend markers. I fussy-cut the image using my precision snips.
I cut some white stamping card by Crafter’s Companion measuring 4 1/4 x 5 1/2 and adhered this piece on an A2 size card base. I stamped the window first with Spectrum Noir Finesse Alcohol Proof ink in Rustic Brown. The shutters were stamped using SN quick dry ink in Oasis and SN Rustic Brown ink. The brick pattern was first stamped using SN Quick Dry Ink in Chinese Red and layered with SN Quick Dry Ink in Bordeaux.
I stamped the curtain image with SN Quick Dry Dye Ink in Smoked Plume and die-cut using the coordinating die. Using the light gray ink made the curtain look “white”. I adhered the curtain and the cat with some liquid glue.
To ground my scene, I used the Hills & Grass stencil and SN Quick Dry Ink in Grasshopper.
To finish my design, I stamped the sentiment “Hello there” with SN Quick Dry Ink in Black. This is probably one of the fastest card’s I’ve ever made but I love how this turned out!
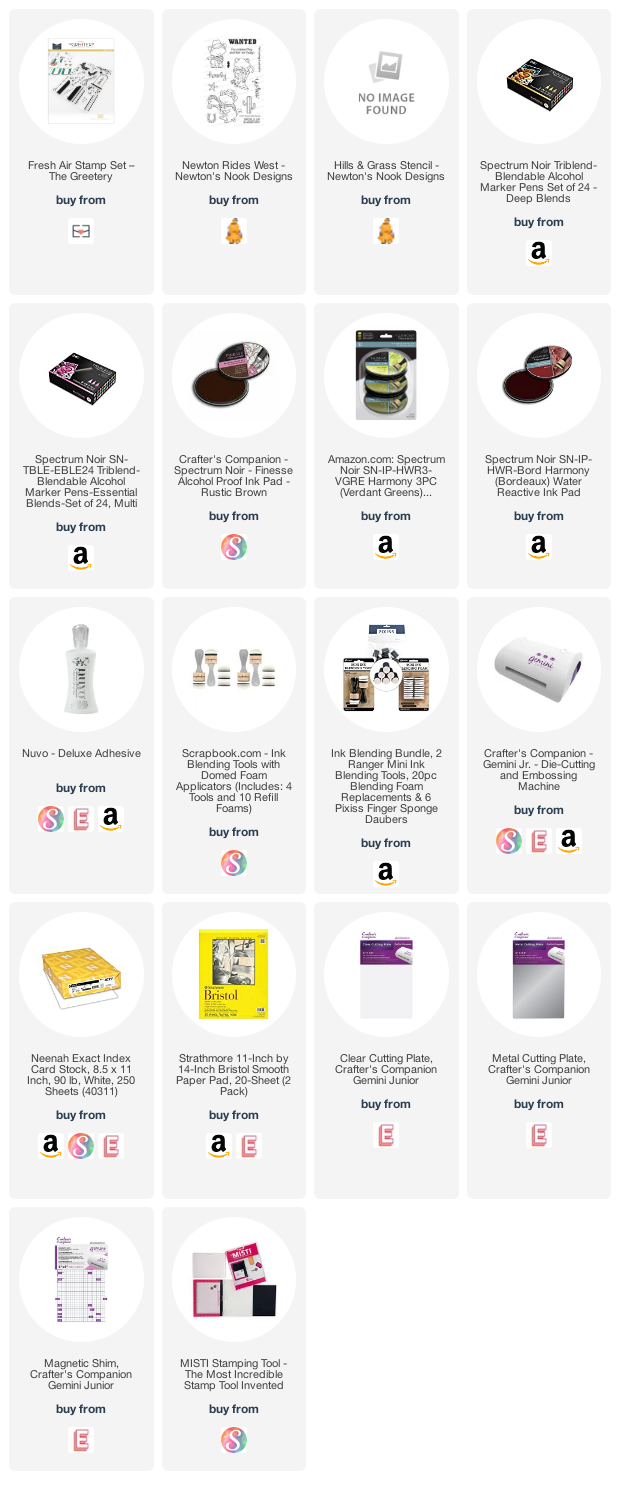
In case you’re wondering, Phoebe gets a lot of LOVE from me everyday! I hope I gave you some inspiration to color and do stamping today. The supplies I use are listed and linked below. Happy Hug your Cat day!
How’s everyone doing? Maria here on the blog with you today and I am back to give you more inspiration using products from the last release.
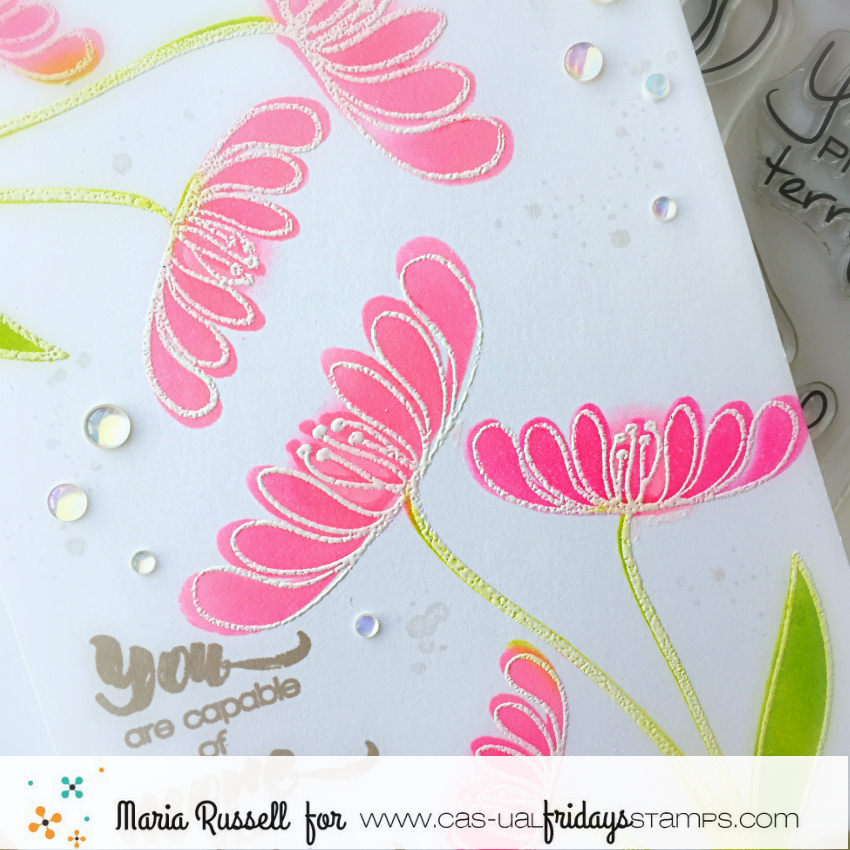
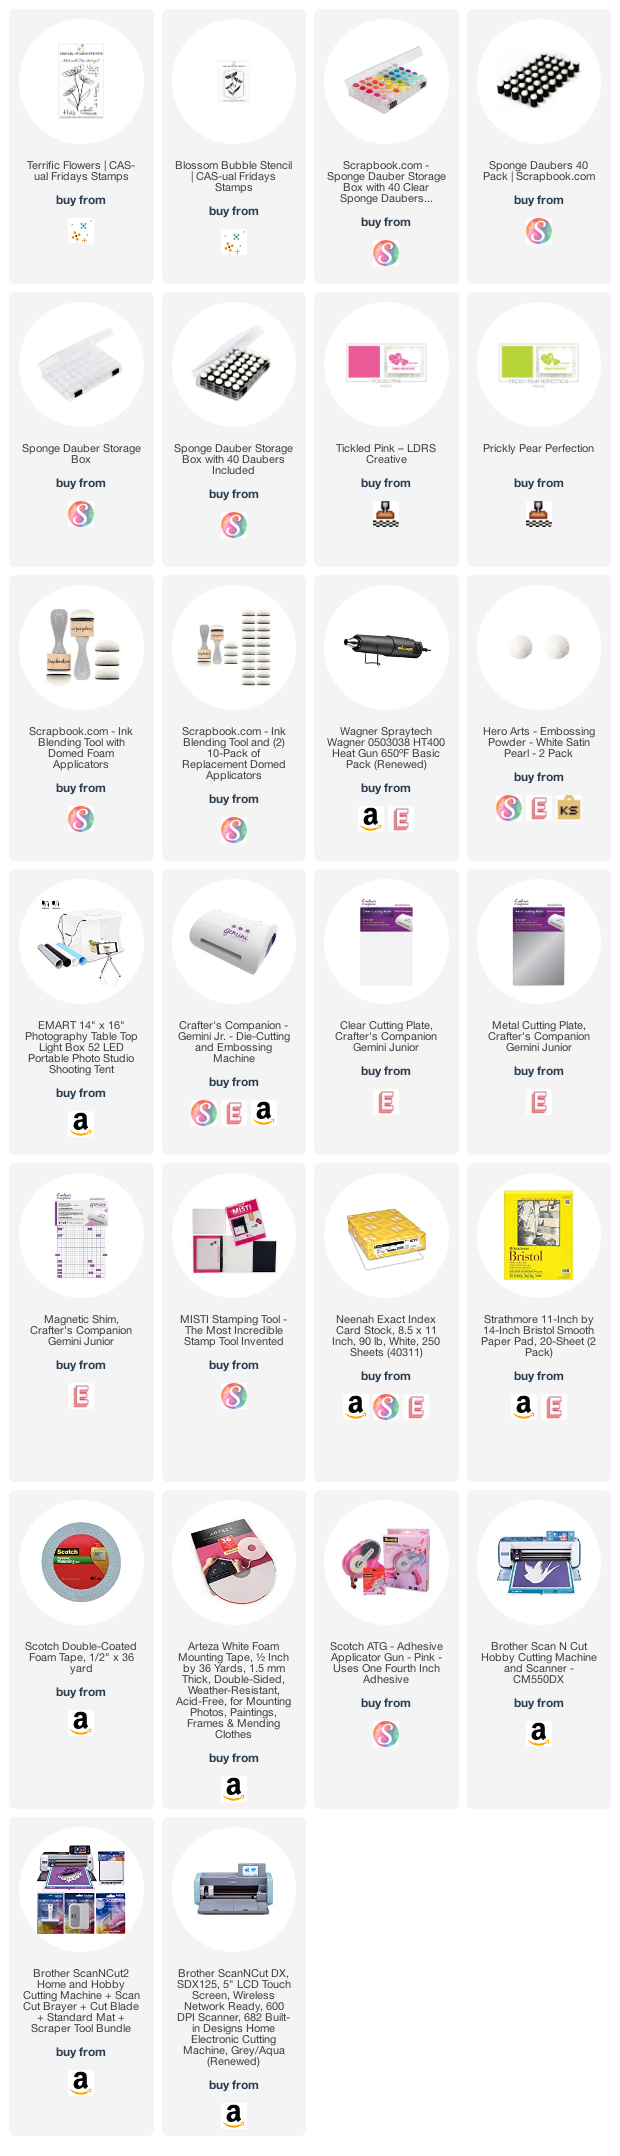
Lately, I have been making more clean and simple cards that can be easily mass-produced to send to friends. For my project today, I am showcasing the Terrific Flowers stamp set, along with the Blossom Bubble stencil.
To make the card, I started by using my anti-static powder tool and dabbed this on some Neenah solar white card stock. I used my Misti stamping tool to stamp the flower images with some versamark ink. I then sprinkled some white embossing powder and used my heating tool to heat-set the image.
I used pixie spray on the Blossom Bubble stencil and placed it against the stamped image. The spray will make the stencil a bit tacky so that it doesn’t shift while you’re coloring the image. This is a must-have tool for anyone who loves to use stencils.
To color the images, I used my mini sponge dauber and some hybrid inks and started pouncing lightly until the colors are well-blended, putting more pressure to the bottom of each flower for added dimension. Easy peasy!
I stamped the sentiment from one of my favorite stamp sets from Cas-ual Fridays called “Be”, using some light gray dye ink. To add texture, I used the same gray dye ink and watercolor brush to add some splatters to the card. I finished my design by adding some iridescent jewels to the card, giving it more dimension. Here’s another look:
I hope I have given you some inspiration today to create some clean and simple cards, using stamps and stencils from the shop. The supplies I use are listed and linked below. Please don’t don’t forget to use my coupon code (below) to get 15% off your order. Thanks for stopping by and happy stamping!
Happy National Hamburger Day! Is everyone excited for summer? Memorial Day kicked off this week and kids are excited that summer is finally almost here! Even though they’ve been doing homeschooling for the past months with their teachers on Zoom, they are now looking forward to just chilling out! No more schoolwork!
I have some fun projects to share with you today! You can create these DIY bookmarks with your kids, and they are going to LOVE it! Even if they don’t like reading, they will certainly have fun creating these bookmarks with you. I remember when my kids were little, they read books for hours during summer! Sometimes they even begged to stay up for another hour or two, so they can finish a few more chapters! These bookmarks are not only fun to make, but they will also help your kids remember where they stopped before they went to bed.
Place the bookmark on a piece of plain copy paper and trace the outline using a pencil. This will determine the area that you have to work with. Don’t worry about the pencil lines because this will not transfer on your bookmark.
Mount your stamp on an acrylic block and stamp the image on the copy paper using Artesprix Sublimation ink pad. Repeat this process for the rest of the images that you need to use for your bookmark. Note: If your kids would like to draw their own image, they can first use a pencil and trace their designs with the Artesprix Iron-On ink sublimation markers later on. Make sure they are doing a mirror image so that when their design applies to the bookmark, they wouldn’t look backwards.
Since I didn’t use any sentiments for the hamburger-themed bookmarks, I didn’t need to flip the images to trace it on the other side. I used the Artesprix Original, Gnomie Botanical and Pastel Sublimation Markers to color my images.
Don’t worry if the color looks a little muted, it will come to life when the heat is applied to your project.
Take your bookmark and place the “white side” against the ink. Use the Artesprix Heat Tape and tape it down so your design doesn’t shift. If you are using the Heat Press, you only need one on each side to hold it down. If you are using an iron, you will need more. Sometimes the iron will cause the image to slip and you will get a ghost image. [Only use Artesprix Heat Tape on the outer edge of the design (not over it).]
If using an Artesprix Heat Press, set the temperature to 400 deg. F and timer to 45 seconds. If using a dry iron, set to linen or highest setting. [For a home iron, set to linen and “no steam”. Note: The holes in your home iron do not allow the heat to pass through evenly.]
Now it is time for a sublimation sandwich. Cut two pieces of Artesprix Protective Paper to cover your project on the top and bottom. Place it inside the Heat Press and close the machine. You’ll want your Artesprix Project Mat handy because your project will be hot, and you don’t want it to damage your work space.
When the Heat Press beeps, this indicates that your project is ready. Pull the handle up and use protective gloves or oven mitts to protect your hands before taking the project out. Place it on top of the project mat and wait for about 10 minutes to cool down. Gently remove the paper from the bookmark to reveal the design.
I absolutely LOVE the two hamburger-themed bookmarks that I made that I decided to create another one. I did the same steps above to stamp and color my image. However, I wanted a sentiment for my design. I turned the paper and stamped the sentiment on the other side using the Artesprix Sublimation Ink Pad. I flipped the paper back and placed it onto a tracing pad. I used the Artesprix Iron-on Sublimation Black Fine-Point marker and traced the sentiment.
Here’s the other bookmark. Isn’t this adorable? It turned out so cute!
I love being able to stamp or draw and color my designs on a plain piece of paper and transfer onto a blank to create a unique DIY project! Your kids will certainly LOVE it! Here’s another look at the bookmarks:
You can FOLLOW this tutorial to create more than just bookmarks. You can also create coasters, keychains, bag tags, picture frame, etc. The possibilities are endless!
Be sure to check out Artesprix’s YouTube channel, Instagram, Facebook group and blog for design team inspiration. The supplies I used are listed and linked below. Thanks for stopping by and happy crafting!
Hello again LDRS Creative fans! I’ve been creating a lot of “just-because” cards for my family and friends lately so I thought I’d share one of the cards with you today.
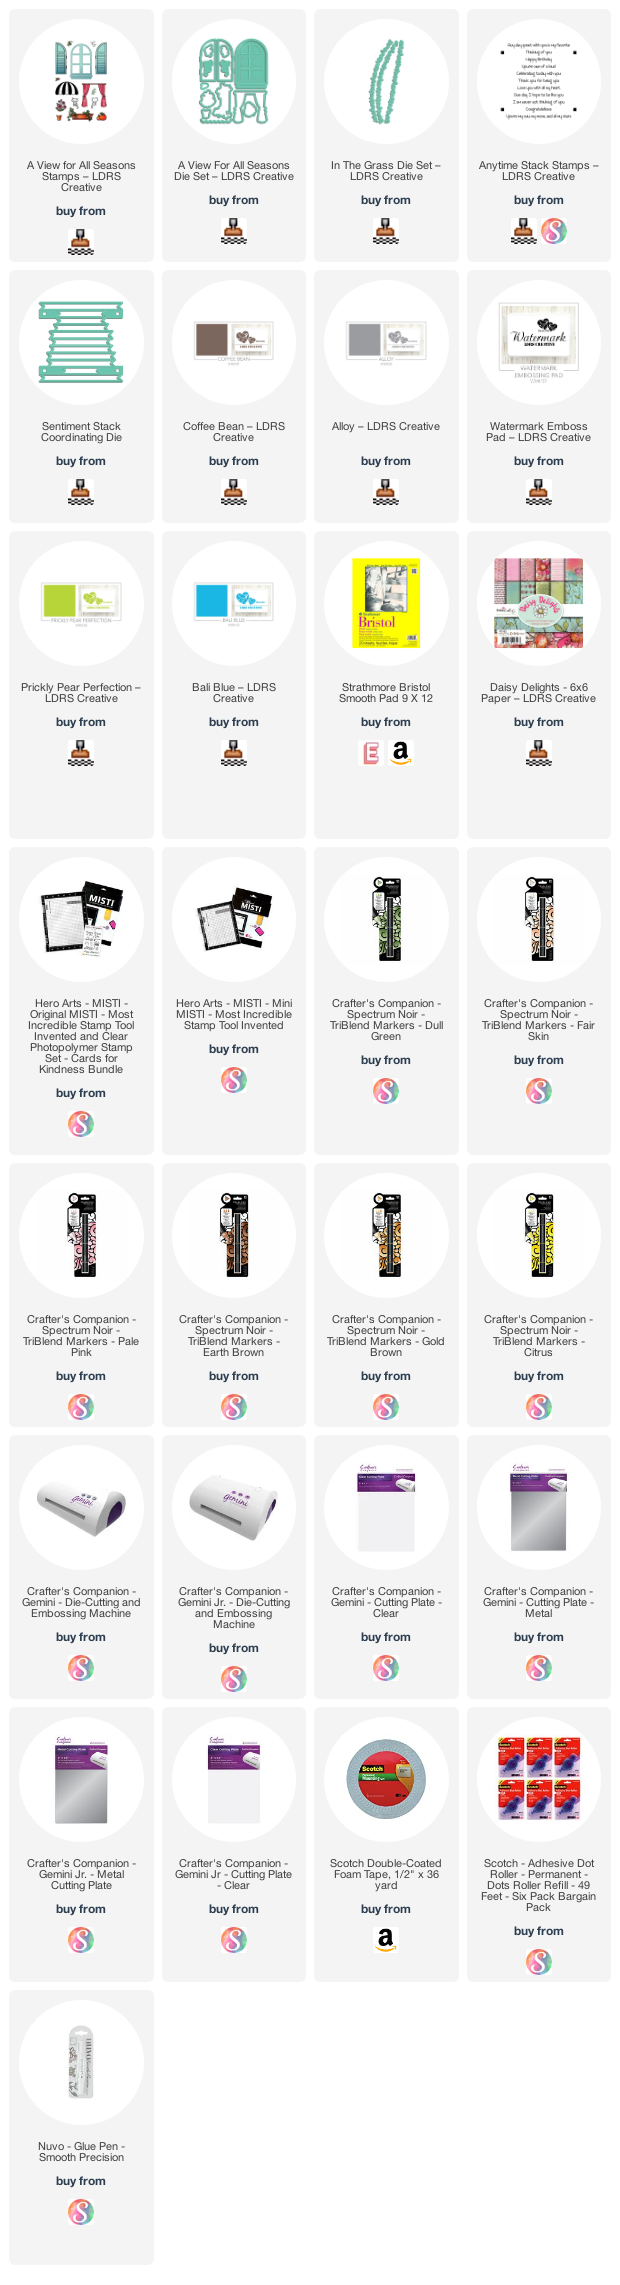
I started by stamping the images on some Neenah solar white card stock using the Coffee Bean hybrid ink. I love using the hybrid inks because you can color your images using any coloring medium and it wouldn’t bleed. I colored my images in with my alcohol markers and used the A View for All Seasons coordinating dies to die-cut the images.
To create my scene, I needed to die-cut some grass hills. I used the In the Grass border die set to die-cut two of them using the Daisy Delights paper pad. I also used the Prickly Pear Perfection hybrid ink and some blending brush to add more depth and dimension to the front grass. I adhered both pieces onto the card with some liquid glue and added the potted plants as well.
To add a little depth to the window, I used the Bali Blue hybrid ink and a blending brush. I foam-mounted my focal image to the card and added the cat also with foam adhesive. At this point, I realized I needed more “ivy” to add to my scene so I stamped a few more and colored them in. I used the die to die-cut them out and adhered to the card with some liquid glue.
The sentiment from the Anytime Stack stamp set was stamped with the Watermark ink. I sprinkled some white embossing powder and heat-set using my heating tool. I die-cut the sentiment using the Sentiment Stack die set. This combo is starting to be my go-to in card-making. I love the convenience of stamping a bunch of sentiments and die-cutting all of them in one go! I put the rest of the sentiment strips into the pouch so that I can use them for future projects.
To finish my design, I added the little “brick” image using the small stamp included in the set with some Alloy hybrid ink. In order to get a subtle gray color, I stamped it onto a piece of scratch paper twice before stamping onto my card. Here’s another look:
Isn’t this the cutest scene ever? I love, love, love this stamp set! I cannot wait to use this stamp set again to create a fall or Halloween card!
I hope I have given you some inspiration today to create something beautiful. The supplies I use are listed and linked below. For a limited time, LDRS will also include the stamp set that you see below until supplies last. Take advantage and order your favorites now to get this freebie! Thanks for stopping by and happy stamping!
I always get a bit bummed when it’s the last day of the reveals by Newton’s Nook Designs. The last three days were amazing and I really LOVE all of the stamps, dies and stencils that we showcased. Which one is your favorite? You also have a chance to win the stamp set being revealed each day so please read through til the end of the blog post to find out more info. [Just a little important note: I know some of you had difficulties finding the comments section. If you would like to leave a comment to participate in the giveaway, the “comments section” will only be ever visible when a single post on Word Press is being viewed. Please click on this particular blog post and you will be able to leave a commentbelow. Thank you!]
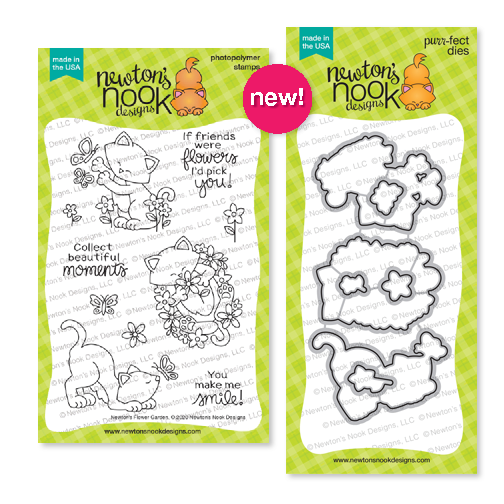
For day 4, we are showcasing the Newton’s Flower Garden stamp set and coordinating dies.
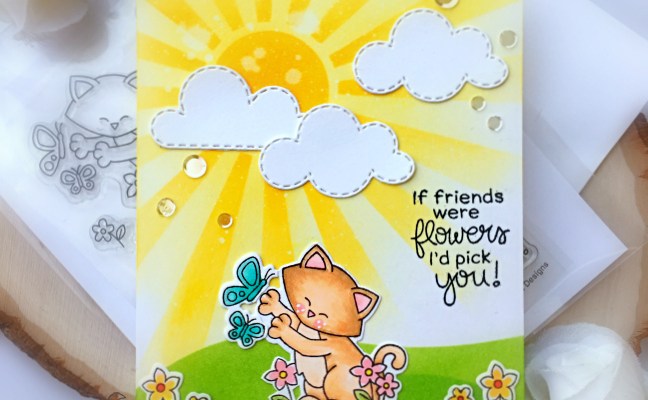
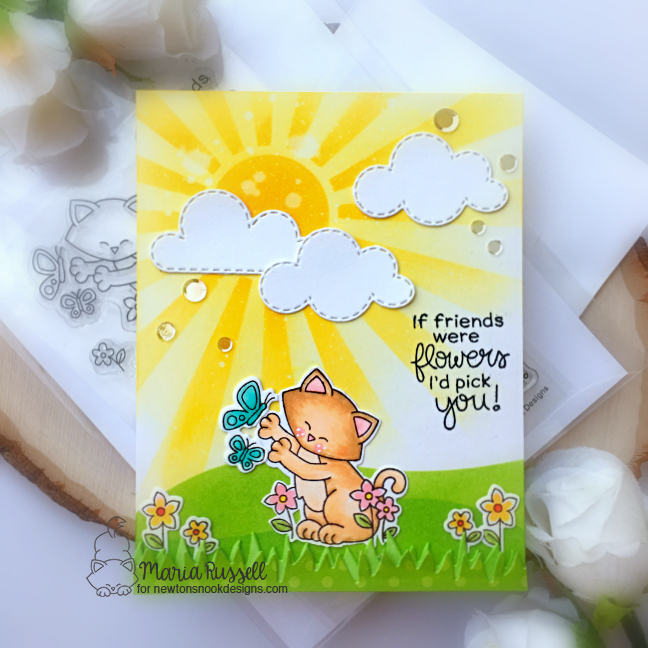
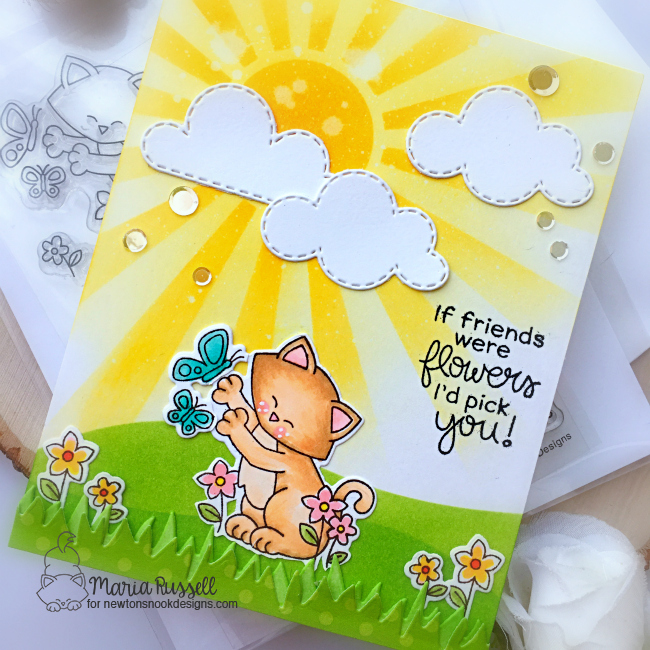
Super simple card to begin with. I used the Sunscape stencil with some mini ink-blending tools and Mustard Seed distress oxide ink to create the sun. I also used the Hills & Grass stencil to create the landscape for Newton.
For added texture and dimension to the landscape, I used the grass border die to die-cut some patterned paper and adhered them on the ink-blended panel with some liquid glue.
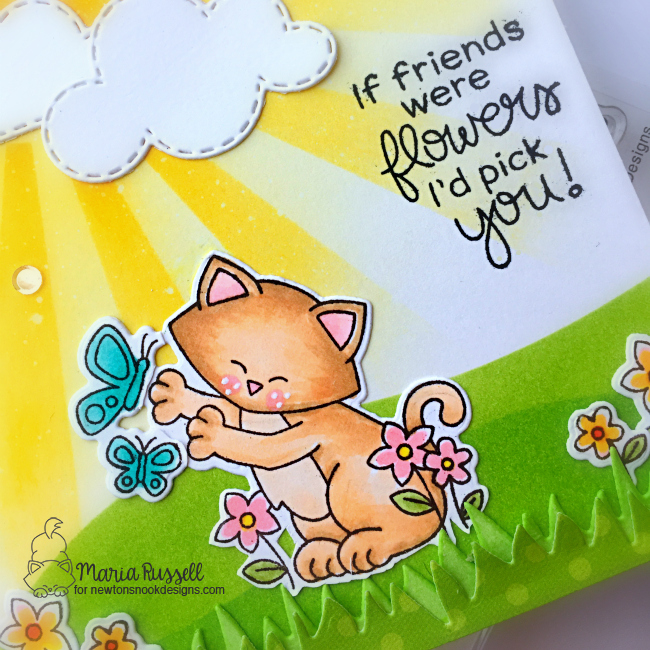
The images were stamped with some Spectrum Noir Rustic Brown ink and colored with my Copic markers. I die-cut the images using the coordinating dies and adhered them on the card with some liquid glue. I also die-cut the clouds using the Sky Scene Builder die set. This is one of my favorite dies of all time.
I finished my design my stamping the sentiment with some Versafine Onyx black ink and added the sparkling clear sequins. Here’s another look:
Would you like to win the “Newton’s Flower Garden”Stamp Set?This stamp set will be given away to ONE lucky winner!
Here’s how to win:
Comment on the NND blog and Design Team blogs (see list below)! Thewinner will be chosen at random from the collective reveal posts. Make sure to check out each of their blogs and comment for your chance to win. You will not know which blog has been chosen so the more you comment on the better your chances are of winning! You have until Thursday May 21st at 9pm EST to comment — winners will be announced on the blog post on Friday, May 22nd.
Check out all the awesome Design Team Blogs below to enter:




















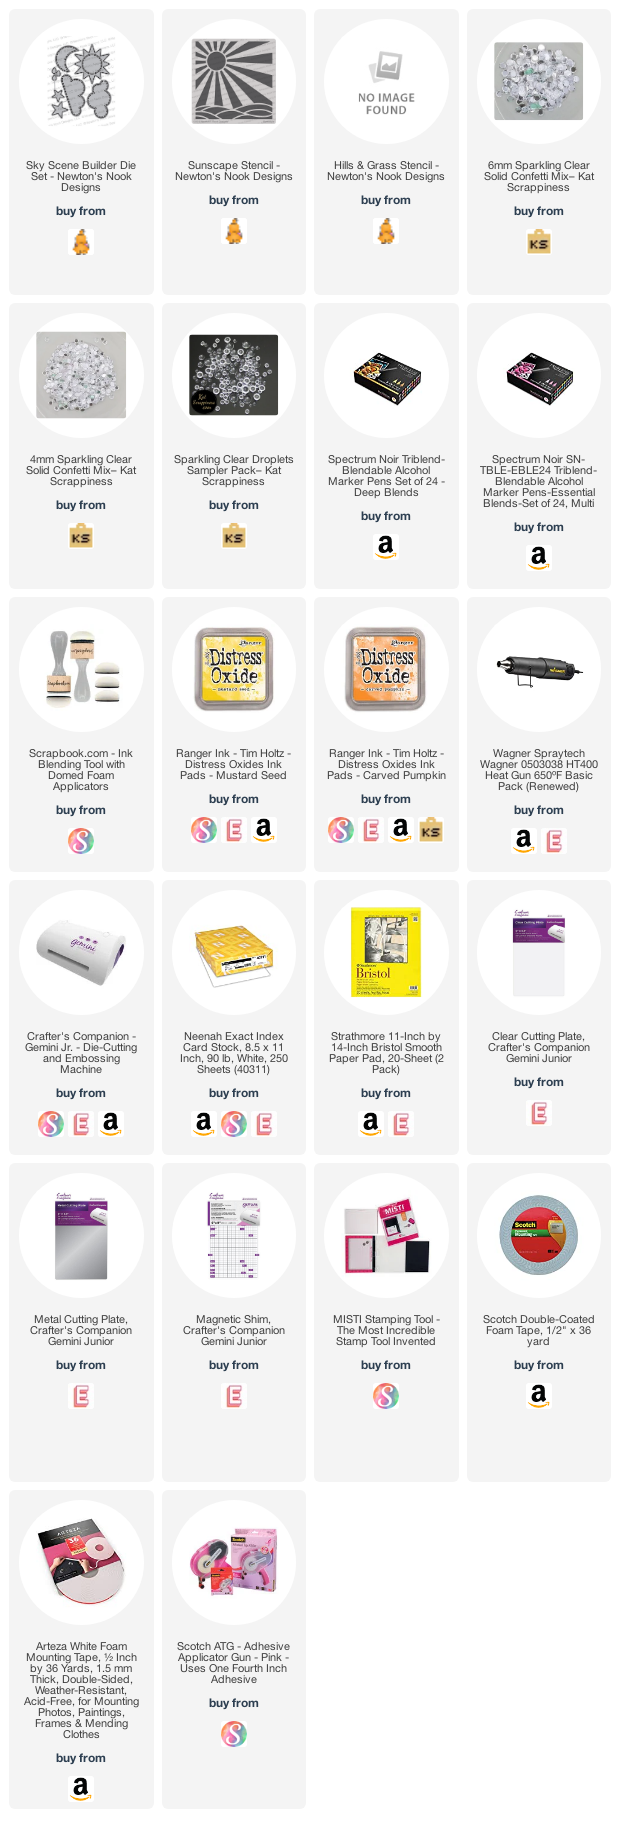
 Maria Russell Designs