Hello everyone! I am back from an overseas whirlwind trip, visiting my mom and brother, who had a heart attack at the age of 49! Thankfully, he is recovering really well and back to his old self again!
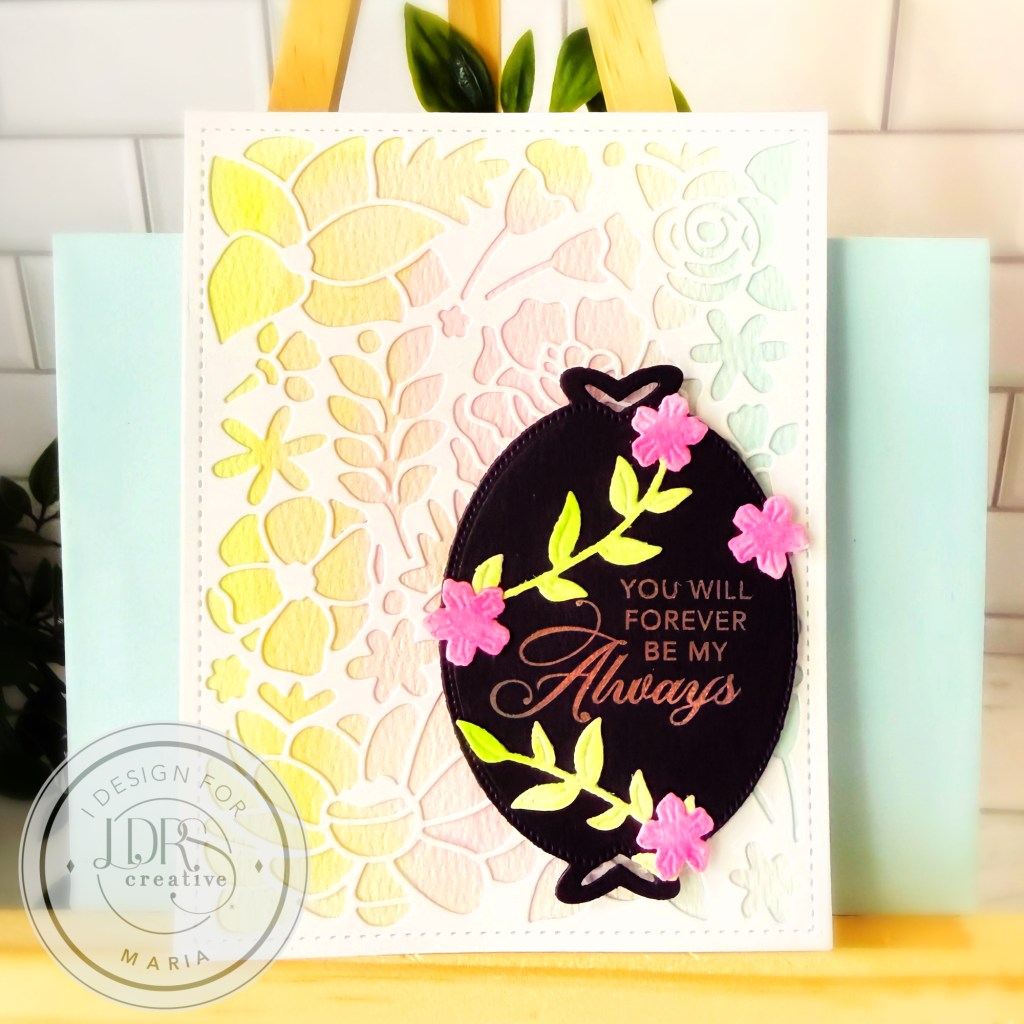
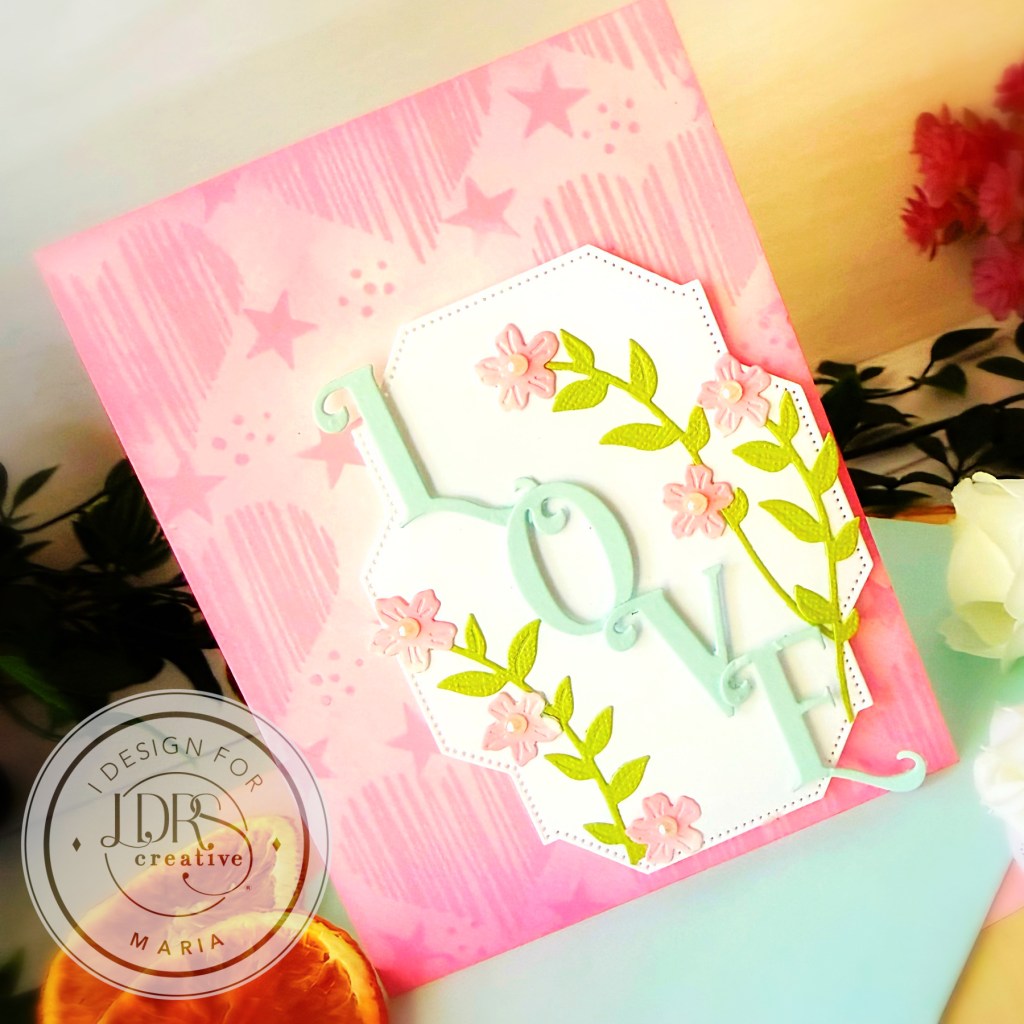
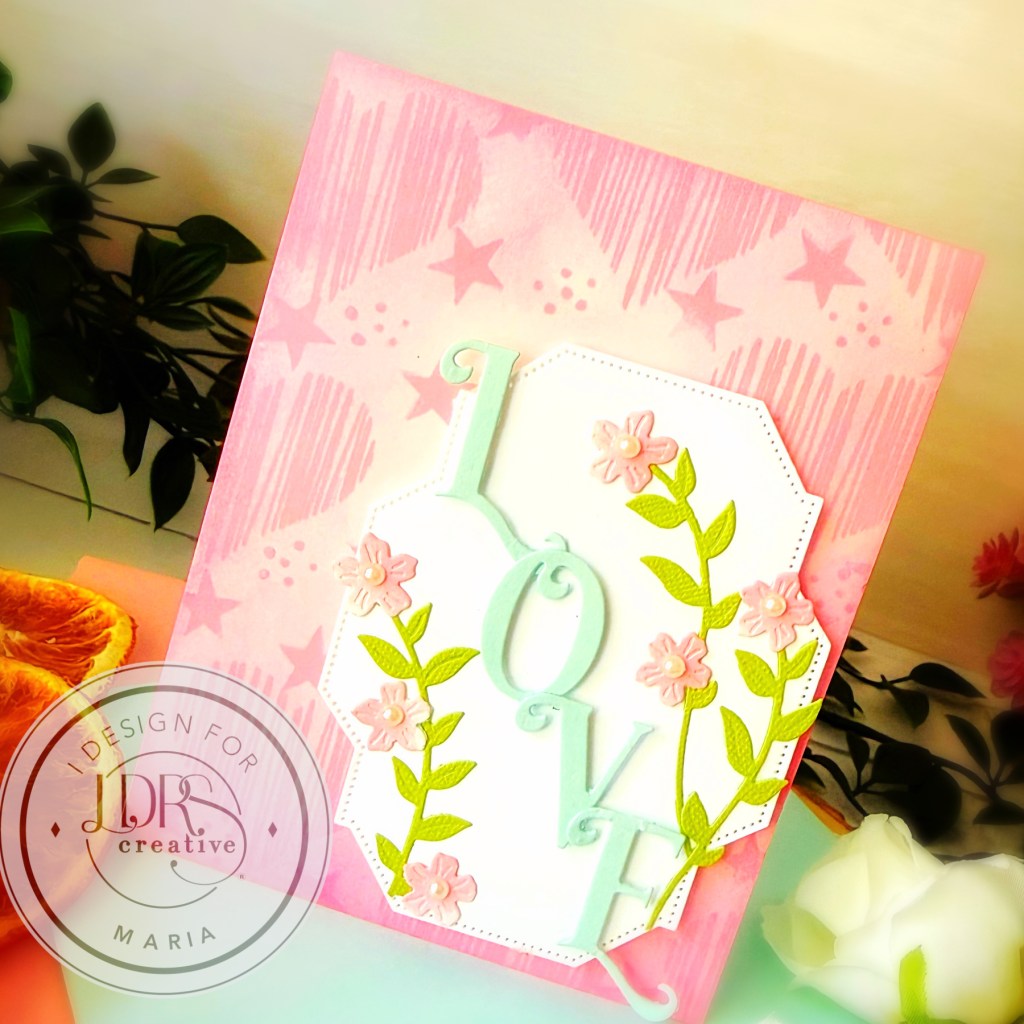
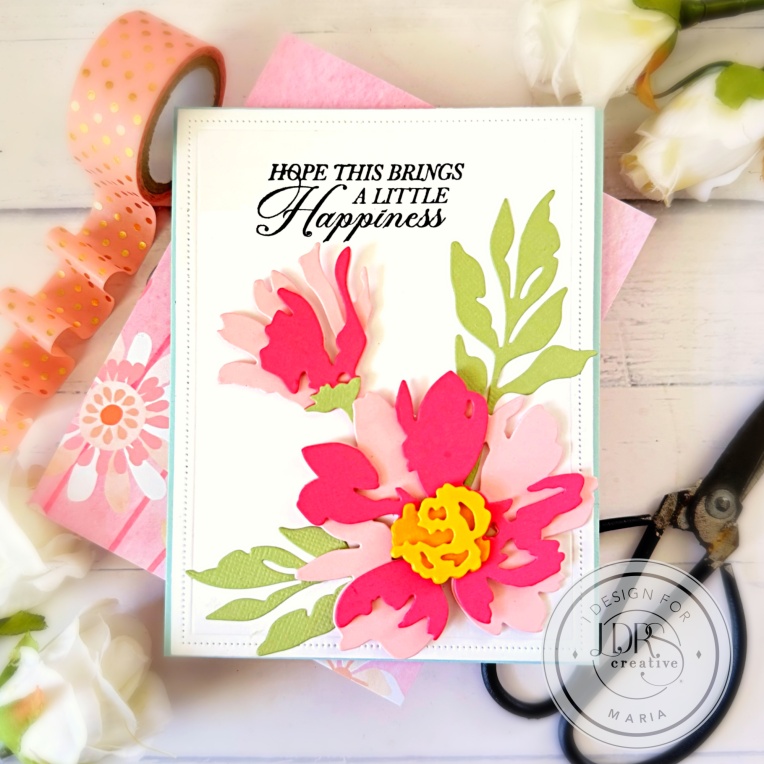
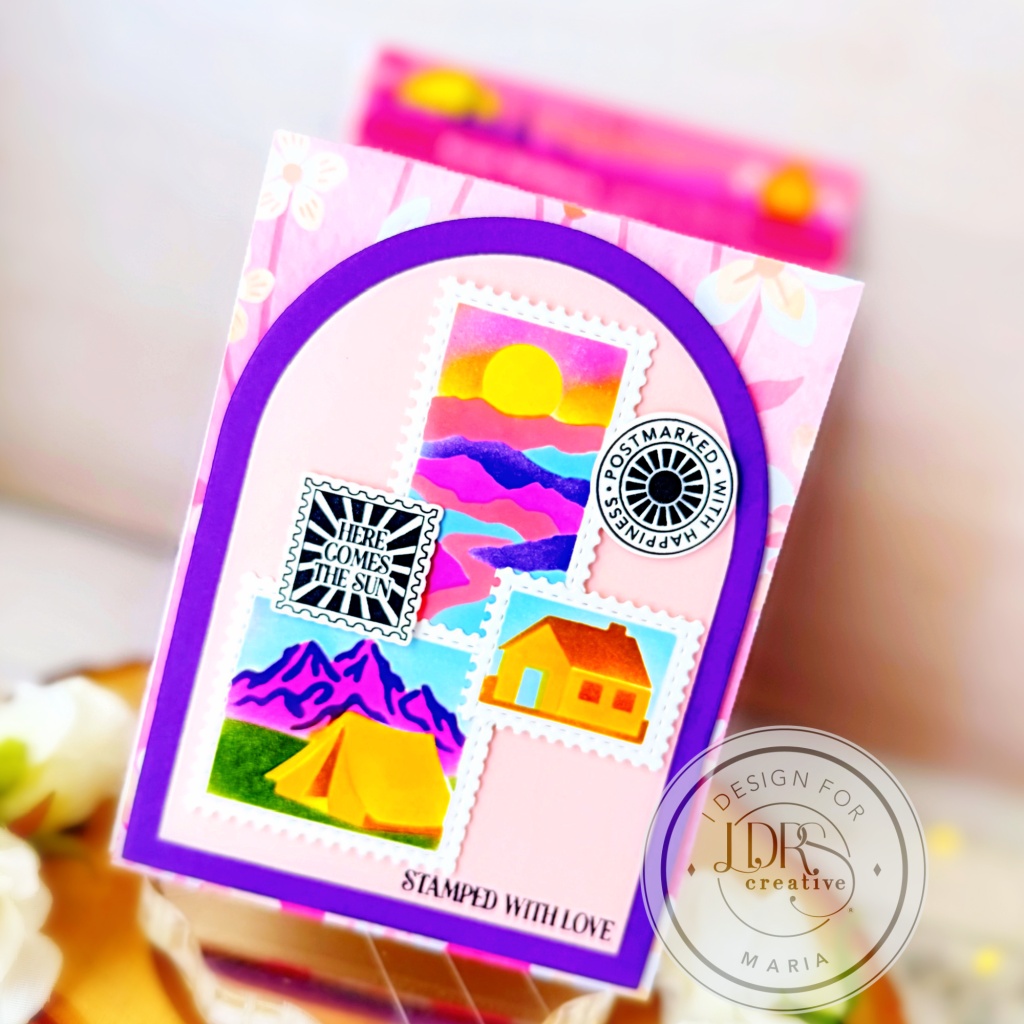
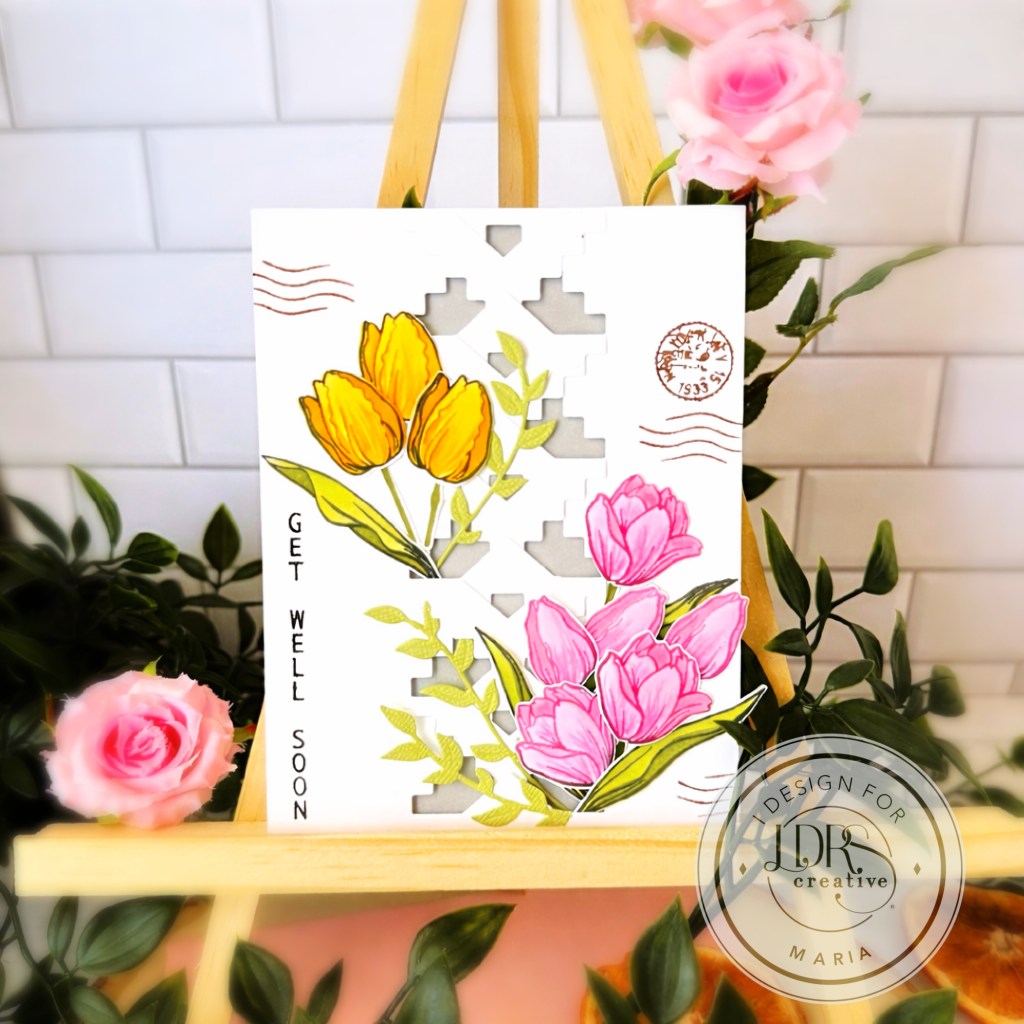
In today’s post, I am showcasing the beautiful Fresh Cut Tulips Stamp Set, Fresh Cut Tulips coordinating dies, Fresh Cut Tulips Layering Stencils, along with the Stepped Edge Die and Everyday Vertical Sentiments from the “No Bounds Collection“. The No Bounds Collection was just released last week!
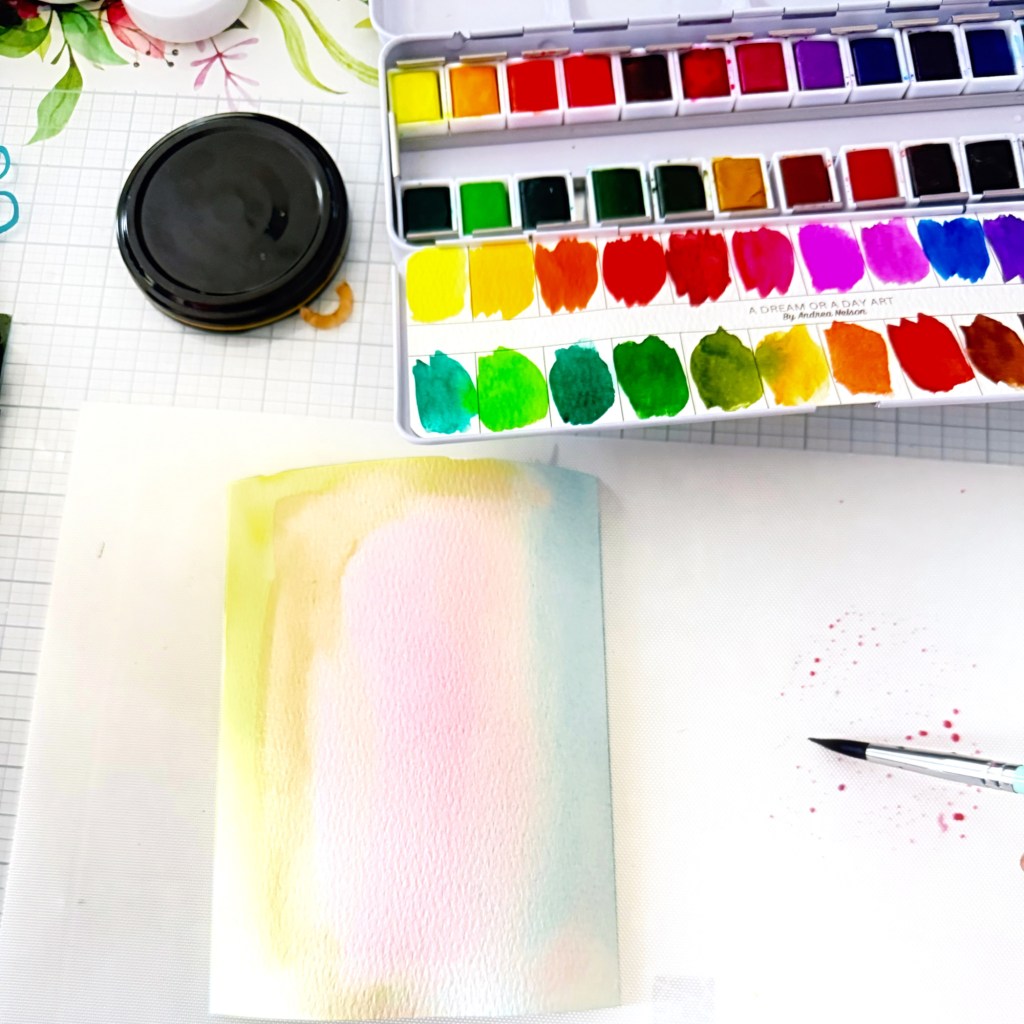
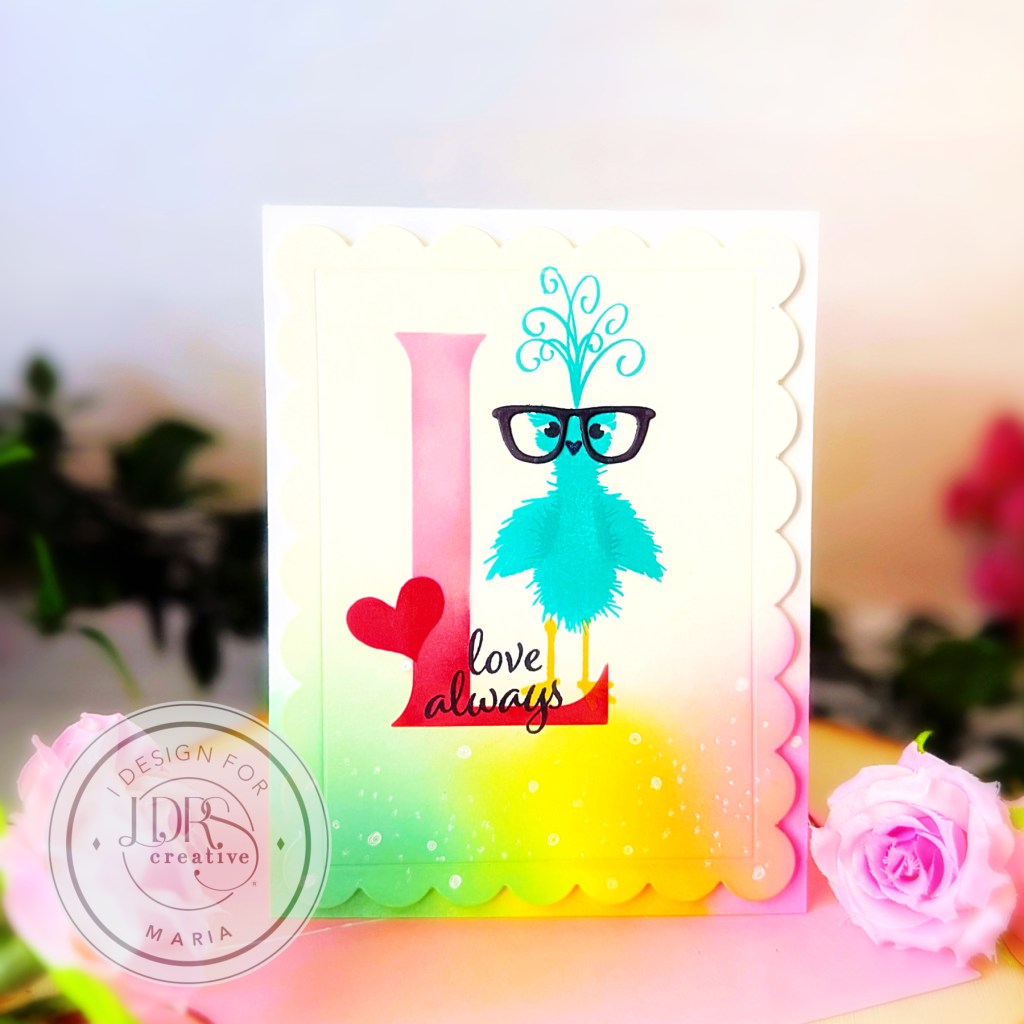
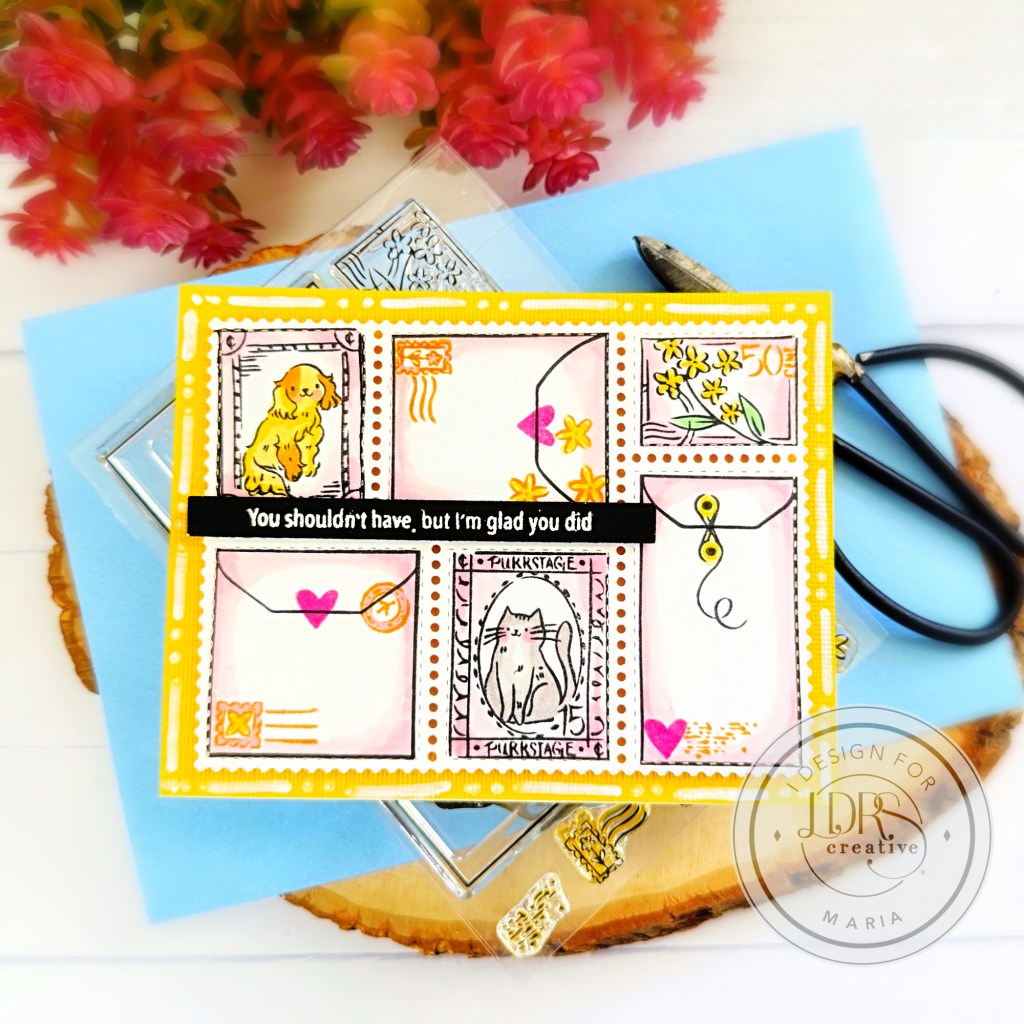
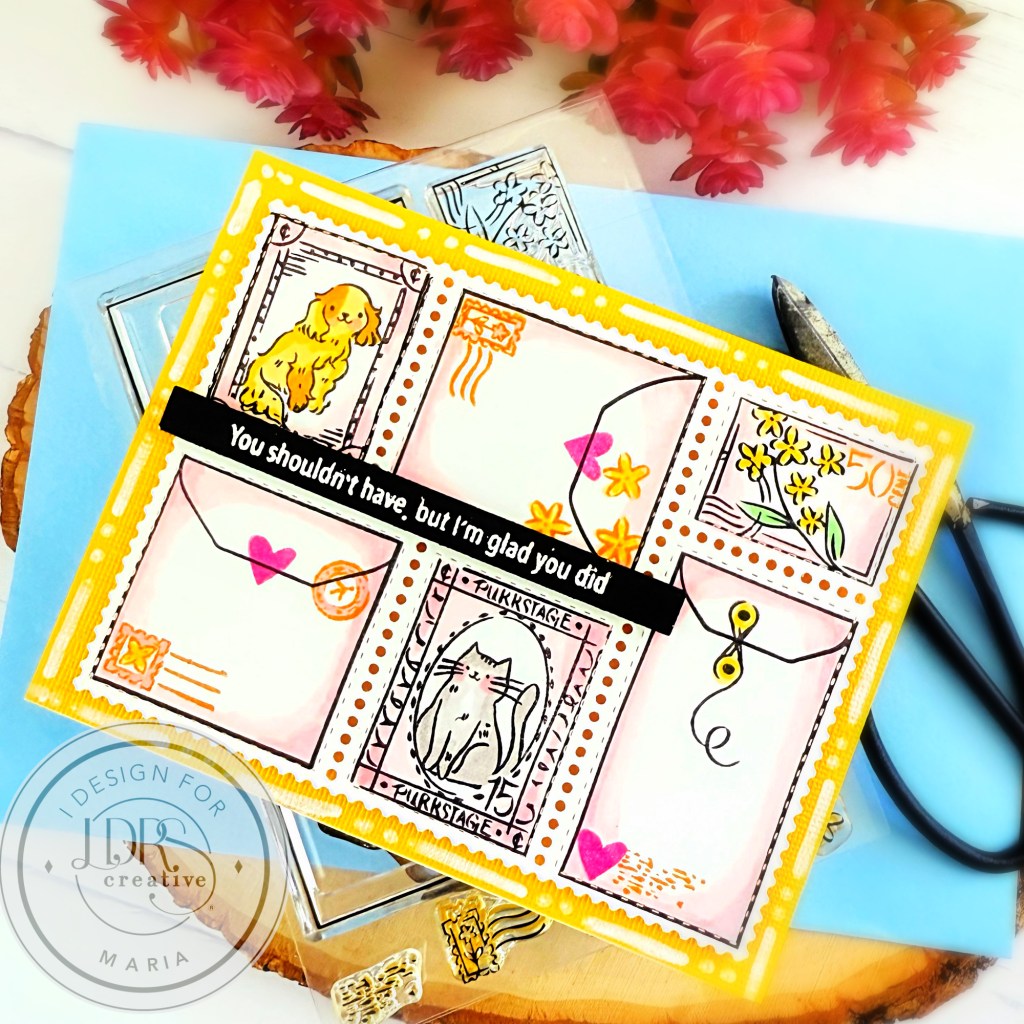
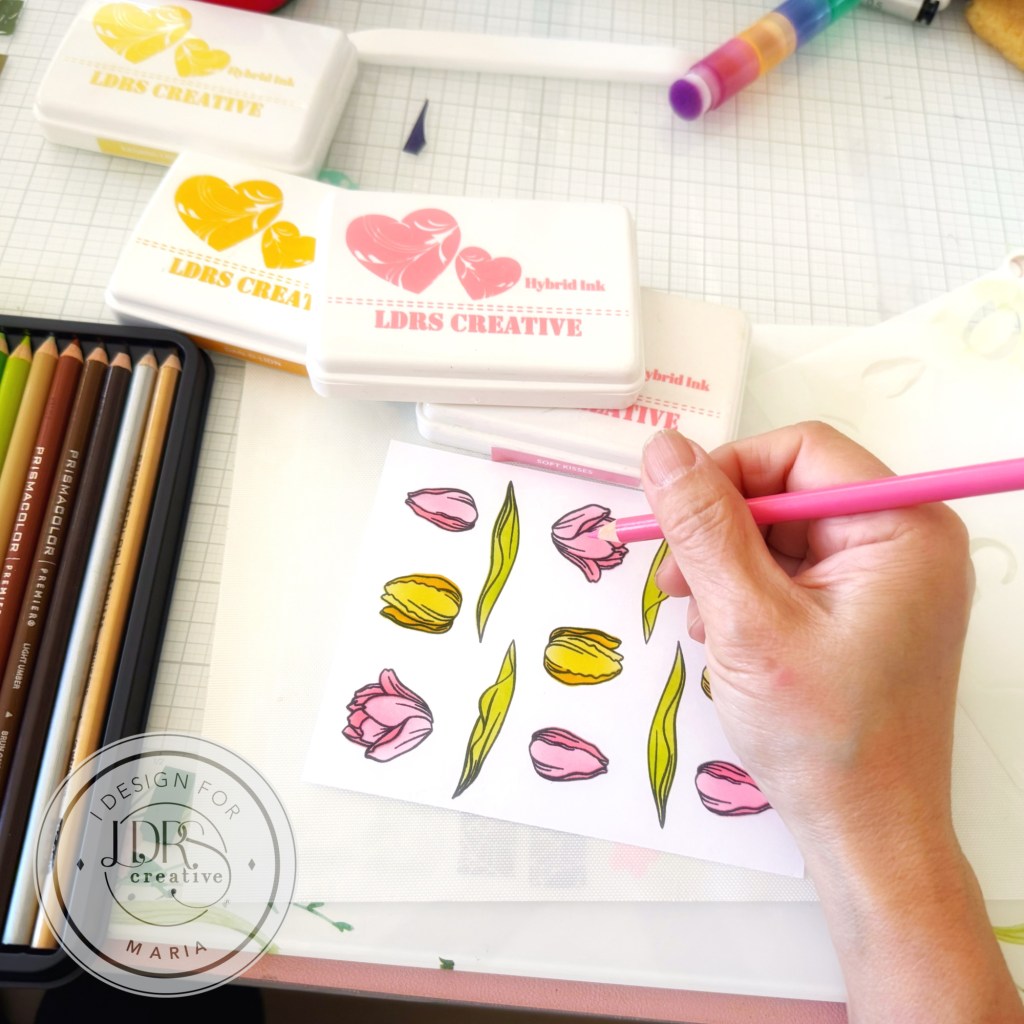
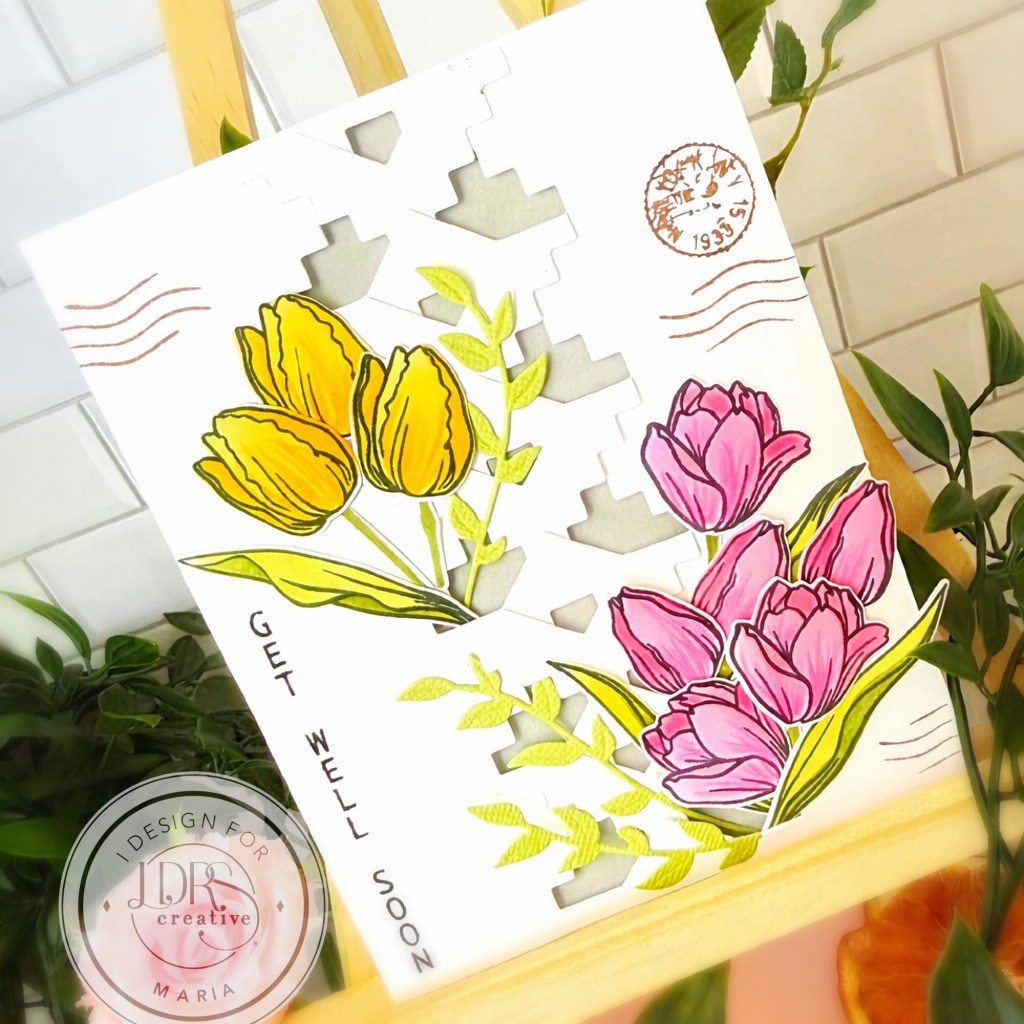
I started by stamping the images on white cardstock with Raven Hybrid Ink. I used the Fresh Cut Tulips Layering Stencils to add color to the tulips. It really made a HUGE difference to have the layering stencils to color the images. For reference, I used Pink Tutu, Soft Kisses, Banana Cream Pie, Dan-D-Lion, Key Lime Pie, and Olive Branch Hybrid Inks. I absolutely love the combination of these colors!
To make the images pop, I used colored pencils to add more detail and dimension to the flowers, and used the Fresh Cut Tulips Coordinating Dies to cut them out.
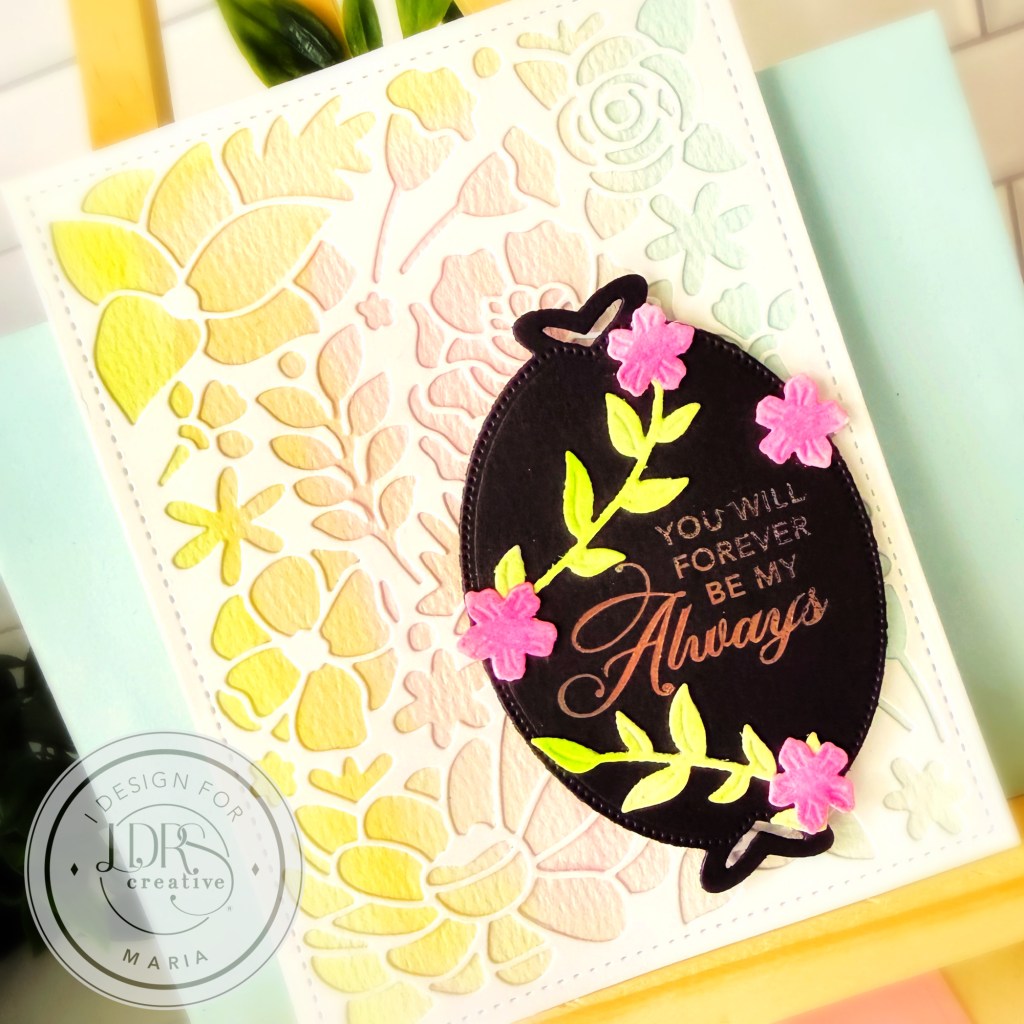
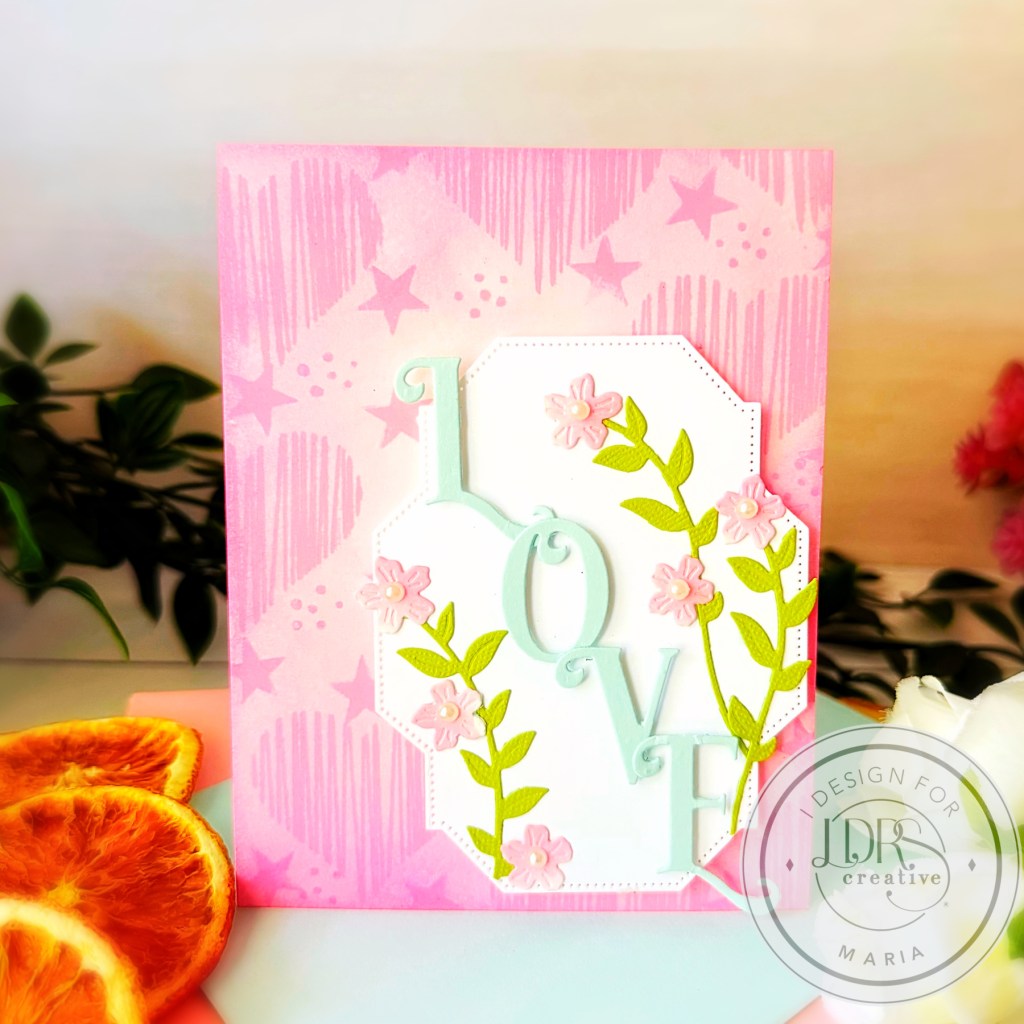
Next, I used the Stepped Edge Die to die-cut the middle of an A2-size notecard! I adhered the same to a light gray card base using foam adhesive for added dimension.
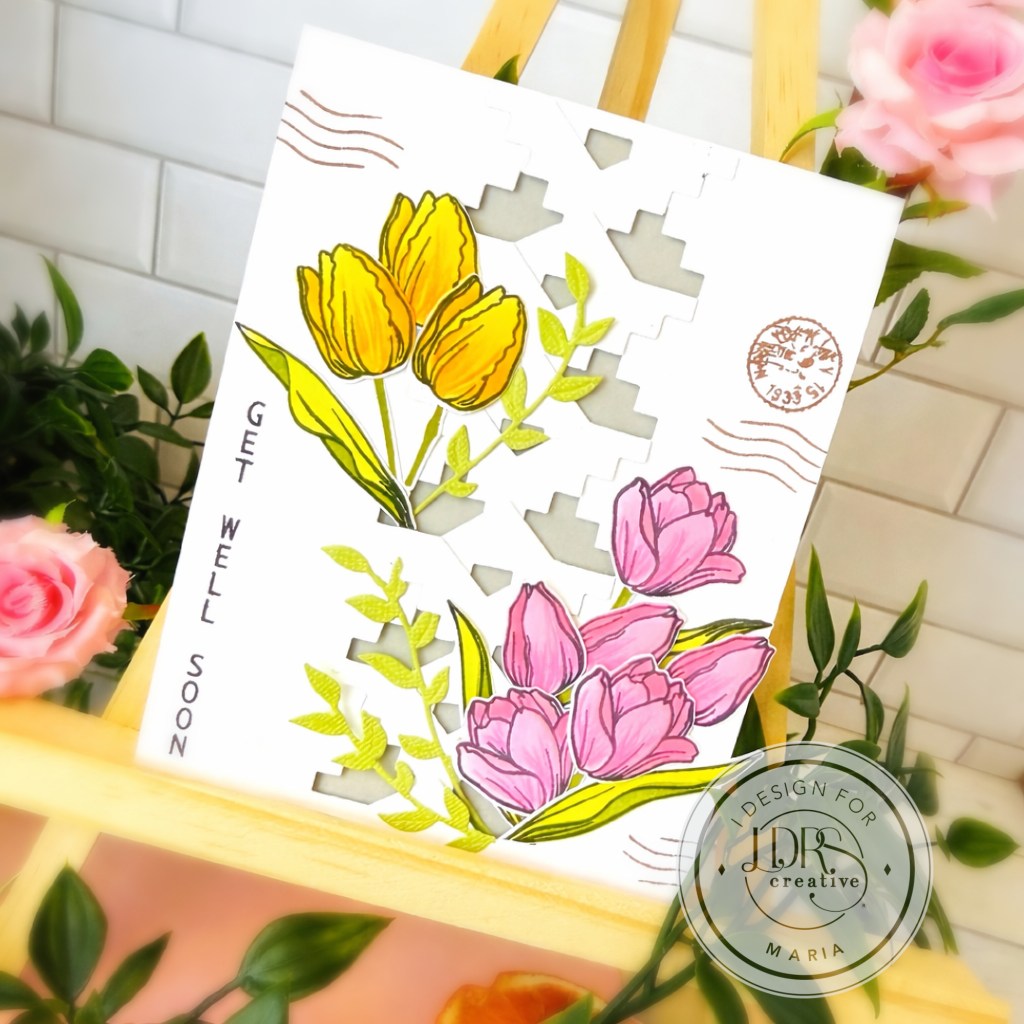
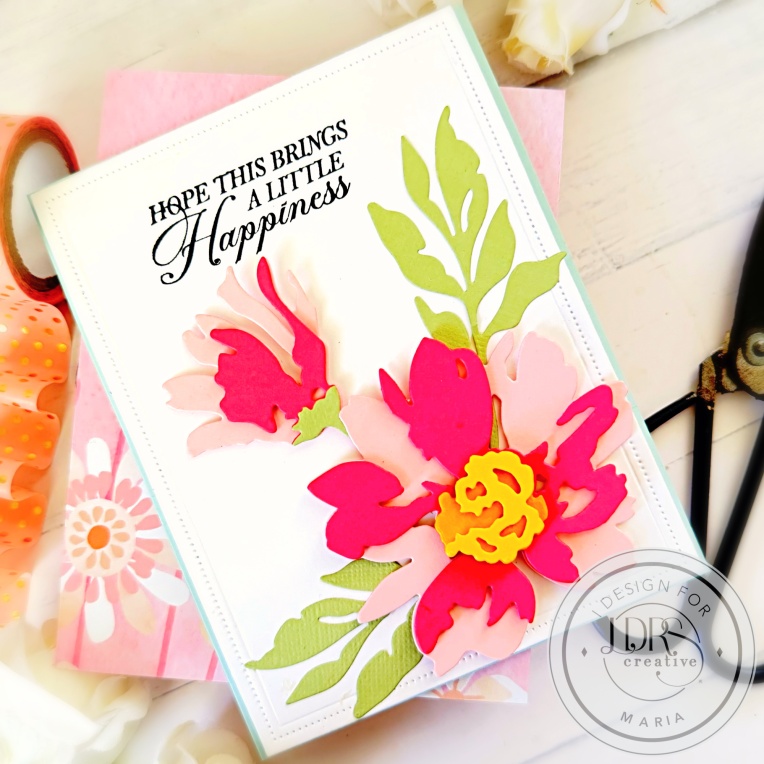
Layering the tulips with liquid glue and foam dots in the middle of the card was easy, as I already had all the necessary pieces. I added a few branches using the Petite Petals Die and stamped the sentiment using the Everyday Vertical Sentiments Stamp Set. This stamp set is so versatile and a must-have for any stamper!
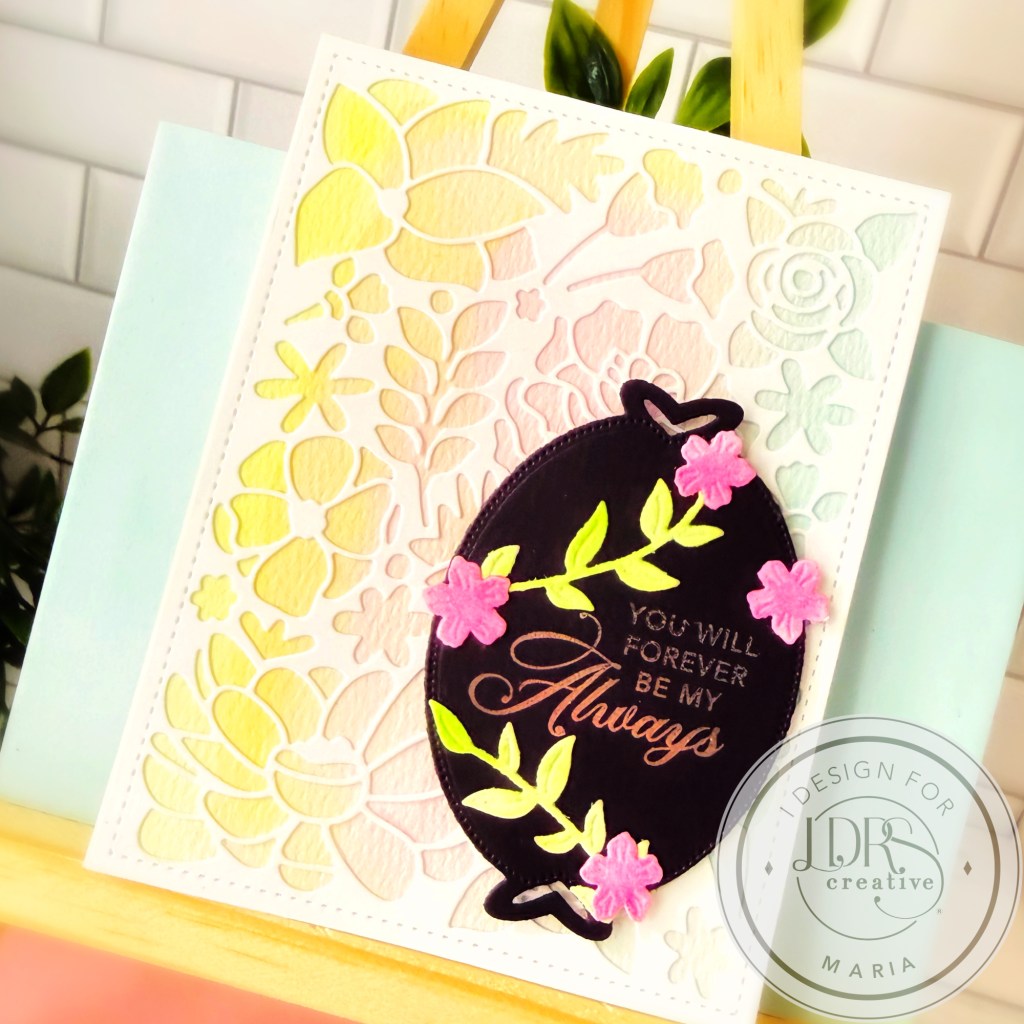
I finished the card design by stamping the squiggly lines and the rounded stamp with Coffee Bean Hybrid Ink. Here’s another look at the finished card:
I hope you like this card as much as I do. Check out the new No Bounds Collection before they sell out! Have an amazing day!