


- stamp the images on Neenah solar white 110 lb card stock.
- color the images with Copic markers (or any coloring medium of your choice)
- fussy-cut the image or die-cut using Brother Scan N Cut2.
- cut an A2 size Bristol smooth white card stock and use masking or painter’s tape to block about an inch and a half of the card stock.
- ink up the top portion of the card stock using a sunburst stencil with some distress oxide inks.
- remove the mask and ink up the bottom of the card stock with some black soot distress oxide inks. This will create the “pavement”.
- use distress sprayer to spray some water on the inked up background and blot it dry with some paper towel.
- adhere a strip of black card stock on top of the “pavement”.
- use a heart die to die-cut the top and adhere some acetate sheet to cover the window. add some foam adhesive to create your shaker well.
- add some iridescent sequins as the shaker element and adhere a white card stock on top to close the shaker card.
- adhered this piece on an A2 size card base.
- adhere the colored image to finish the card.
To finish my card design, I added a red heart sprinkle on top of the couple’s hands. Here’s a closer look:

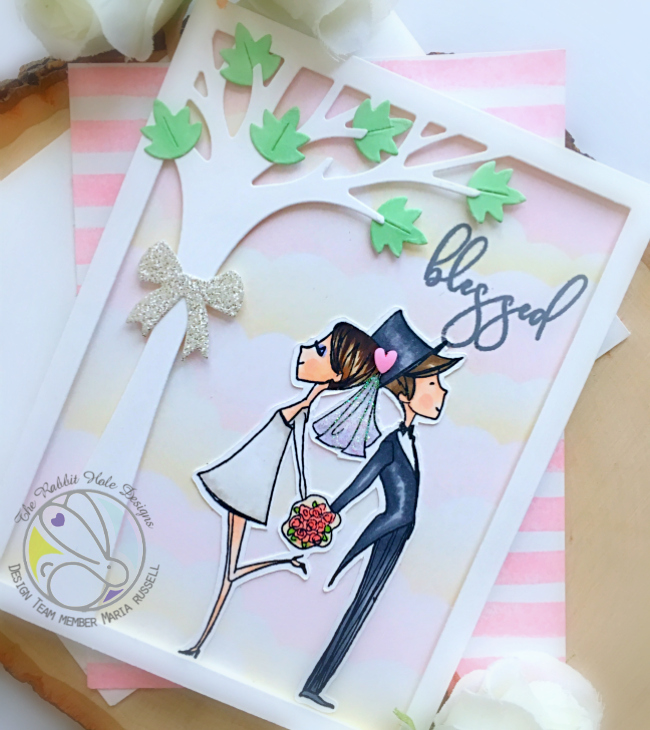
I absolutely adore the images on this stamp set. Here’s another look:

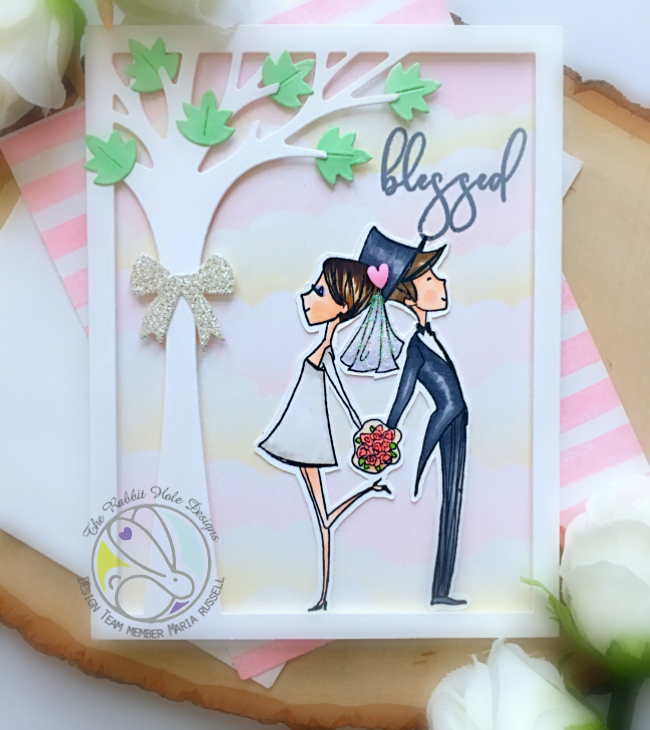
Here’s my second project:
CARD RECIPE:
- just like mentioned above, stamp and color images and either fussy-cut or use Brother Scan N Cut to die-cut the image.
- ink up a piece of Bristol smooth white card stock and use a clouds stencil to create the sky.
- to create my “garden” scene, I used a Lawn Fawn portrait tree die and die-cut a piece of 110 lb. smooth white card stock.
- color the leaves with some green Copic markers.
- adhere this die-cut piece on the colored background with some foam adhesive to give it a little dimension.
- adhere the leaves on the tree using liquid glue and foam squares.
- adhere the image on the card.
Here’s a closer look:
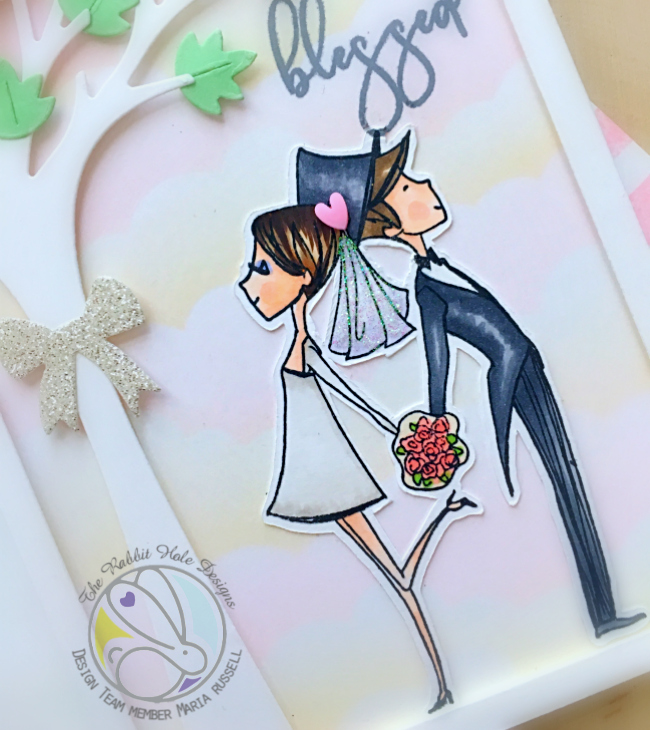
To finish my design, I added the white glittery bow on the tree and added Stardust stickles to the girl’s veil. Here’s another look:
*******GIVEAWAY*******
To celebrate day 1 of the release, The Rabbit Hole Designs is giving away the stamp set featured for today to One lucky winner. Winner will be chosen at random from the comments left on participating blogs, so make sure to visit each stop and leave a comment. Leave comments by 11:59 pm PST on 03-28-2019 on all participating blogs. Winner will be announced on The Rabbit Hole Designs blog March 29, 2019.
Here’s the order of the hop:

Hi Maria. Both cards are so pretty but I’m loving that bright yellow. It just screams happy day to me.
LikeLiked by 1 person
Thank you so much Lisa 🙂
LikeLike
Maria just perfect cards for the stamp set.. The tiny detail of coloring the leaves is genius.
LikeLiked by 1 person
Thank you MaryAnn 🙂
LikeLike
Beautifully soft cards as always Maria! I’m loving that sparkly veil and diamond cut heart shaker!
LikeLike
Such fun cards!
LikeLike
Fabulous wedding cards, brilliant mix of stamps and diecuts!
LikeLike
Wow!! Love your beautiful cards!! That sweet heart was the perfect touch!
LikeLike
Love the contemporary design. Breaks out of the traditional wedding cards. So fun.
LikeLike
Maria, your cards are simply stunning!!! I love the colors and dies that you used. Hugs!
LikeLike
I love this new release and your cards are so pretty and sweet. The yellow is so happy and full of life. I love the tree too.!
LikeLike
I love this new release and your cards are so pretty and sweet. The yellow is so happy and full of life. I love the tree too! (The above post was under wrong account, my husband)
LikeLike
The shaker diamond in the background looks so cute. You are so clever.
LikeLike
Even the tree is decorated. Your card is really great, and your coloring is nice. I can see the shining sun reflecting off of the man’s hat and clothes.
LikeLike
Ur cards r just making me fall deeper in love with this stamp set!
LikeLike
That is a perfect use of that shaker element!
LikeLike
Wonderful cards, love them
LikeLike
Just stunning! I love how you created little scenes! The rays are GREAT and so is the tree!!!
LikeLike
Wow love the shaker heart giving the card the wow factor. Love your other card and love the bow you added to the tree. Great inspiration
LikeLike
These are both amazing! I love the settings. And…her makeup is perfect! 😀
LikeLike
Your cards are amazing!
LikeLike
Beautiful cards!! I love the rays with the center heart on the first one and I love the sparkly bow and veil on the second one with the soft background! Such cute scenes! Thank you for sharing!
LikeLike
I love them all but especially the heart one x
LikeLike
I love your amazing cards as much as I love this stamp set!
LikeLike
Sweet cards !! Fresh as spring
LikeLike
Beautiful designs on both cards. Thanks for sharing this inspiration with these fun products.
LikeLike
Wow! Beautiful and sweet cards!!! Love them!!!
LikeLike
Cute card
LikeLike
Love the shaker card!
LikeLike
Awesome cards! Love the details and designs! Love these!
LikeLike